Posts in Techniques
Better get a wriggle on!
6 dec 18 2.jpg

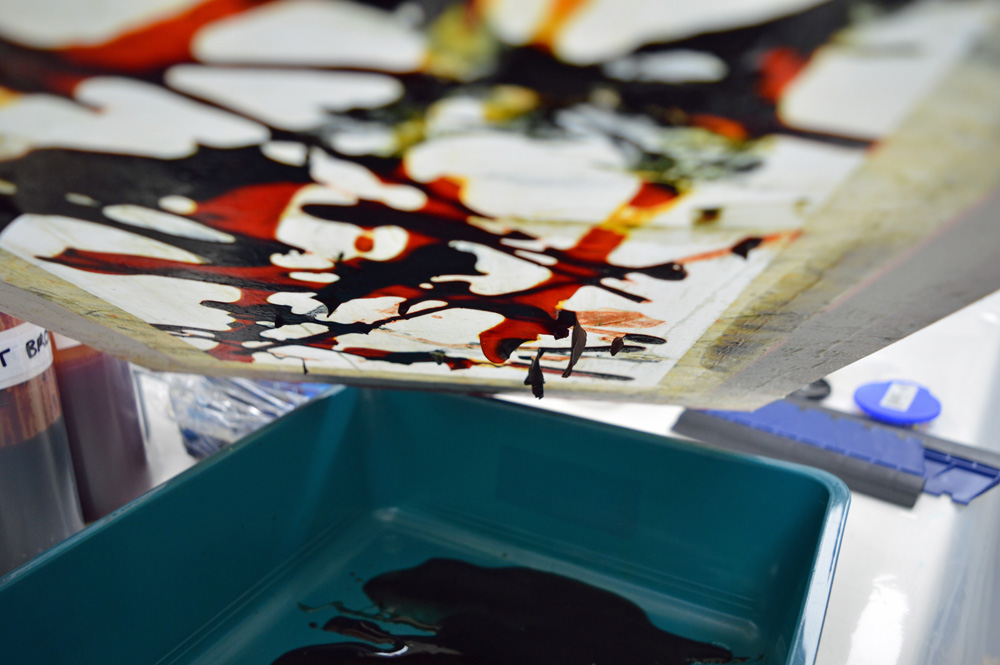
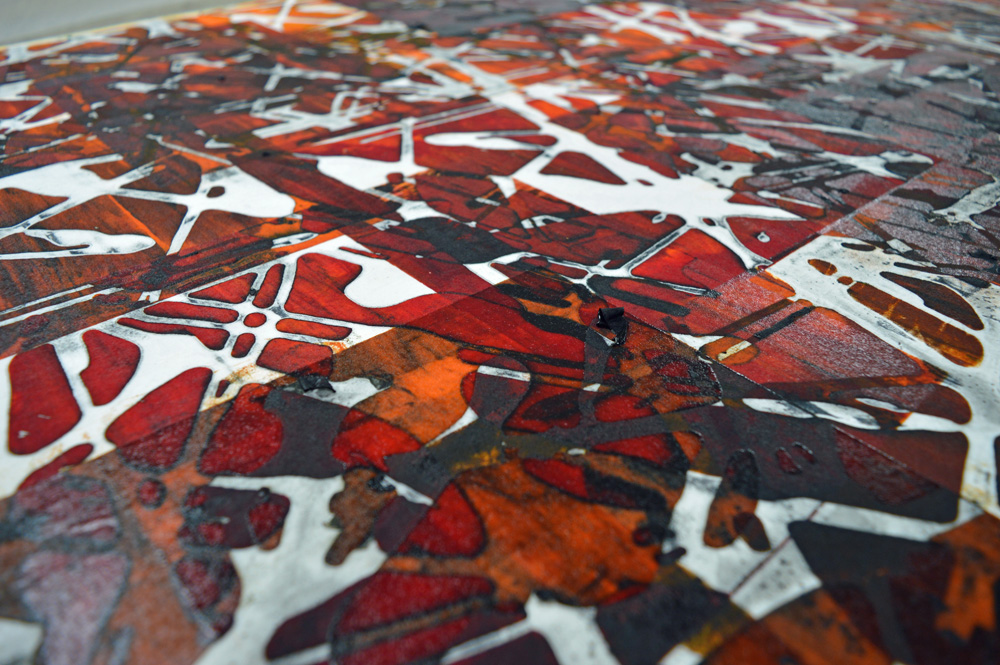
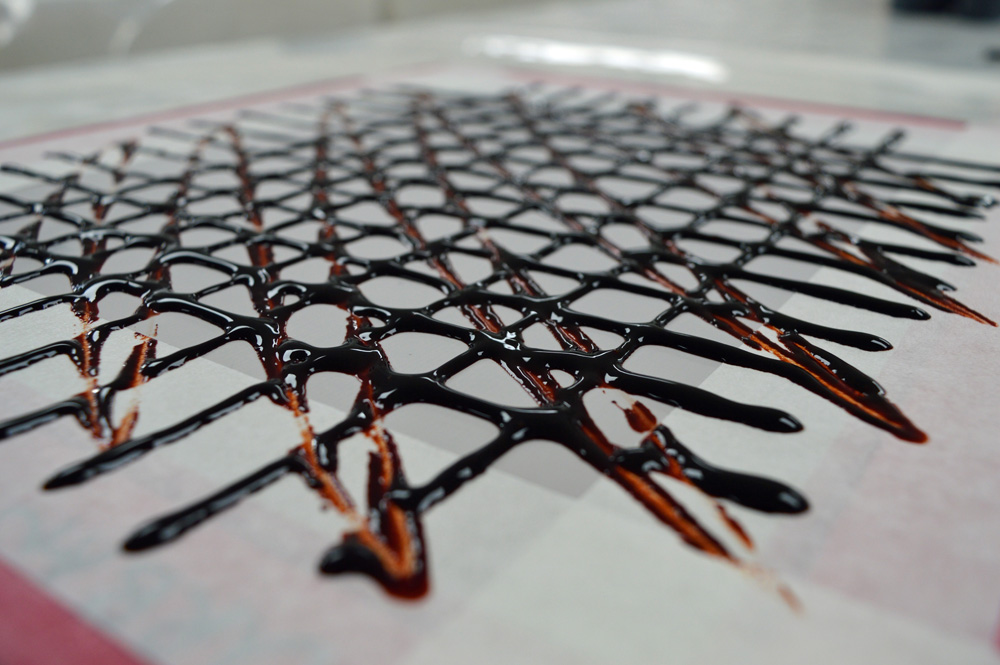
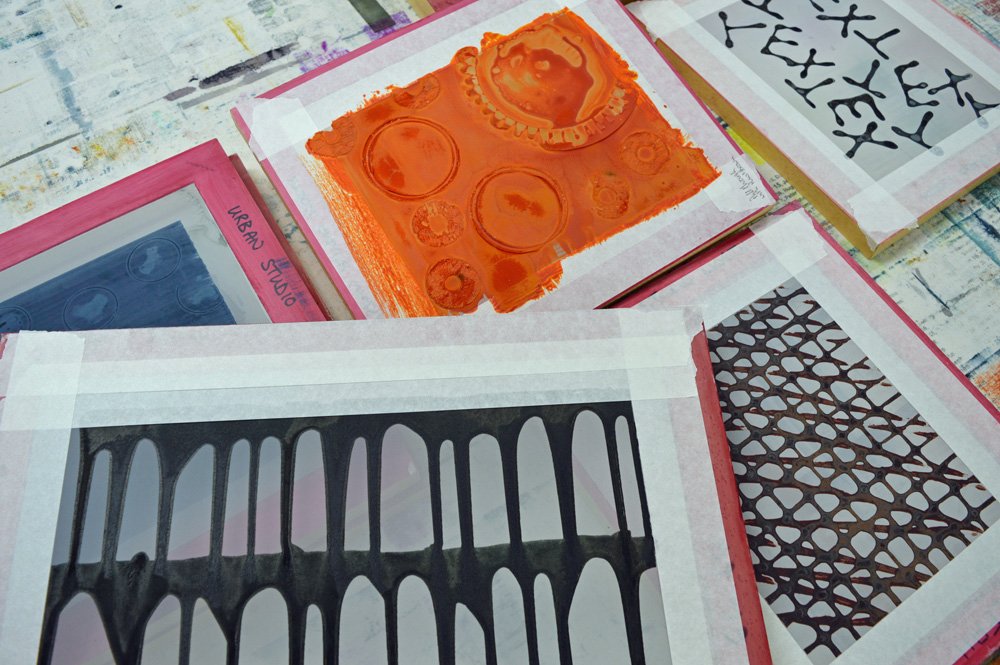
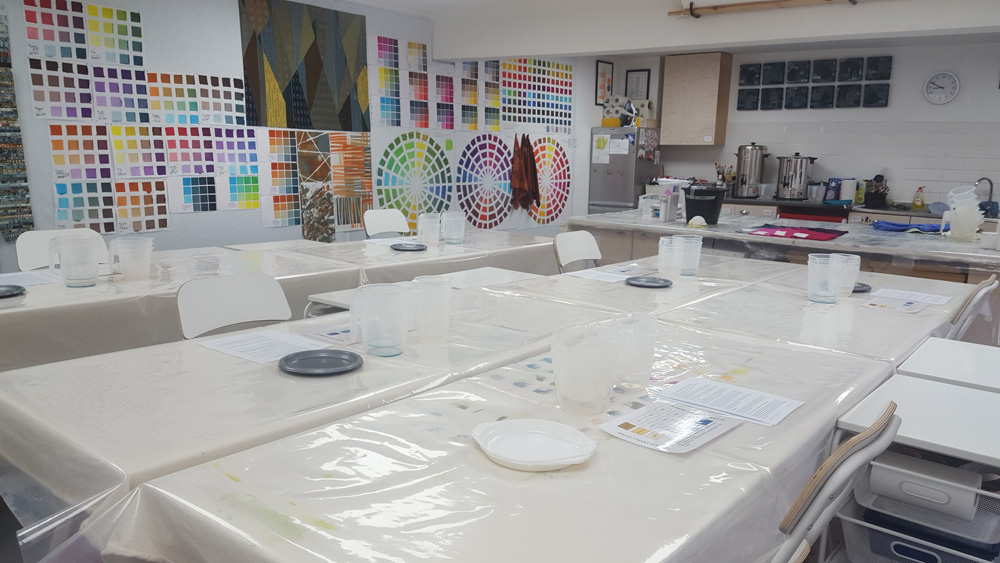
I have my two ‘day a month’ groups in the studio this weekend and it is a bit of a tip. Since getting home from Harrogate I’ve been busy breakdown printing different samples, soda soaking fabric (and drying it in the studio), ordering and sorting out Christmas presents (bah humbug), doing paperwork and generally making use of every bench. Around all of that I have been doing a bit of mark making and have done a bit more decorating in the bog shed. I may even have got some sleep!

Before my lovely students arrive for their Introduction to Surface Design session on screen printing I need to:

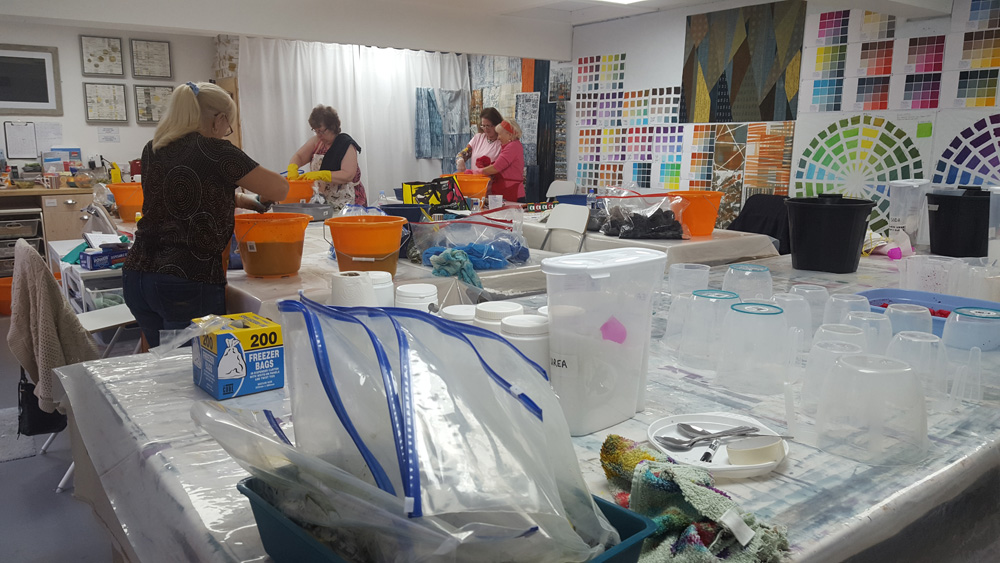
  • Soda soak a few more pieces of fabric then clean up the mess this leaves on the floor. The weather has been very uncooperative this week!

  • Varnish another 5 screens - meant to do this months ago when I could have left the studio doors open to get rid of the smell (apologies students!)

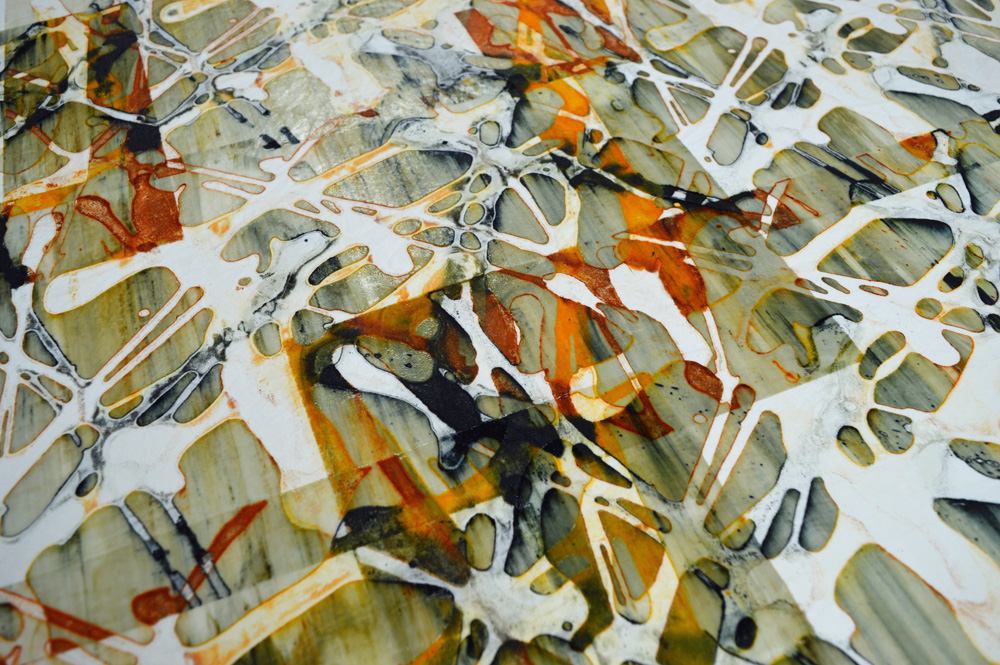
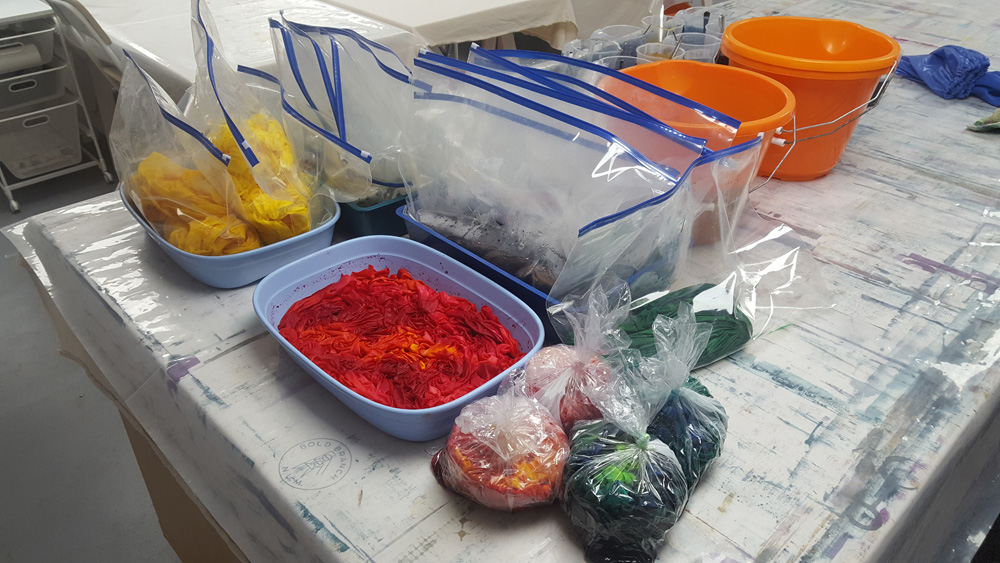
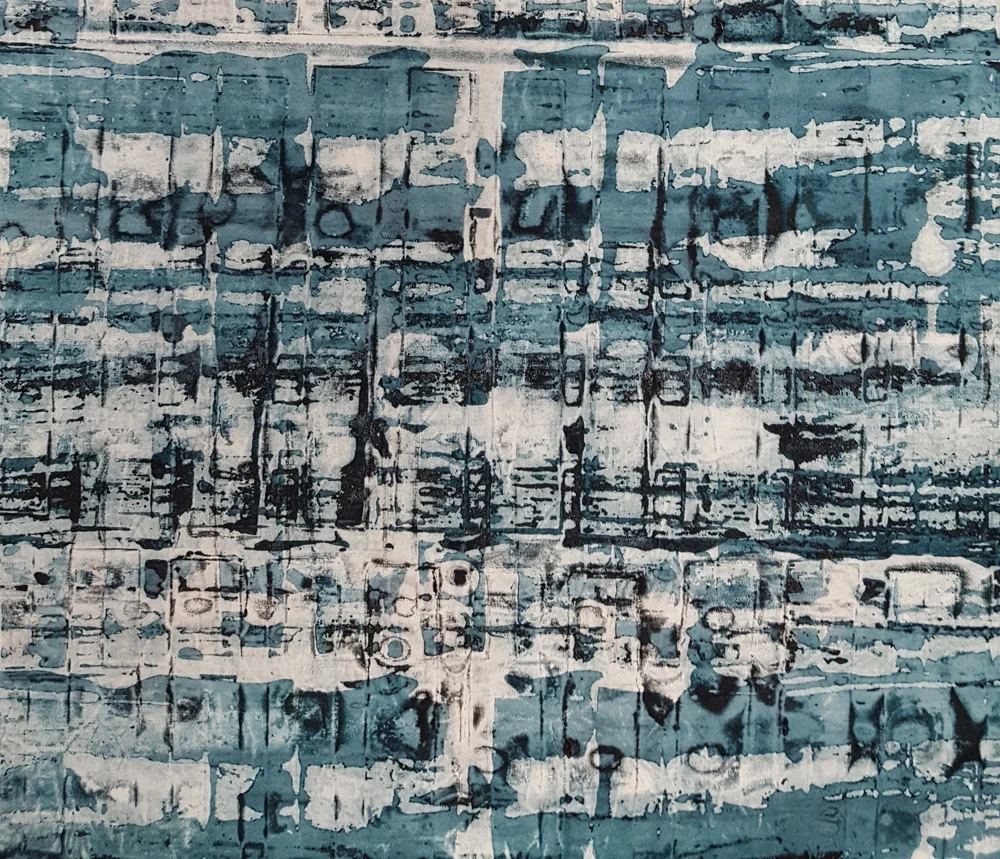
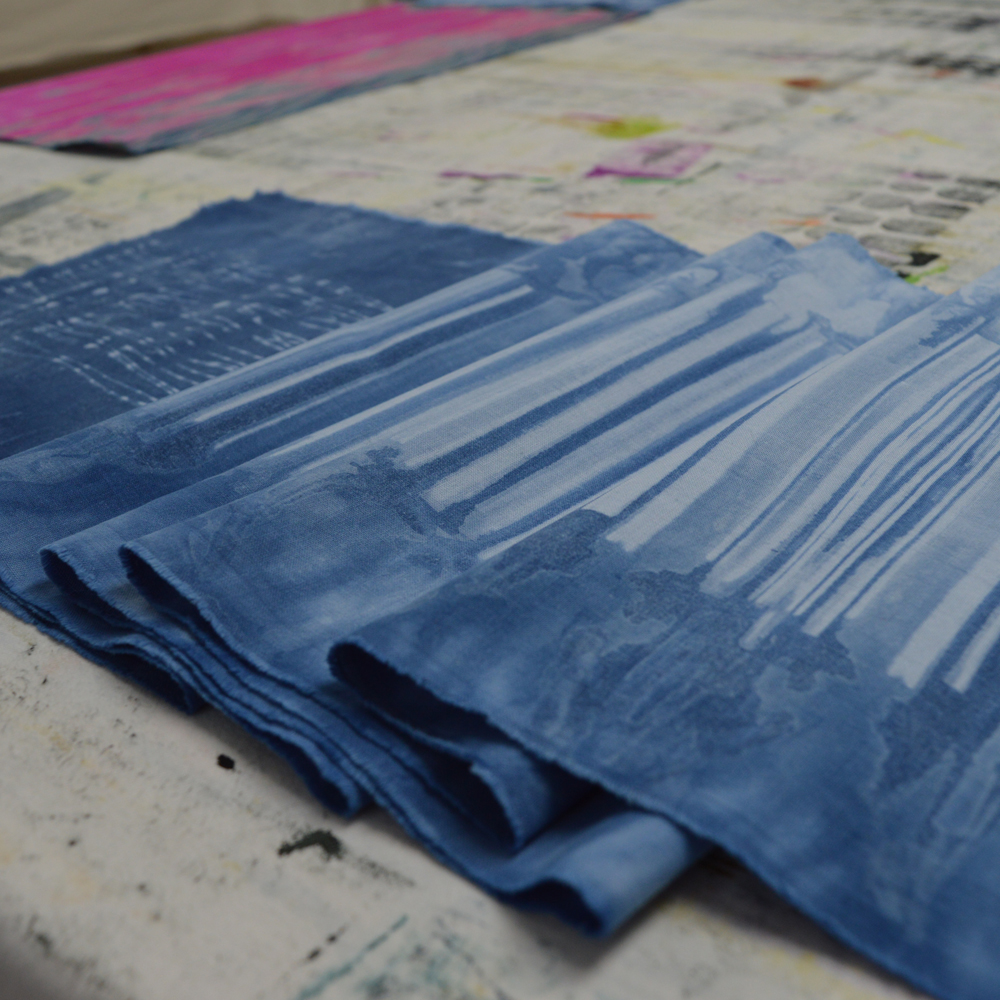
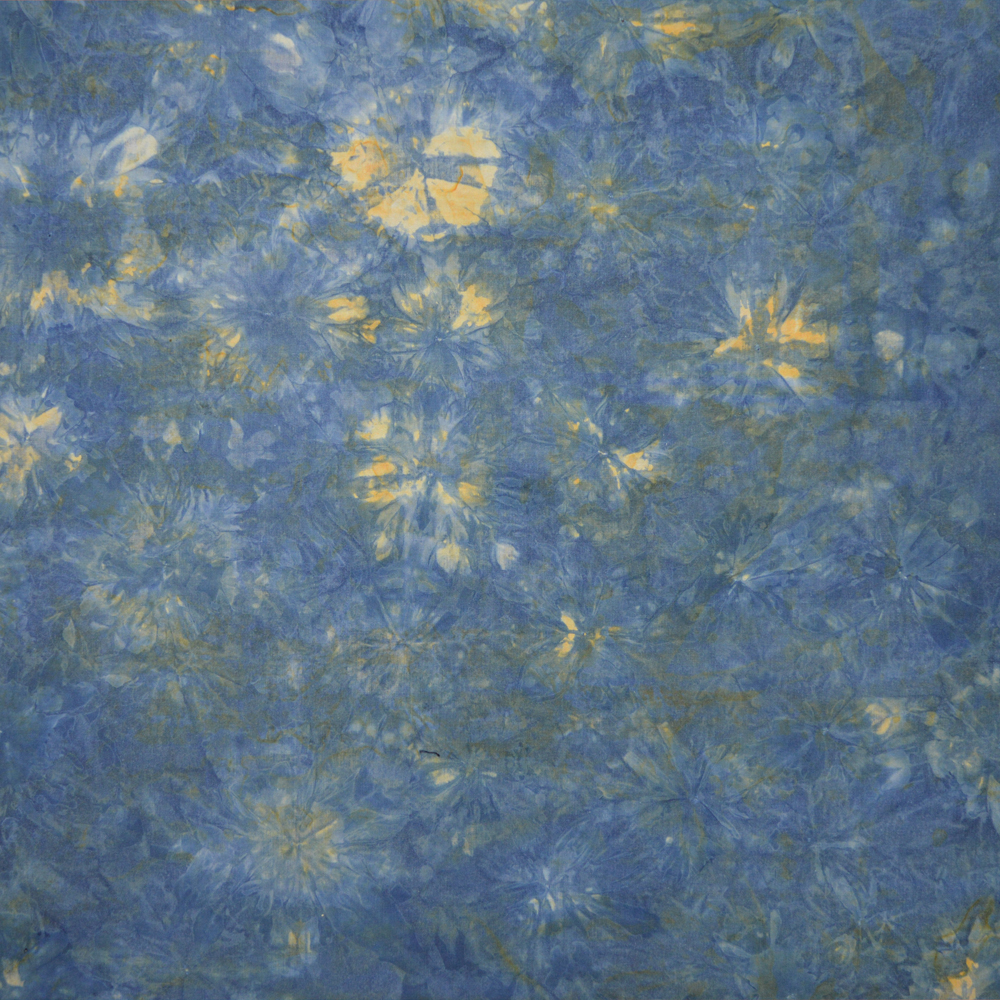
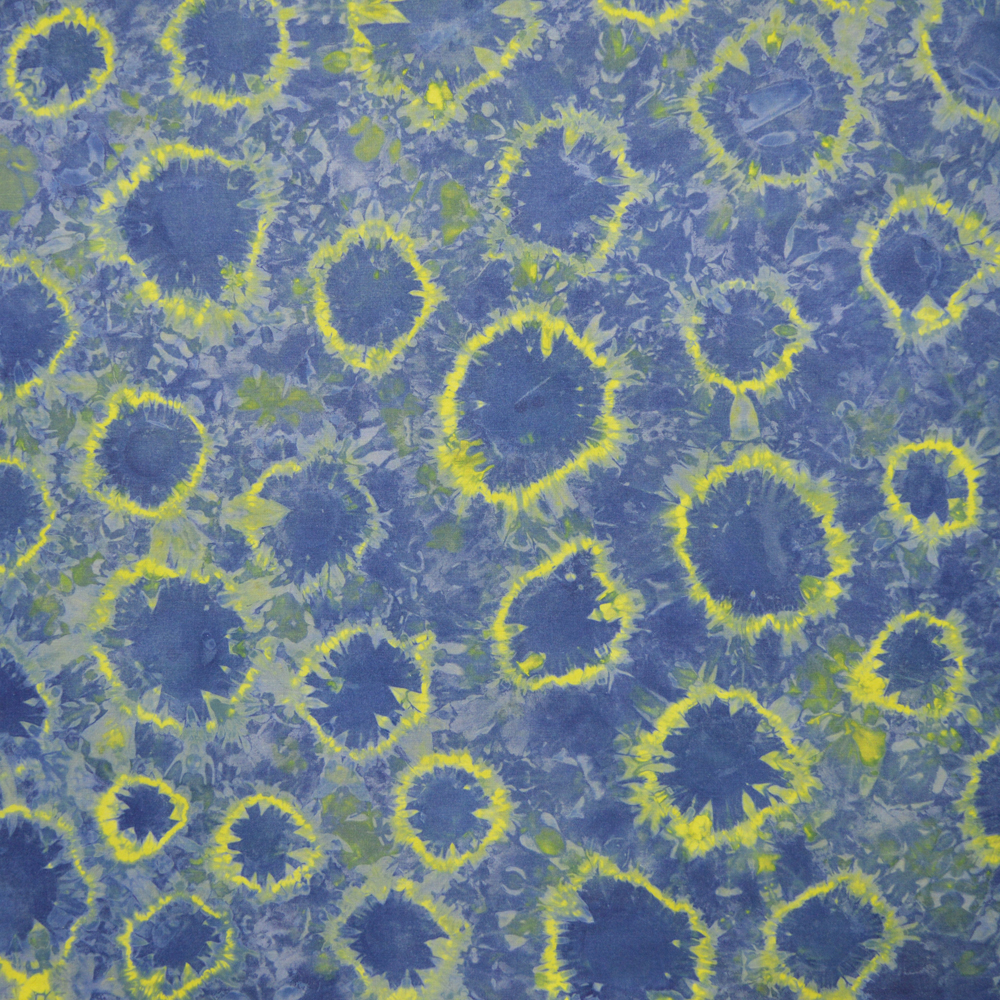
  • Rinse, wash and iron all the breakdown samples and put a few of them up on my design wall. Hide the ones that are perfect illustrations of how NOT to breakdown print.

  • Load the rest of the design wall with quilts and samples that show various aspects of screen printing.

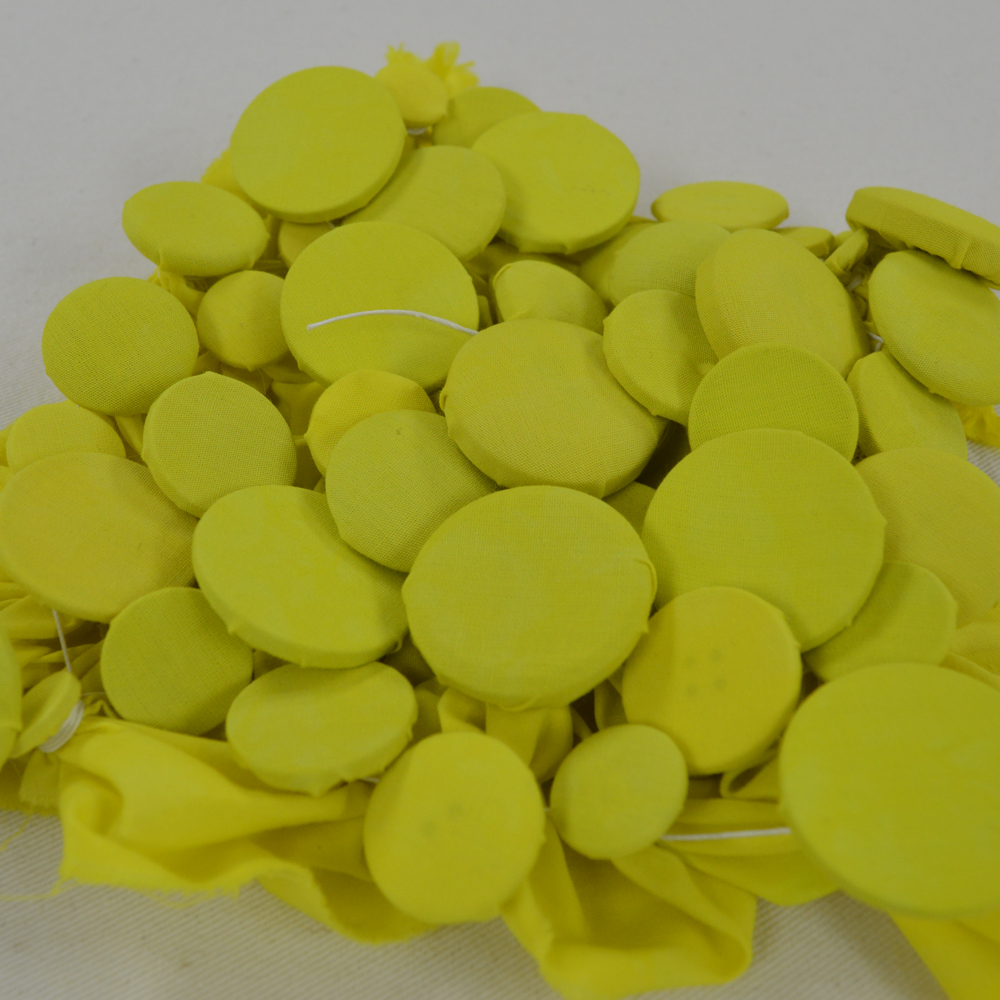
  • Make some more thermofax screens based on mark making for my students to use as background texture this weekend.

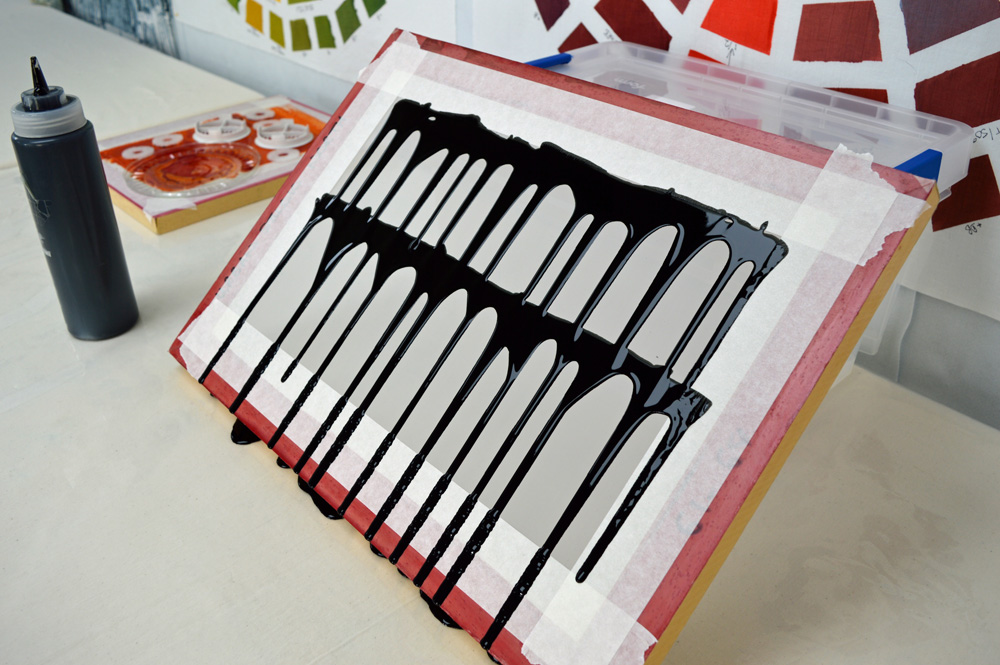
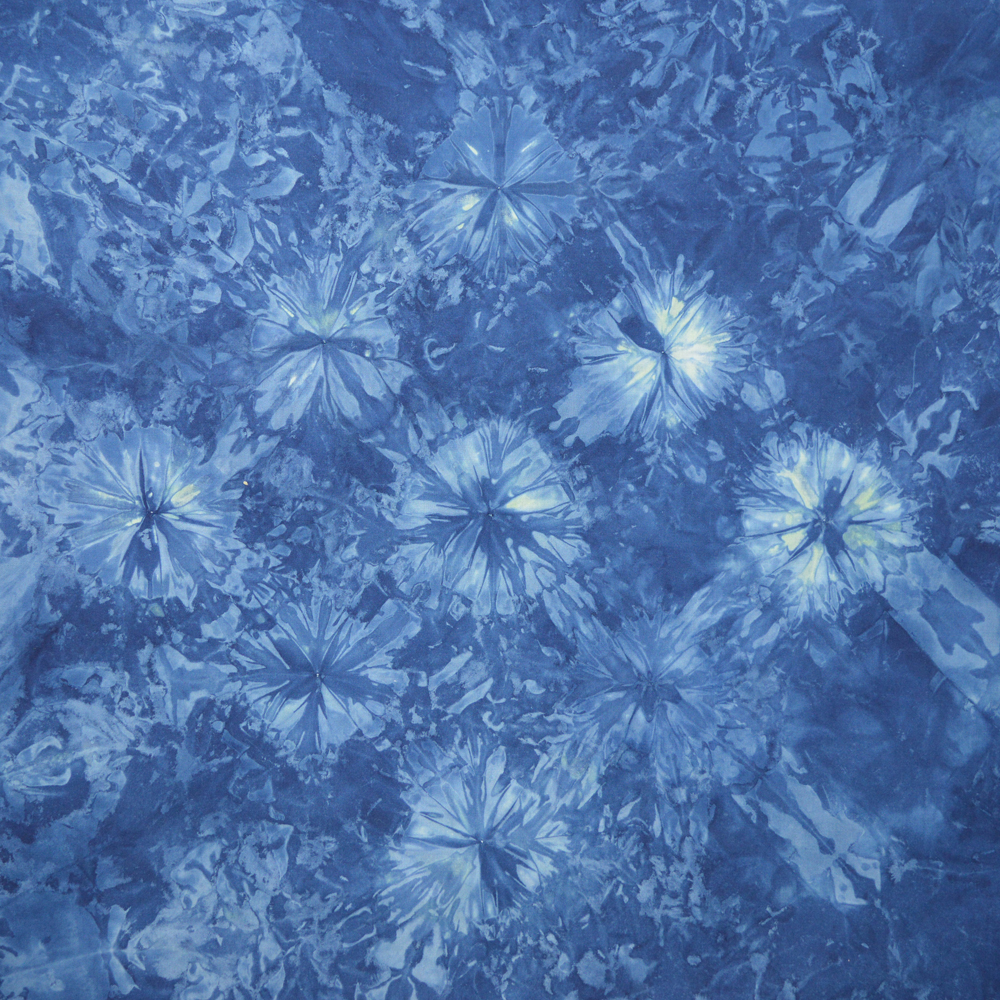
  • Decide on the colours I’ll use in my demonstrations this weekend and test drive the new thermofax screens.

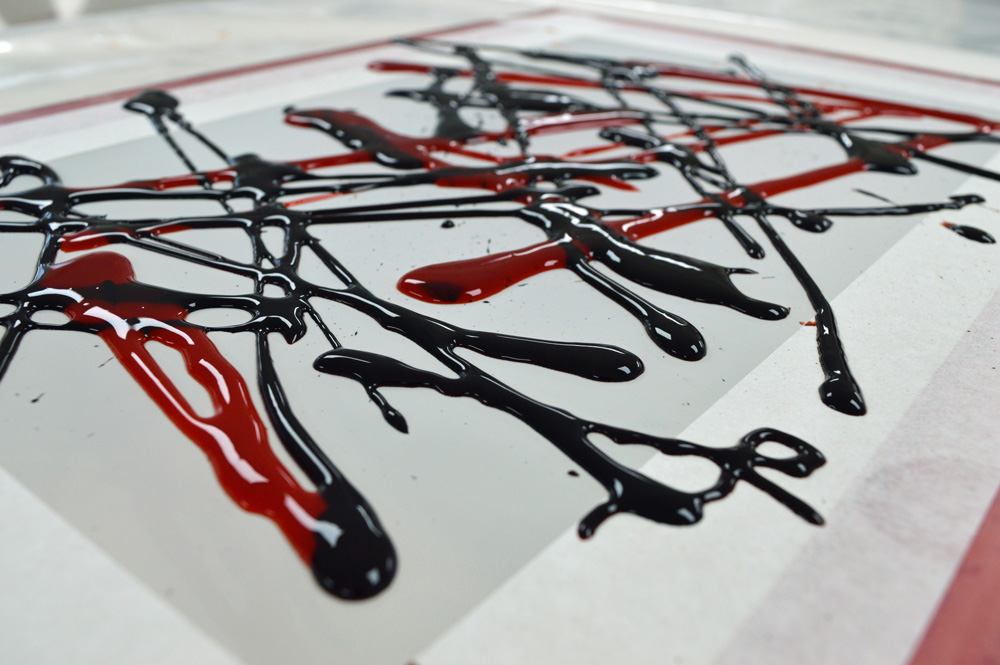
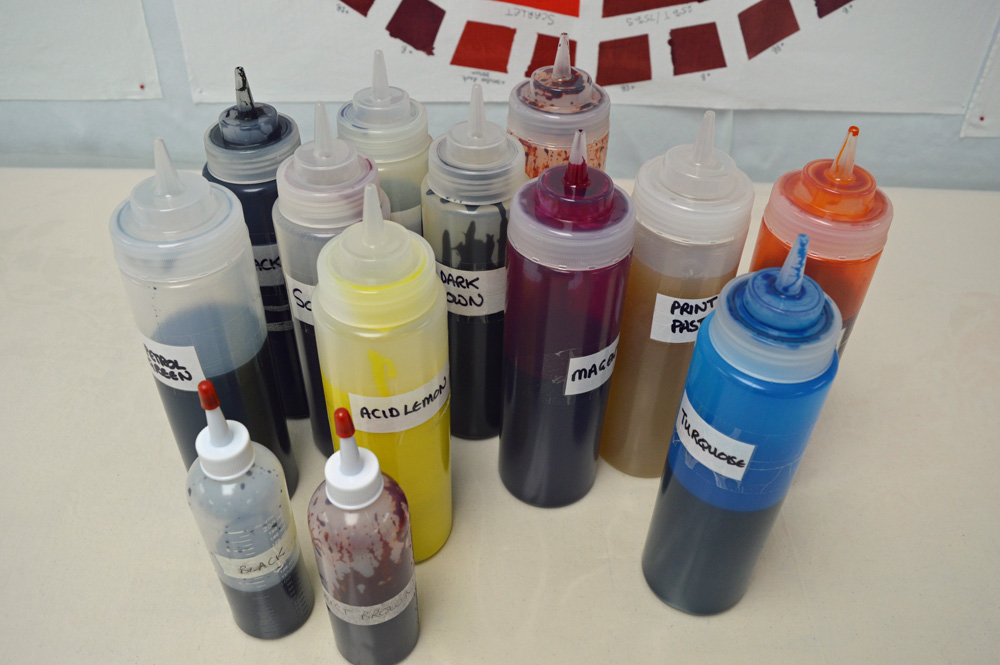
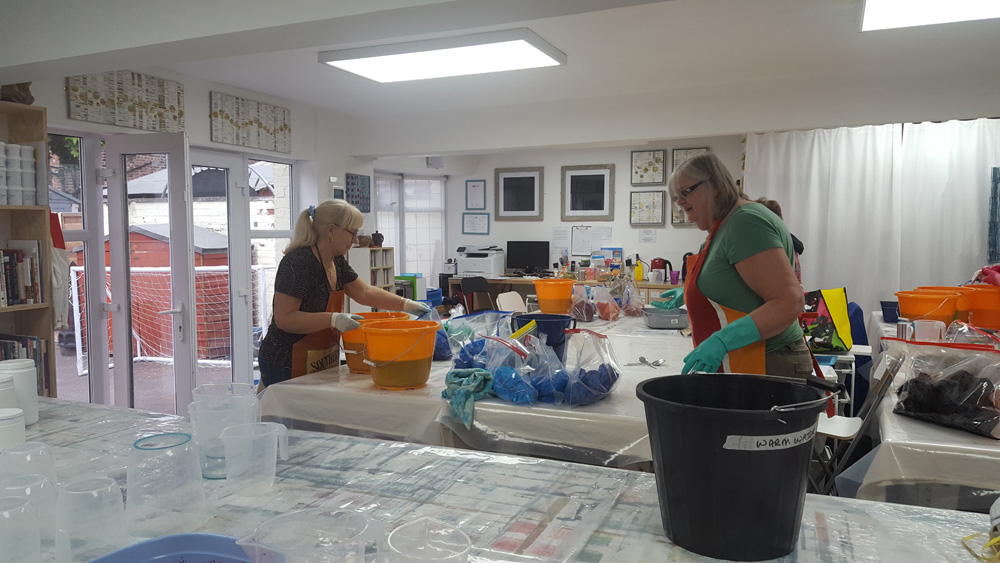
  • Top up the print paste and thickened dyes.

  • Double check that all my screens are really clean - a speck of leftover dye goes surprisingly far.

  • Move Harrogate / show boxes out of the studio into the storage part of the bog shed.

  • Clean the bog shed.

  • Open the Amazon boxes, wrap presents and find somewhere in the studio to hide them away from my grandson.

  • Clean the studio. A bit.

  • Make it look a bit Christmassy (but not too much, bah humbug).

  • Make sure there is a good supply of tea, coffee, juice and biscuits (must hide some of the dark chocolate gingers for the Sunday class). Thought about making mince pies. Decided to do more breakdown printing instead.

  • Get some sleep….

My next Introduction to Surface Design courses will start in February. If you’re interested have a look here. My studio might be a tip today but by Saturday it will be an oasis of calm and creativity. But only if I get a wriggle on …

6 dec 18 3.jpg
Sampling for others

Whatever I have done in life I have always tried to do well; to be the best that I can possibly be. Now I recognise that there are lots of things that I’m never going to be any good at (foreign languages, clean manicured hands, nurturing plants ….) but that’s OK because they are not important to me. However teaching in my studio is important to me so I am striving to be the best that I can be.

I have worked hard to organise and equip my studio so that my students have lots of space to work and so that they don’t have to bring masses of stuff with them. I have had great fun making colour wheels to help and guide my students. And I’ve worked through my lesson plans to make sure I have lots of relevant (and hopefully inspiring) samples. But I realised whilst I was at the Knitting and Stitching Show last weekend that I don’t have enough breakdown printing samples. Don’t get me wrong, I have metres and metres of fabric printed ready for the art I need to make for my solo gallery at next years Festival of Quilts but those fabrics are in ‘my’ colours and have been made using breakdown techniques that fit in with my personal inspirations.

Not everybody wants to see rust and black fabric inspired by the decline in the cotton and mining industries. Strange but true. So this week I have been playing with other types of breakdown printing and with a slightly broader colour palette. I can’t quite bring myself to do pink flower inspired things or green landscape inspired things but I’ve had a thoroughly enjoyable time releasing my inner Jackson Pollock and squirting dye about. I may even let all my inhibitions go and print some screens at wonky angles. Blimey!

Breakdown Printing
3 November 2018 1.jpg

It may be cold and grey outside but it is artfully grey inside! I’ve spent this week breakdown printing using squeezy bottles and wooden printing blocks. All in one single colour - grey. The humble squeezy bottle is such a useful tool. I have collected a range over the years with different size nozzles so I’ve been able to play with scale when using them to draw grids on my screen. And by varying the strength of the dye I have been able to play with value. I’m slowly building a palette of printed fabrics to use together.

3 November 2018 4.jpg

This is the first time I have used wooden print blocks with breakdown printing. I’ve tried a couple of things. Using them to stamp thickened dye onto the screen is quick and easy but it doesn’t get much dye on the screen so I’m only getting 1 or 2 good prints per screen. This would be OK in the summer when you can dry screens really quickly but much slower in the winter. The other way I have used them is to embedded them into a layer of thickened dye. Sometimes on their own. And sometimes combined with a grid on the screen. This shows much more promise.

I love this stage in developing a new series of work. Playing with new ideas. Auditioning fabrics. Stitching samples. Figuring out what is missing and going back to the bench to print more fabric. Figuring out if I need to include fabrics made using other surface design techniques. Who cares if it is cold and grey outside!

And whilst I wait for screens to dry I have been adding workshop dates to my calendar. There are only 3 places left on my Breakdown Your Palette workshops in 2019 so I have just added 2 workshops in 2020. How crazy is it to be planning that far ahead! The sessions are on 18th to 22nd May 2020 and 22nd to 26th June 2020. Details can be found here.

I’ve also added new dates for my 1 day a month Introduction to Surface Design course and over the next couple of weeks will be announcing some new 5 day workshops and, very excitingly, workshops with some wonderful guest tutors. Life is good. Now back to my bench!

3 November 2018 3.jpg
Knitting and Stitching Show at Harrogate
21 October 2018 2.jpg

I really enjoyed having a stand at Festival of Quilts this summer and had a fabulous response to the workshops I offer. So I have taken the plunge (again) and decided to take a small stand at the Knitting and Stitching Show in Harrogate (22nd to 25th November). I am going to be on stand TG626 which is in Hall M where the galleries are. I’m hoping to see lots of familiar faces but, obviously, I’m hoping to also reach a new audience for my workshops.

It is exciting but a little daunting. I am really nervous about the set up and take down - the exhibition centre is right in the centre of Harrogate and doesn’t have much parking attached. Fingers crossed for good weather! This time around I have all the quilts I need to display on the walls but didn’t have much hand dyed fabric ready to sell. These shows are really expensive to do so having something to sell as well as the workshops reduces my anxiety levels considerably. So this last couple of weeks I have been dyeing up a storm! And what fun it has been especially the tray dyeing and ice dyeing. I just love watching the dye travel through the fabric. Some of the pieces are just yummy. The ice dyed piece below is my favourite so far - made with rust brown and petrol green dye powder the colour blending and flow is pure serendipity! And I still have lots of ice in the freezer …….

21 October 2018 1.jpg
A good (two) days dyeing
10 October 2018 2.jpg

This last weekend I had my two ‘Introduction to Surface Design’ groups in the studio for the 2nd session in their ‘day a month for 10 months’ program. I had introduced the groups to dyeing in the first session by having them dye an 18 part colour wheel using the ‘dye in a bag method’. I learnt this way many, many years ago during a workshop with Helen Deighan and still use it today when I want to dye small pieces of fabric.

But in the 2nd session we got into the serious stuff. Each of my lovely ladies dyed 12 x 1/2m pieces using a high immersion bucket method in a dark, medium and light version of a single colour. These pieces will be over dyed with a different colour in the next session to create a colour family of coordinated ‘nearly solid’ fabrics. They then dyed 6 x 1/2m pieces in a gradation using a low immersion technique. And finally I let them loose using multiple colours with tray dyeing and layered dyeing techniques. My goodness but they worked hard! They each dyed over 11 square metres of fabric! And so far they are delighted with the results - it gives me a warm fuzzy feeling when they share photos!

Because I teach by ‘doing’ I dyed fabric using each method each day. So Monday and Tuesday were taken up rinsing, washing and ironing a mammoth 22+ metres of fabric. And I couldn’t be happier. Not everyone likes this bit but I do …. its that sense of a slow reveal as you rinse away unused dye, as the washed fabric drys and finally as you iron it. Life is good.

7 days of bliss
Assessing fabrics against Vestiges, a tiny Ruins piece, in the top right hand corner.

Assessing fabrics against Vestiges, a tiny Ruins piece, in the top right hand corner.

Maybe I am just easily pleased but the last 7 days have been wonderful! I set my teaching ‘stuff’ aside and have immersed myself completely in printing (and dyeing) fabrics for the next pieces in my Ruins series. I also took the opportunity to include a couple of lazy mornings and have ‘allowed’ myself to finish early in the evenings. Frankly I have been working long days in recent months to get the teaching / studio launched and needed a little holiday.

I also needed to get back to making art and this has been the kick start I needed. Lots of September sunshine helped dry breakdown screens quickly and meant that I could soda soak and dry fabrics easily. A couple of pieces still need to batch overnight, and I have a small mountain of fabric to rinse, but I am a very happy artist today. I have printed / dyed about 20 square metres of fabric. I may need to tweek the colour balance slightly but I have the basis for the Ruins pieces that I will be creating for my solo exhibition at next years Festival of Quilts.

Although breakdown printing is the back bone of the Ruins series I have always included other surface design techniques. My work can be quite incestuous - I take photos of breakdown screens and breakdown printed fabrics and use them to create thermofax screens which then get used to print more Ruins fabrics. Love it!

I need to get back to teaching ‘stuff’ and a building project next week but I’ll be leaving all my new fabrics pinned up on my design wall to inspire me!

30 Sept 2018 4.jpg
30 Sept 2018 2.jpg
Simply Screen Printing
Hilary Kimber: open screen over a string resist

Hilary Kimber: open screen over a string resist

I ran my first two day screen printing workshop this last weekend and loved every minute of it. With only two days it was difficult to know what to include. I started with a focus on using temporary resists that are readily available and relatively cheap; masking tape, freezer paper and sticky back plastic. You could probably spend two days just on masking tape resists but I wanted the students to go away with a sense of the range of options open to them. Their work was wonderfully varied.

Judy Tomlinson: masking tape resist pulled through with three values of turquoise and yellow giving some lovely greens

Judy Tomlinson: masking tape resist pulled through with three values of turquoise and yellow giving some lovely greens

Jean Martin and Judy Tomlinson: masking tape resist pieces

Jean Martin and Judy Tomlinson: masking tape resist pieces

We moved on to breakdown printing - where the thickened dye / print paste that is dried on the screen acts as a temporary resist. The weather wasn’t kind but the screens just about dried over night. I loved hearing the students ohhs and ahhs and can’t wait until next May when I teach my 5 day Breakdown Your Palette class.

We looked at different ways of using an open screen - on pinned out fabric, on scrumpled fabric and, with wonderful results, onto fabric with string on the surface. Love Hilary’s piece! And somehow we found time to play with thermofax screens.

It gave me a warm fuzzy feeling seeing the groups confidence grow in the two days! I am so glad that I took that big step into teaching. The next two day class in February is already full but there are still places on the workshop in 27th and 28th April 2019. Can’t wait.

Anita Bennett: using thermofax screens to create texture

Anita Bennett: using thermofax screens to create texture

Maggie Pearson: repeated layering of a thermofax screen

Maggie Pearson: repeated layering of a thermofax screen

Time to Play

Not too long ago I had a full time job that involved long days and frequent trips away from home. My art had to fit around the job and, of course around my family. I averaged 18 - 19 hours per week in my studio but in order to achieve what I wanted to achieve in that time I had to be very, very focused. I worked hard to eliminate 'distractions' and very rarely allowed myself to play with techniques or materials that didn't fit in with the different series of quilts I was working on at the time.  

That level of focus allowed me to achieve so much and helped me to develop a way of working that was uniquely me. But now that I am a full time artist and teacher things are very different - I can spend 40-45 hours a week in the studio and still have time to sit in the garden reading or watch a movie in the evenings! Needless to say, my family has had to 'adjust' to seeing so much of me. And although I have been super busy these last few months preparing classes and getting the studio ready for students I can now allow myself time to play. 

This week I have been playing with Indigo dyeing. Whilst I really like the way Indigo is used by Mags Ramsay and by Elisabeth Barton it is not a technique I have ever incorporated in my work. But I have included it in my Colour Your Palette 5 day retreat as an alternative to Procion dyeing so thought I better spend some time exploring it further. I spent a couple of quiet evenings preparing samples then, on Thursday, went to visit my good friend Ruth Brown where we prepared the Indigo vat and dyed the samples. Ruth is a great teacher and was very relaxed when I splattered her beautiful new studio - Indigo dyeing is rather messy! The results I got were mixed. Some pieces worked well, others didn't. I found that Indigo doesn't penetrate as well as Procion when using clamp resist or when winding cloth tightly around a pole, probably because you can't agitate your dye bath to help the dye penetrate. I'll adjust for that next time. I also found that a piece of Procion dyed Magenta cloth partially discharged in the vat as well as dyeing. This definitely needs further experimentation. More play time!

And not forgetting - Colour Your Palette
resist dye.jpg

Not everybody loves breakdown printing or wants to use screen printing to create their cloth. And so I have developed a second five day retreat, Colour Your Palette, that is focused on the addition of colour through dyeing, resist dyeing and the removal of colour using different discharge processes. Although most of the fabrics I have used in my work in recent years are breakdown printed I do include complimentary fabrics that have gone through dyeing and discharge processes. For me it is important to have a broad range of techniques at my finger tips so that I can select the technique that will give me the affect that I am looking for. 

The aim of this five day course is to create a palette of coordinated plain and patterned fabrics based on your own source of inspiration.  Students will be encouraged to create beautiful complex cloth by putting pieces through multiple processes. Where appropriate we may use other surface design techniques such as thermofax printing to add detail to our cloth.

And, because I love colour, this course will be driven by colour - understanding how to mix simple and complex colours from primaries and working with a restricted set of colours or a colour family to create pieces of fabric that work together. We will exploit the transparency of Procion dyes by blending colour directly on the cloth as we put fabric through multiple processes. 

There are other ways to add colour to cloth that give lovely effects. We will look at two alternatives during the five days - indigo dyeing and rust-like dyeing using Ferrous Sulphate - and how they can be combined with Procion dyeing. It will be a full-on, fun packed week. The studio will be a riot of colour and I can't wait!

DSC_0244.jpg