Posts in Studio
A matter of convenience
DSC_0608.jpg

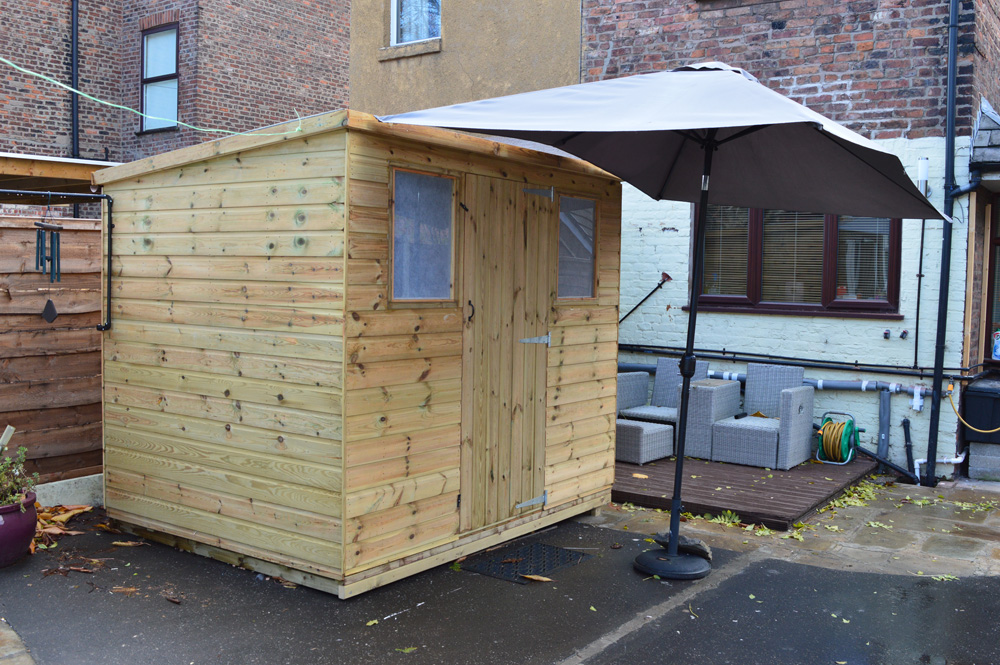
Using the magic that is scheduled posts I thought I would share the story of the bog shed with you whilst I am busy peddling my wares at the Knitting and Stitching Show in Harrogate. Yes I am talking toilets. Or bogs as us Brits sometimes call them. Specifically I am talking about a toilet in a shed. A bog shed.

(Bogshed were a very noisy punk band, much loved by my husband, much less loved by me).

When we built my studio a few years ago it was just for me so we didn’t bother plumbing in a bathroom. Instead I learnt to make art in two hour sessions. That being the cycle time to make coffee, drink coffee and for my middle aged bladder to want rid of coffee. It was very tempting to pee in a bucket rather than run the 10 metres or so to the house when it was cold and raining but the system worked.

Until I decided to teach in my studio. We quickly dismissed the idea of using a toilet in the house - we have 2.5 bathrooms but none on the ground floor; husband is rarely ‘human’ before midday and could scare the uninitiated; grandson litters the house with lego and other death traps; and I would have to clean my house loads. (The last reason was the real decider). Option 2 was to built a bathroom in the corner of the studio. But that would have meant sacrificing part of my giant print bench and part of the design wall. Nope. So we settled on option 3 - an outside toilet. Which is kind of funny because our Victorian house actually had an outside toilet when we brought it but we took it down so that we could add another window in the kitchen.

We needed to keep cost down so my father-in-law, Bernard, and son, Joe, took on the project. We lovingly(!) refer to them as ‘bodger and badger’ which will probably only mean anything to those of you in the UK and of a certain age. (Barry Chuckle RIP).

In the meantime my lovely students had to use a portaloo. A very nice one that was serviced and cleaned every week by a lovely man but did start to feel a bit drafty as we moved into autumn. Thank you to the weather gods for giving us mild, dry teaching days!

DSC_0421.jpg
DSC_0419.jpg

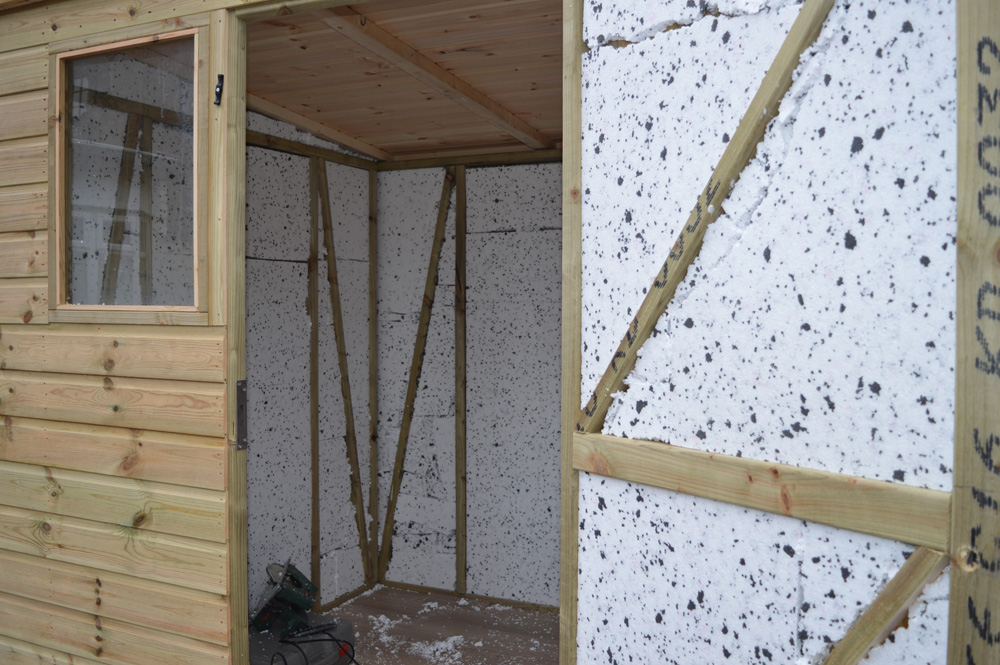
On paper we only needed a very small shed but then I thought about the added storage potential if we went a bit bigger. And so a 6ft x 8ft shed was ordered and five weeks later it was delivered and installed. Then the fun began. I kept the studio door firmly closed and tried to ignore the crashing and swearing. I did consider leaving the country but thought that might appear a little ungrateful.

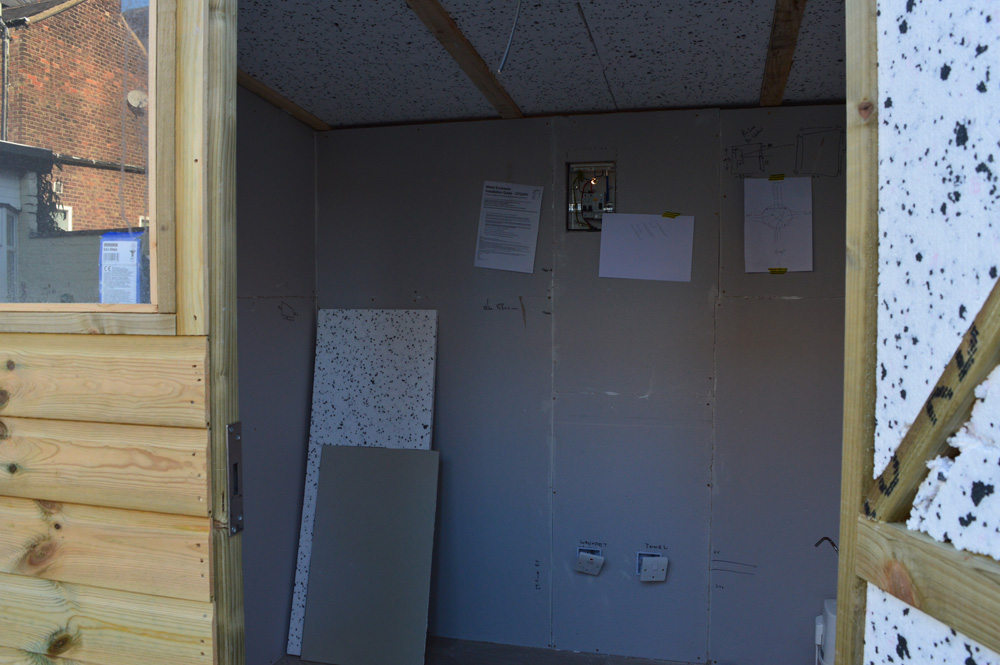
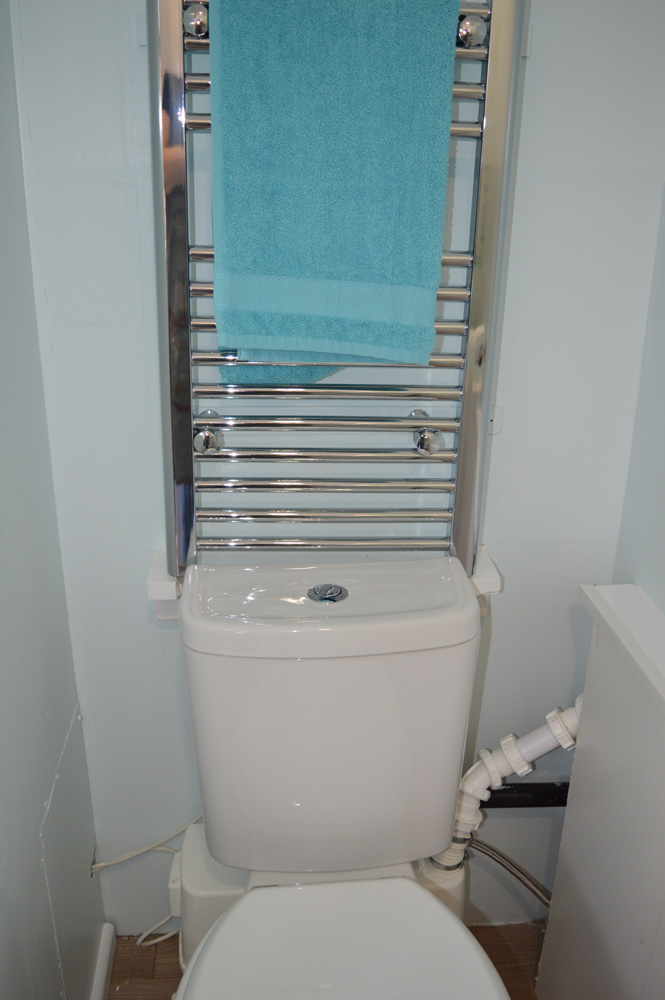
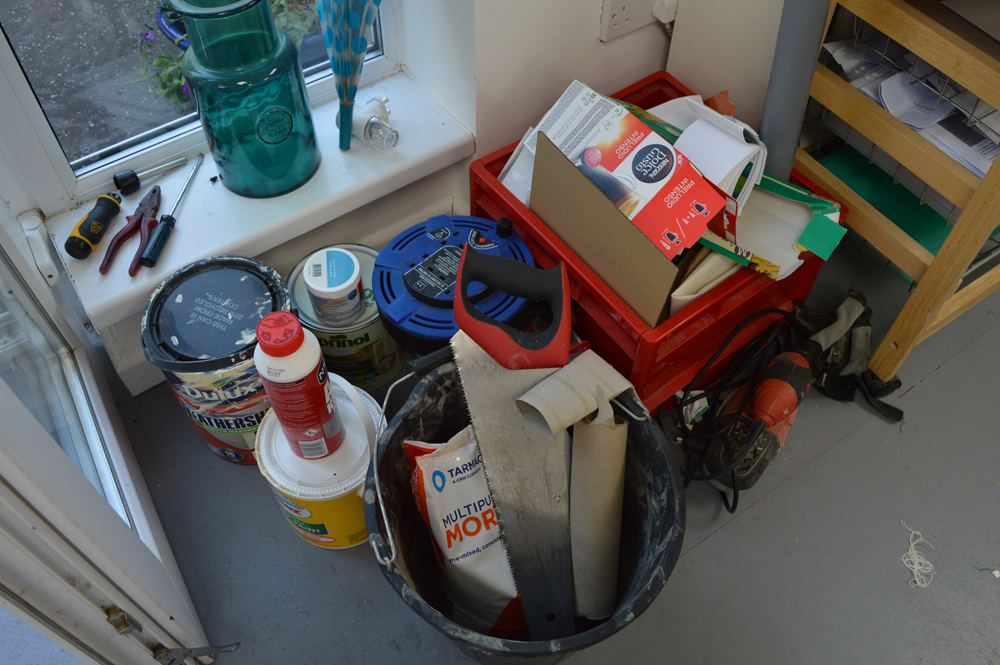
First there was insulation. Floor, walls, ceiling, even the door got insulated - snow came early as the garden filled up with polystyrene balls. Then there was flooring, plasterboard, wiring and long consultations about where the toilet and hand basin should go.

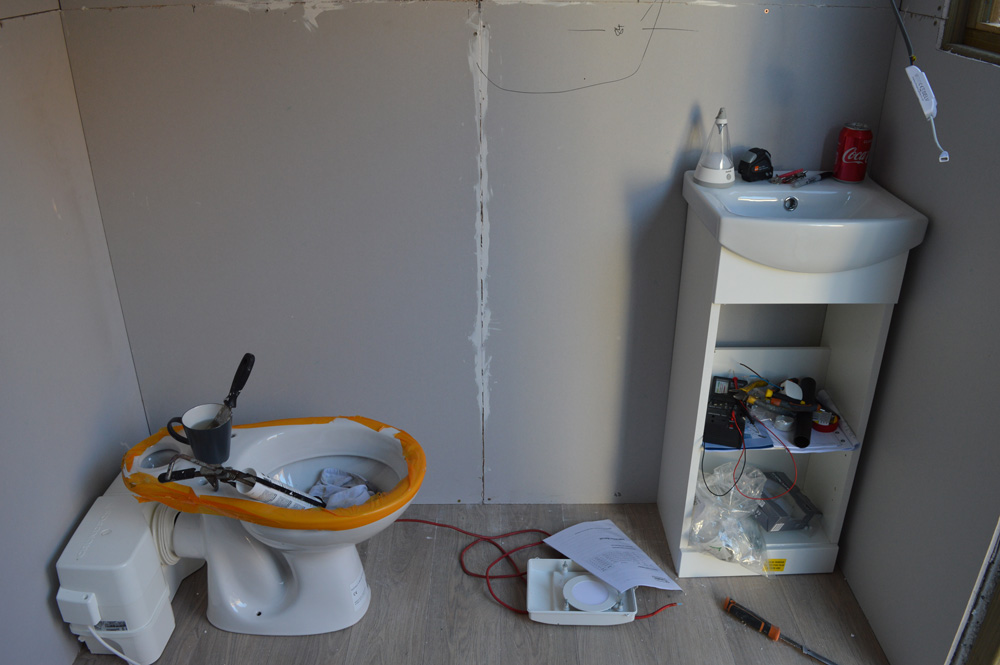
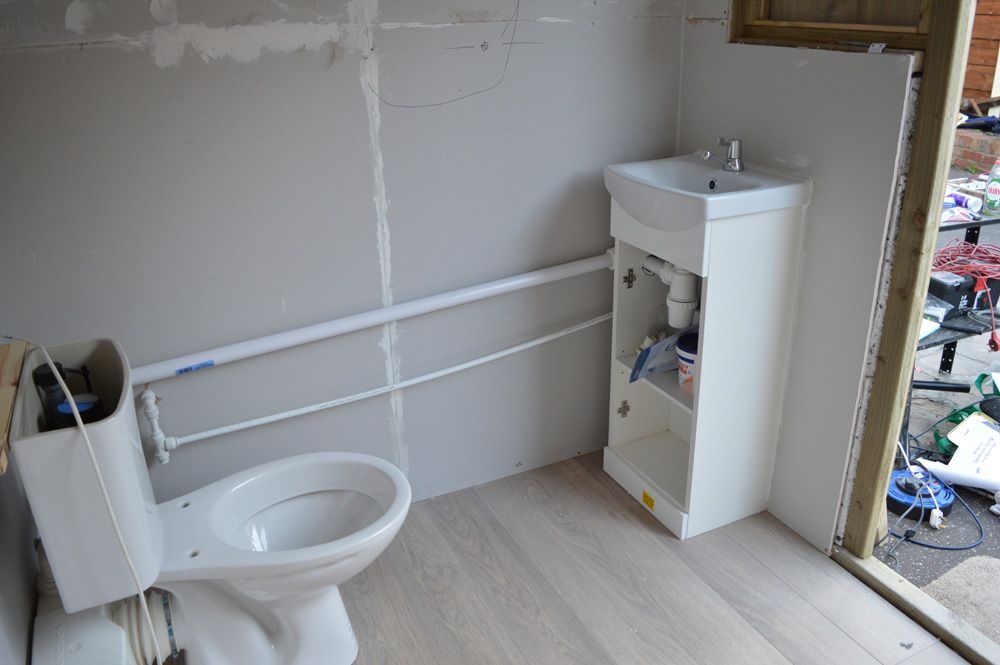
Daily trips to B&Q brought more and more lengths of pipe, plastic brackets and bends along with enough electrical cable to surely rewire the whole street but eventually the shed was plumbed and powered up. It was tested by the grandson who, like all 9 year olds, couldn’t aim for toffee. He was officially banned from the bog shed.

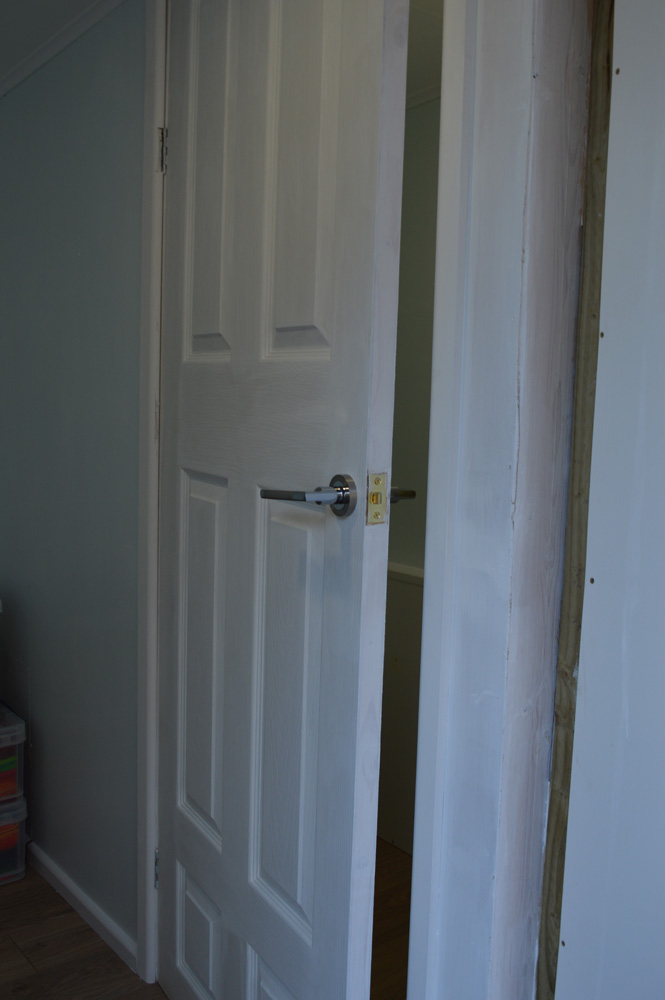
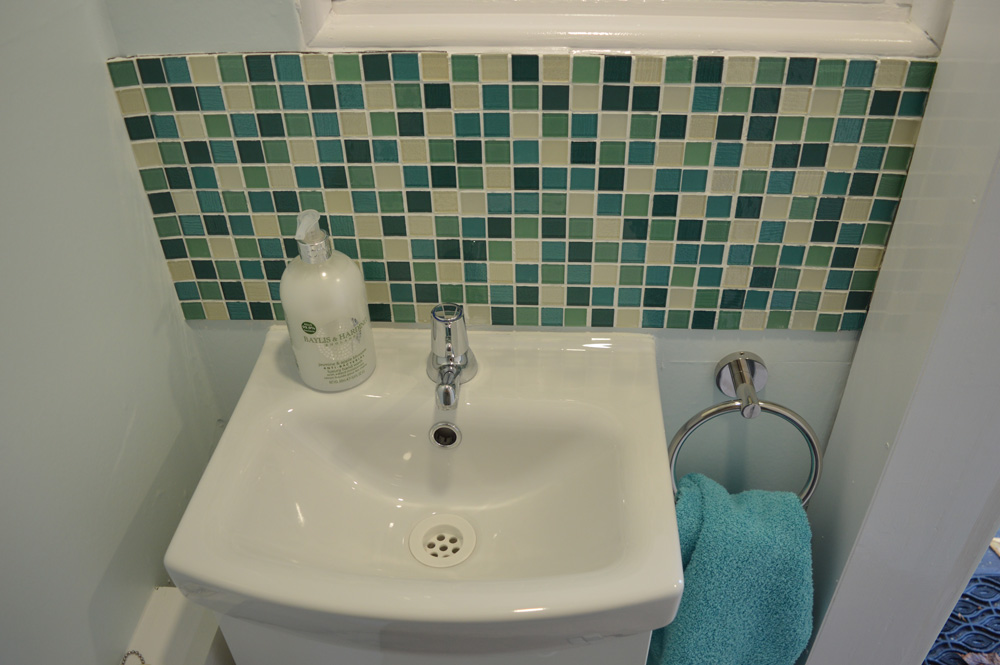
A small dividing wall and internal door were added to give a better sense of privacy. Yes, the door is on upside down - there was a reason for this I’m sure. And then it was time for me to start painting and tiling (no way was I letting bodger or badger loose with a paint brush). Some nice soap and towels. Just in time for my day a month students to use a couple of weeks ago. The bog shed is officially open (except to Riley who is still banned).

Creative Surface Design
DSC_0021.jpg

I’ve just finished setting up the studio for this weekends classes with my day a month Introduction to Surface Design students so it seemed like a great time to tell you about my new course - Creative Surface Design which starts in September 2019. I have developed the course for those of you who have had exposure to lots of different surface design techniques and have a head full of ideas but are not sure how to transfer ideas into finished cloth.

The course will be run over 5 weekends spread over an 8 month period. I’ve chosen this format rather than a day a month as being able to leave work on the bench and come back to it the next morning allows for deeper exploration of an idea; it allows you to take your time rather than hurrying to finish. Because I am ‘me’ the course will start with a focus on colour and the power of using a restricted colour set or family. There is a loose structure for each weekend but the exact content will be largely driven by the individual students. I’ll give demonstrations as needed but I am assuming a basic understanding of dyeing and printing techniques.

I’ve mentioned before in this blog that I’m not a ‘sketchbook’ type of person as I tend to work directly, intuitively onto fabric with a lot of my design process happening in my head. But I do keep a journal where I write down ideas, and importantly, where I critique my own work. I will be encouraging students on the Creative Surface Design course to keep some form of personal record - whatever form they are comfortable with - and will have a one to one review with each student each weekend to support them as they develop their ideas and their own way of working.

All the details are on my website. Or, maybe you can come see me at the Knitting and Stitching Show in Harrogate, 22 to 25 November, stand TG626!

9 November 2018 1.jpg
Simply Screen Printing
Hilary Kimber: open screen over a string resist

Hilary Kimber: open screen over a string resist

I ran my first two day screen printing workshop this last weekend and loved every minute of it. With only two days it was difficult to know what to include. I started with a focus on using temporary resists that are readily available and relatively cheap; masking tape, freezer paper and sticky back plastic. You could probably spend two days just on masking tape resists but I wanted the students to go away with a sense of the range of options open to them. Their work was wonderfully varied.

Judy Tomlinson: masking tape resist pulled through with three values of turquoise and yellow giving some lovely greens

Judy Tomlinson: masking tape resist pulled through with three values of turquoise and yellow giving some lovely greens

Jean Martin and Judy Tomlinson: masking tape resist pieces

Jean Martin and Judy Tomlinson: masking tape resist pieces

We moved on to breakdown printing - where the thickened dye / print paste that is dried on the screen acts as a temporary resist. The weather wasn’t kind but the screens just about dried over night. I loved hearing the students ohhs and ahhs and can’t wait until next May when I teach my 5 day Breakdown Your Palette class.

We looked at different ways of using an open screen - on pinned out fabric, on scrumpled fabric and, with wonderful results, onto fabric with string on the surface. Love Hilary’s piece! And somehow we found time to play with thermofax screens.

It gave me a warm fuzzy feeling seeing the groups confidence grow in the two days! I am so glad that I took that big step into teaching. The next two day class in February is already full but there are still places on the workshop in 27th and 28th April 2019. Can’t wait.

Anita Bennett: using thermofax screens to create texture

Anita Bennett: using thermofax screens to create texture

Maggie Pearson: repeated layering of a thermofax screen

Maggie Pearson: repeated layering of a thermofax screen

Living the dream!
2 August 2018 1.jpg

This time next week Festival of Quilts will be in full swing and the halls at the NEC, Birmingham will be buzzing with 1000's of quilters, embroiderers and textile enthusiasts. There will even be a handful of long suffering husbands and partners ... And I will, hopefully, have lots of visitors to my stand H35. My life plan didn't have me doing this until I was in my early 60's but life is never a straight line and so here I am and I couldn't be happier. I will turn 55 next Thursday and have already given myself the best present ever by deciding to become a full time artist and teacher. 

Deciding to take a stand at Festival at such short notice has meant that I've been working long, long hours in the studio. Being me I marked out my stand full size, decided what size tables would work and spent a really lovely few hours figuring out how to display my hand dyed fabrics. I folded fabric, I printed labels, I wrote and printed wash care slips, I ordered black fabric to use as table cloths, I brought some paper bags, I created a blog subscription sign up sheet and, one that I hope gets used lots, I made a workshop sign up sheet. 

2 August 2018 2.jpg

I marked out the three walls of my stand on my design wall and went through my older quilts to see what might fit and look good. Most of my recent work is just too big but I did have a small Ruins piece that never got exhibited so, after fusing on 'urban studio north', this has become the centre piece of my display. I didn't have the right mix in my existing pieces so have had to make two quilts - Off The Grid which is a rather nice example of breakdown printing and Pass The Tequila which showcases a tray dyed piece of fabric. I've also made a funky little 'workshop' quilt. It has been a long time since I worked on anything that wasn't part of a series or destined for an exhibition and really enjoyed making them. It's been fun.

I've also decided to develop a couple of 5 day retreats for 2019. The first one will be called 'Breakdown Your Palette' and will focus on breakdown printing and the benefits of using a limited selection of colours to create a cohesive collection of fabrics that can be used as whole cloth, pieced or used as yardage for clothing. The second will be called 'Colour Your Palette' and will focus on the addition and removal of colour through various dyeing and discharging methods. Again the emphasis will be on creating fabrics that work together. Both will be launched at Festival. 

Oh yes and I also heard last week that I will have a solo gallery at Festival 2019! Super excited! Going to be super busy! The Art gods have been shining on me - I am living my dream!

2 August 2018 3.jpg
Ta da - presenting Urban Studio North
Urban Studio North 1blog.jpg

Last Monday was an important day. It was the day when everything that needed to find a home in the studio had a home, everything that needed removing was removed, everything that needed a label had a label and everything that needed cleaning had been cleaned. Yes, even the windows! It was the day that my beautiful studio was ready for it's first students! 

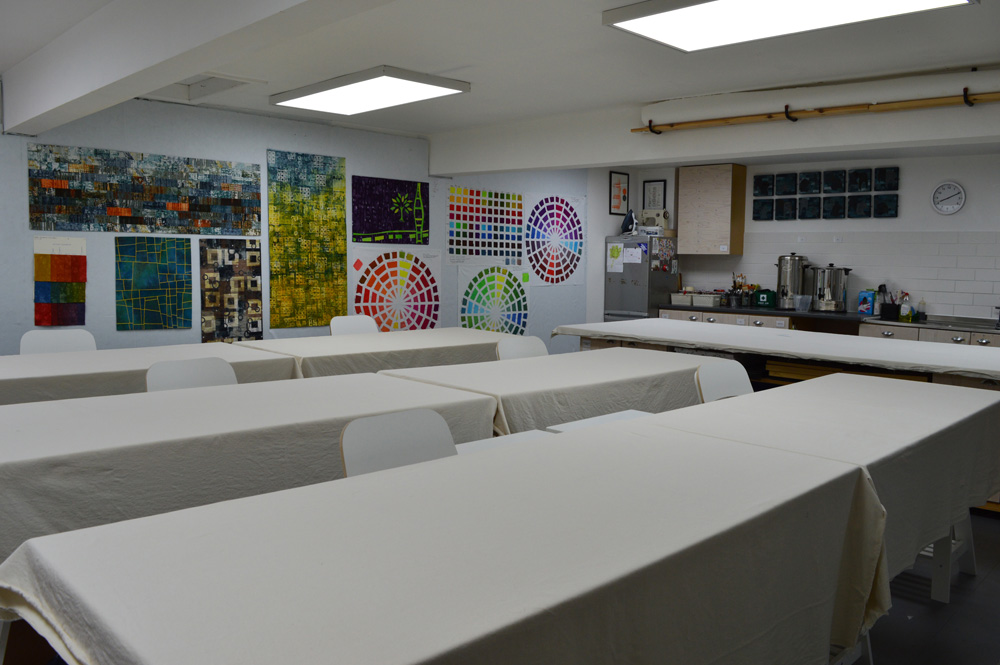
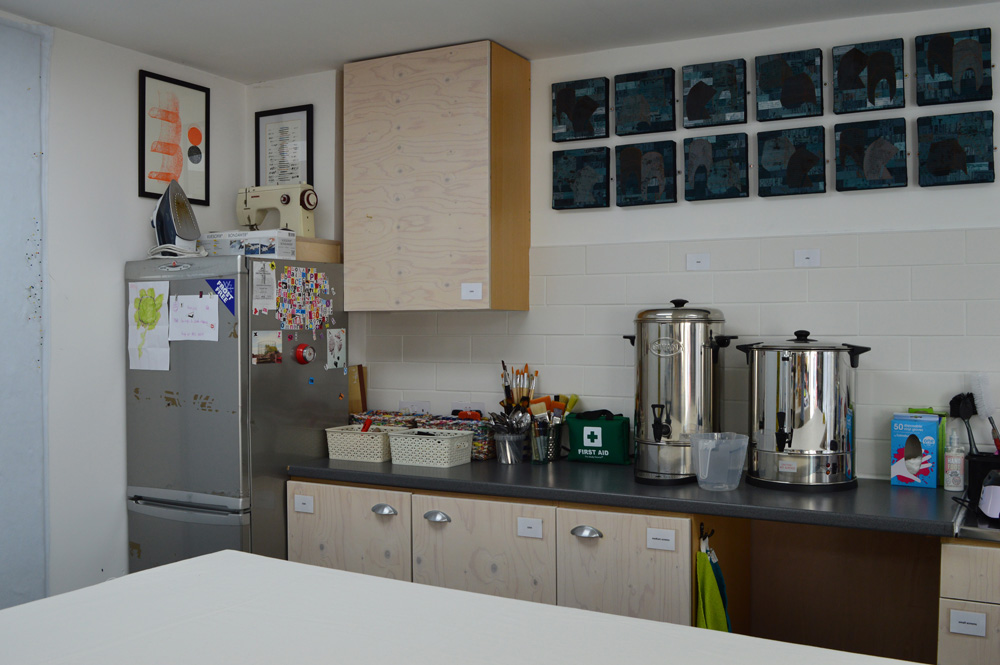
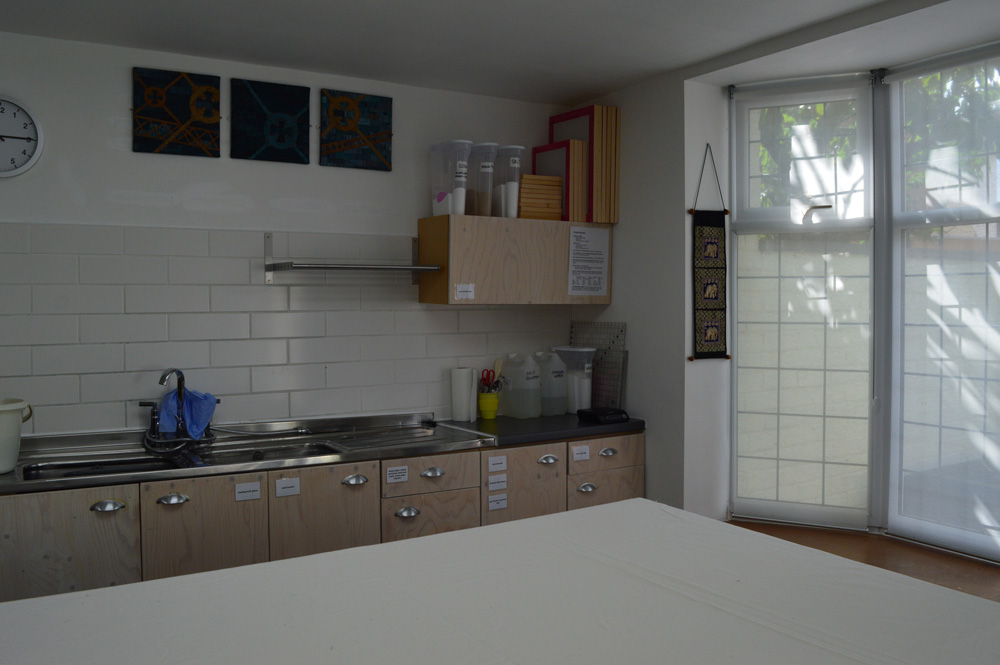
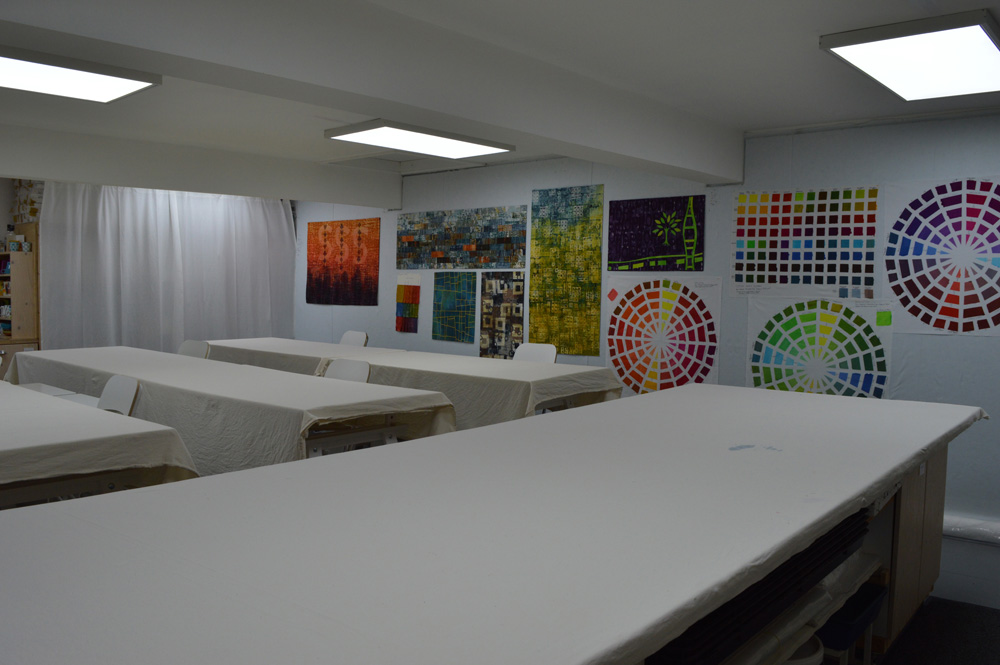
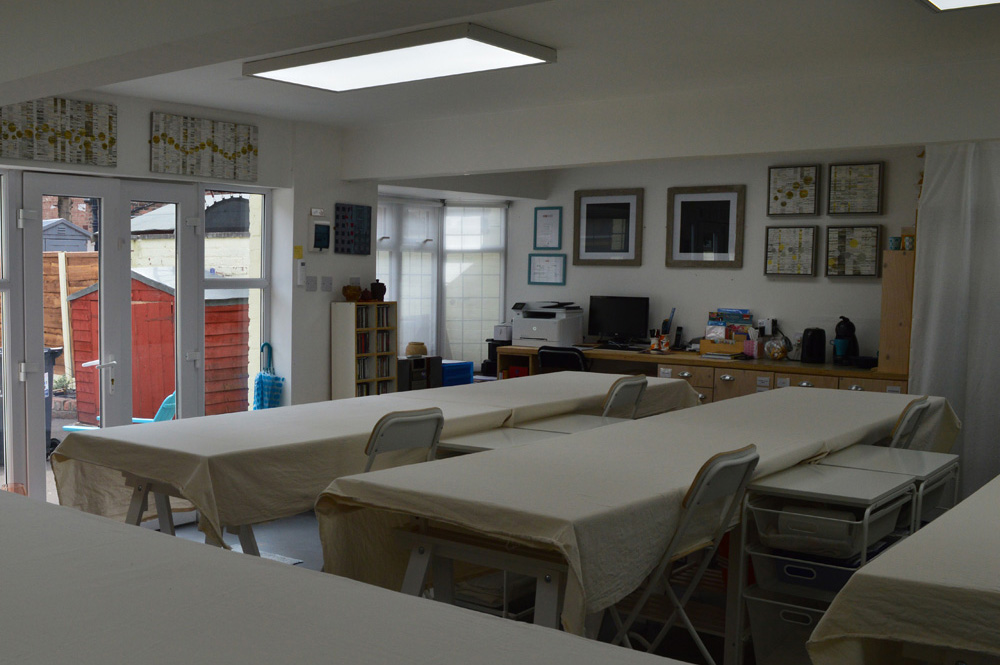
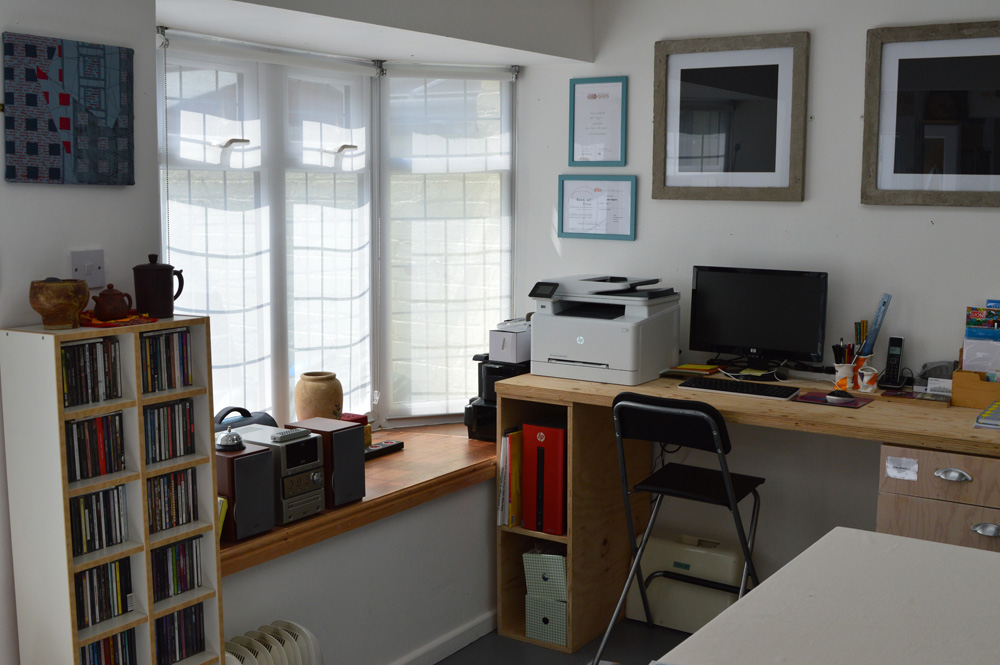
It will probably never look like this again; all those virgin drop cloths will soon be covered in random colourful marks for a start. But for now let me walk you through it. The studio is 8.5 metres wide by 5.5 metres deep. One long wall faces south and contains two bay windows and a set of french doors - so lots and lots of natural light which is supplemented by six large LED ceiling panels. The long back wall is mostly a design wall, useful for putting up teaching aids and looking at students work. One side wall is the 'wet' area with two sinks, two tea urns for hot water, a fridge, cupboards and counter top. I still need to install a washing machine. The other side wall is the 'dry' area. This is where my PC and laser printer sit. It is where I store all my finished work and work in progress behind a white curtain that can also double as a design wall. And the very important bit - it has the tea and coffee area! In between there is my large print bench with cupboards and shelves underneath. And six student 'work stations, each with height adjustable 180 x 80cm bench, stool and storage trolley. 

Urban Studio North 2 blog.jpg

I want to provide all the equipment and media needed for each of the workshops. Wherever possible the 'requirements' lists will be limited to fabric, the means to take work home, apron and notebook. Most of my workshops are suitable for beginners who might not want to buy a lot of stuff up front - although I'm going to work really hard at getting them / you all thoroughly hooked on dyeing and printing!

Have a look at my workshops at www.leahhiggins.com/workshops and I hope to welcome some of you soon in the Urban Studio North.

So nearly there

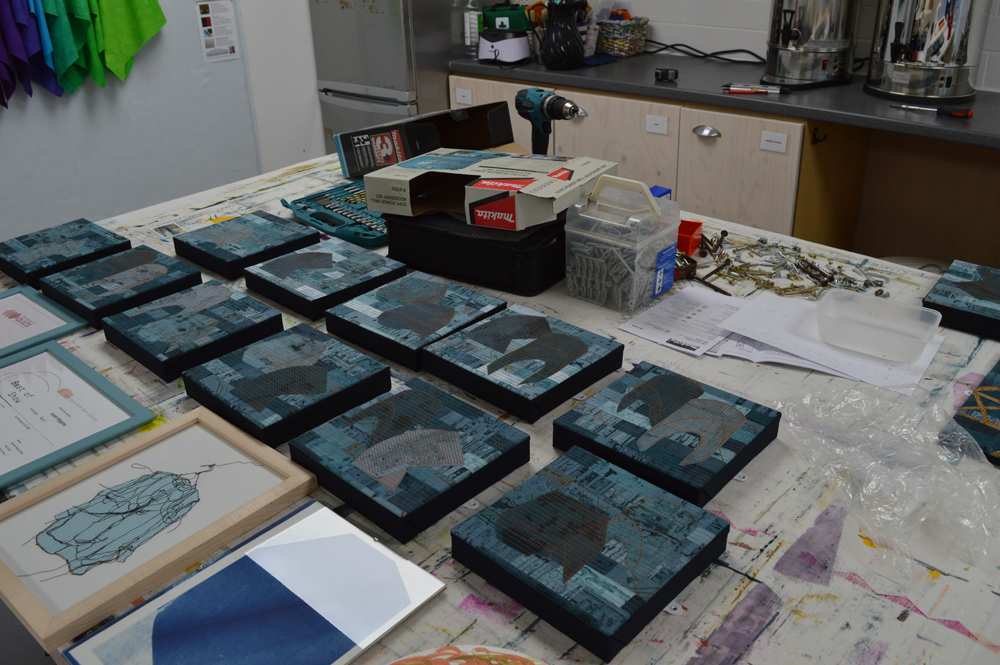
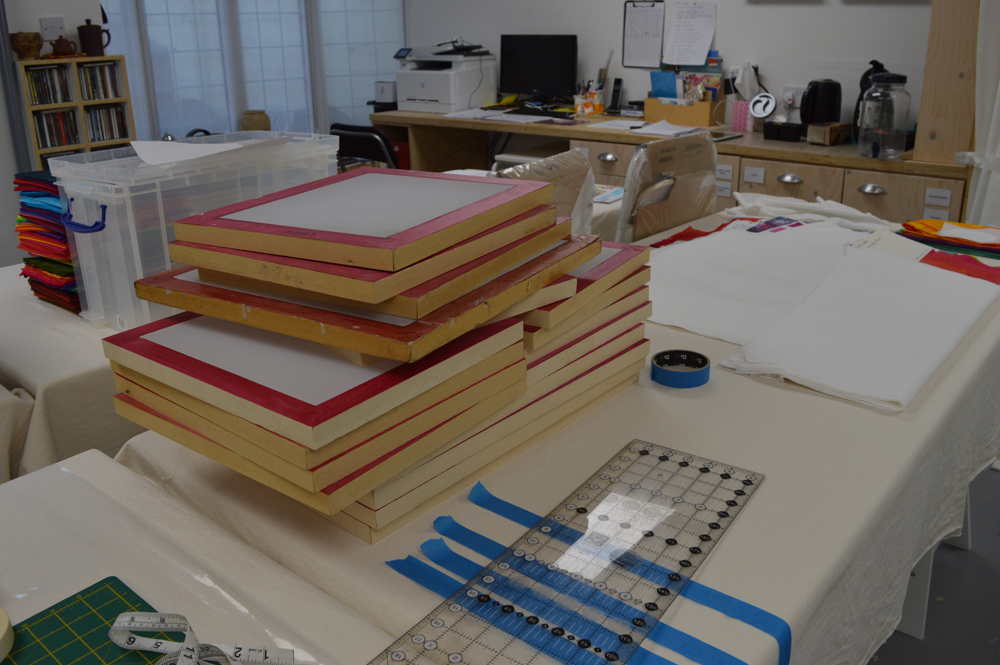
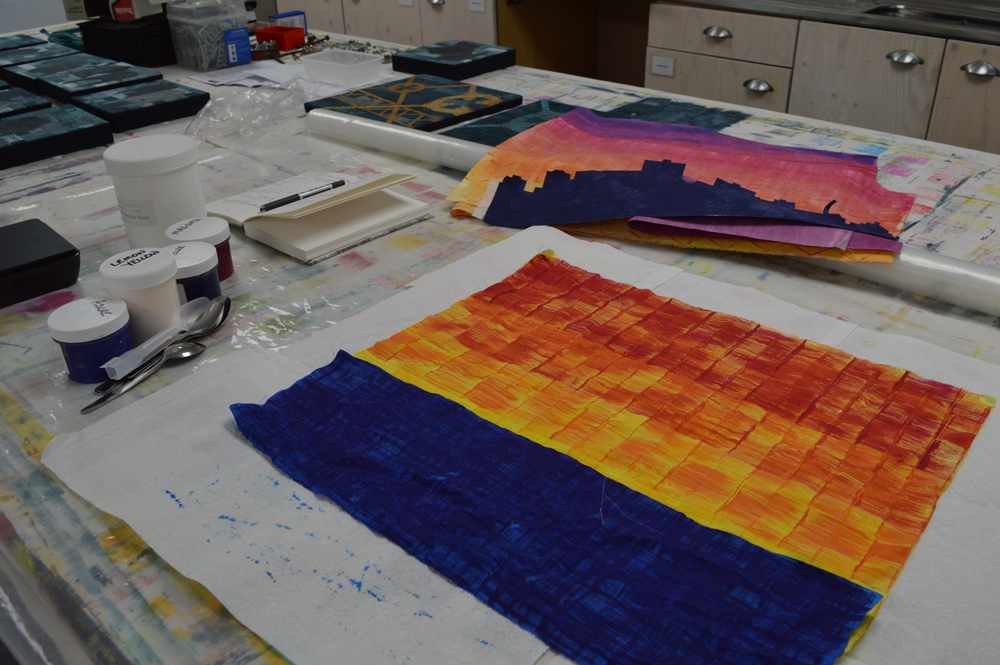
I am hot, I am sweaty and I am surrounded by chaos. But actually the studio is just a whisper (and a few hours work) away from being ready to welcome my first students. My Urban Studio North now contains 6 lovely, height adjustable print benches, each with their own stack of washed drop clothes. Each 'workstation' has a stool (albeit 4 still need putting together) and a wheeled trolley that contains / will contain cat litter trays, lots of pots with lids, tile grouters (the sensible persons cheap screen squeegee), lots of spoons, masking tape, pins and scissors. And lots of space for students to put their stuff. Each workstation will also have buckets. Partly I want to reduce the amount of time students spend fetching stuff the stuff that they are most likely to use but also because I don't have the cupboards or shelves to store everything I will need to teach surface design.

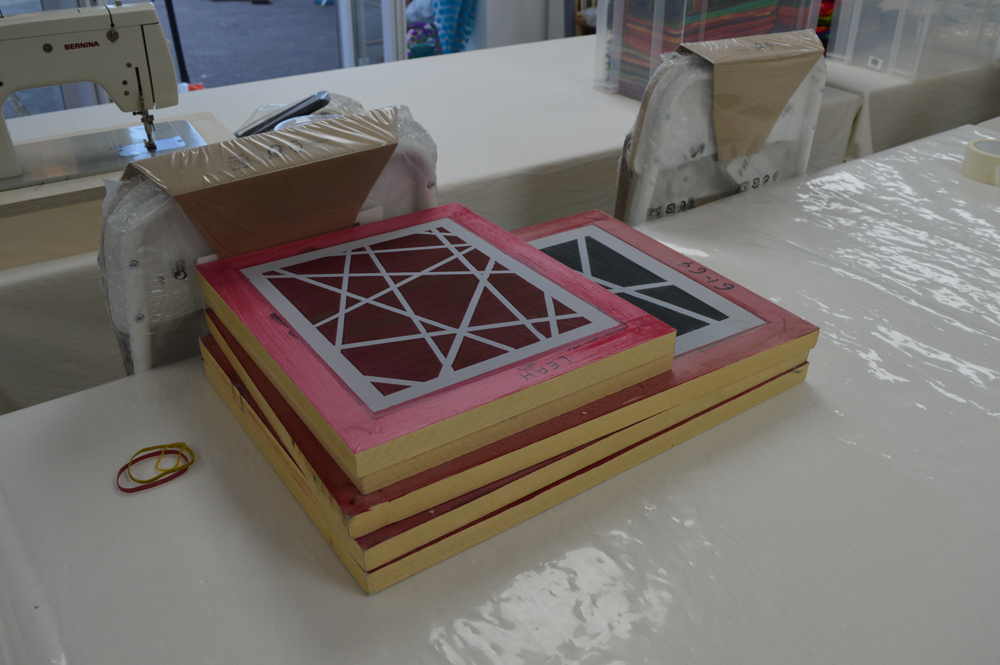
I still have a list of things to buy but all the 'big' stuff is now in the studio. Dyes, screen printing inks, fabric, screens are all in place. Over the next week I want to turn chaos into a calm, tidy oasis of potential creativity. But to get there I need to hang lots of my art, scour and varnish the new screens, clear out all the stuff that shouldn't be in the studio and clean. Boy, do I need to clean!

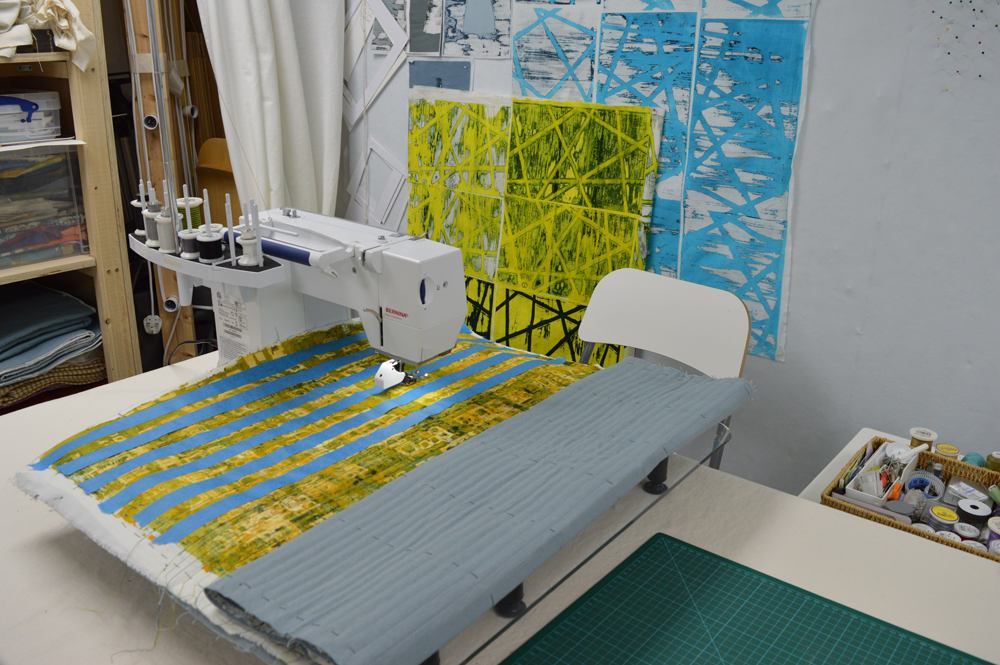
In amongst the chaos I have been developing a mini-workshop to give at the ICHF shows and stitching pieces ready for my stand that show various aspects of surface design. I have even found a few hours to try out some new breakdown printed ideas. This lovely hot spell is perfect breakdown weather with my screens drying in a few hours. Just need to find the time, and clear bench space to print that latest set ....