Posts in Techniques
I don't want to jinx it but .....
13 April 2020.jpg

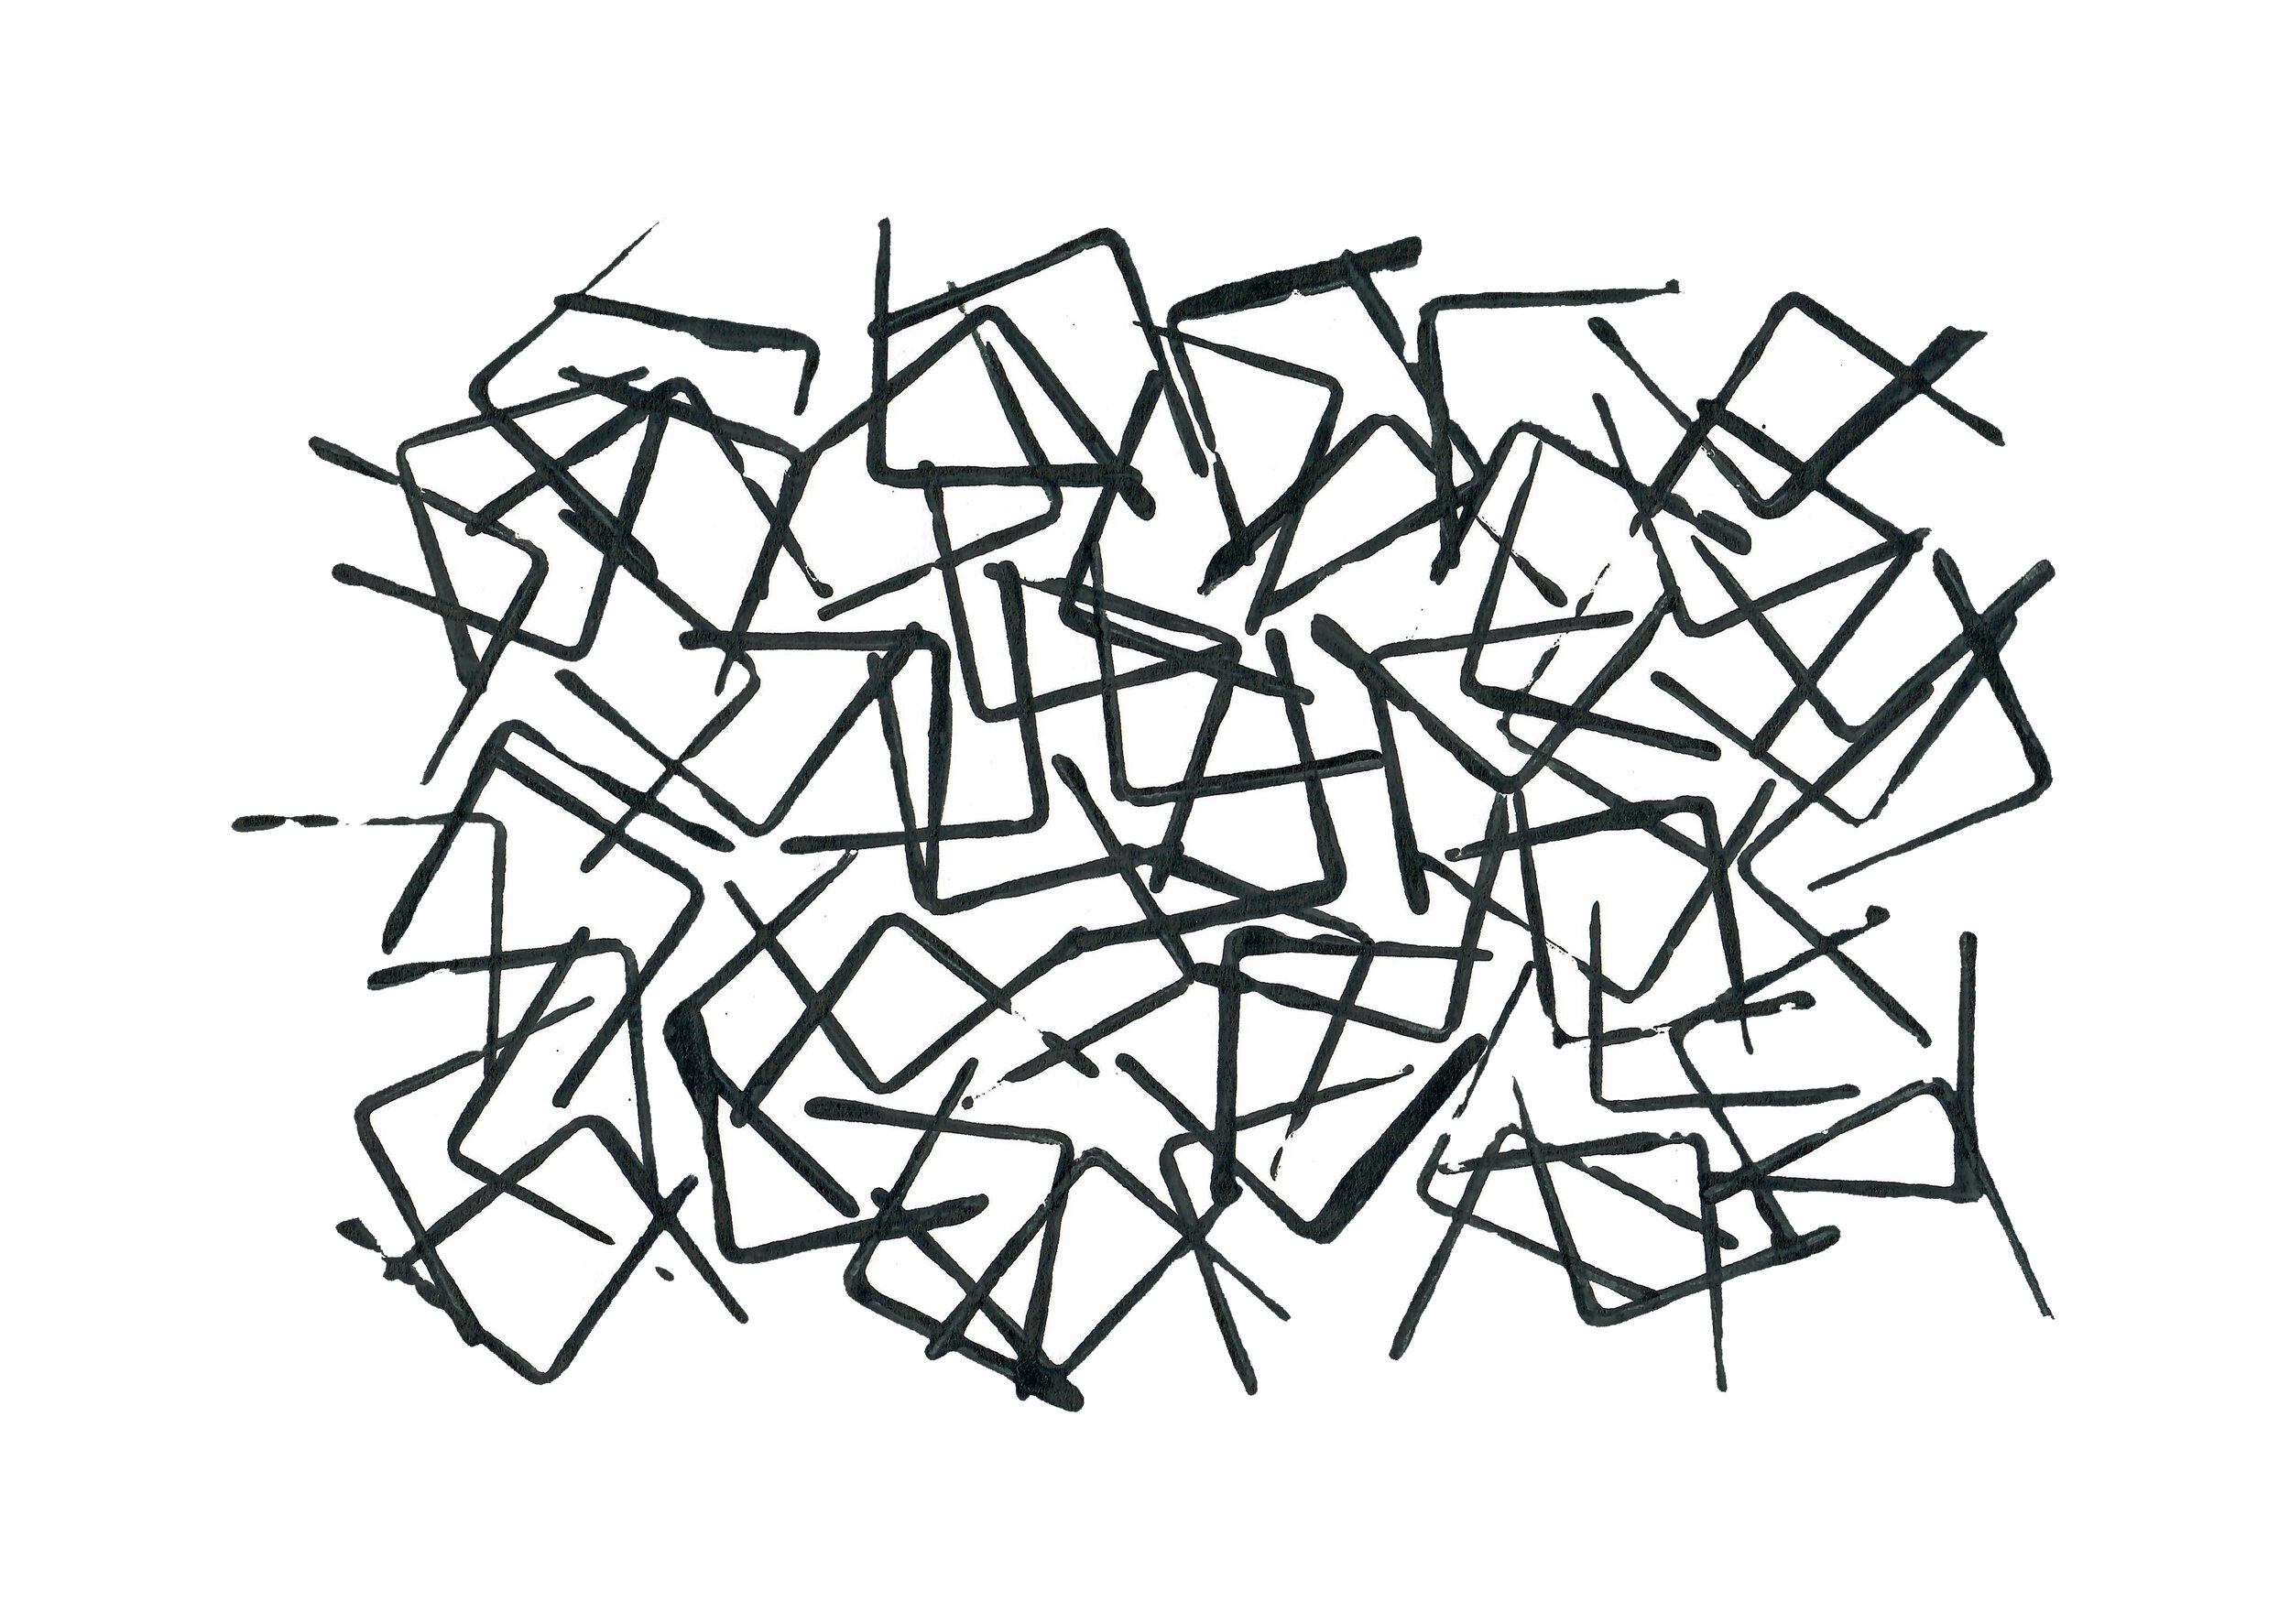
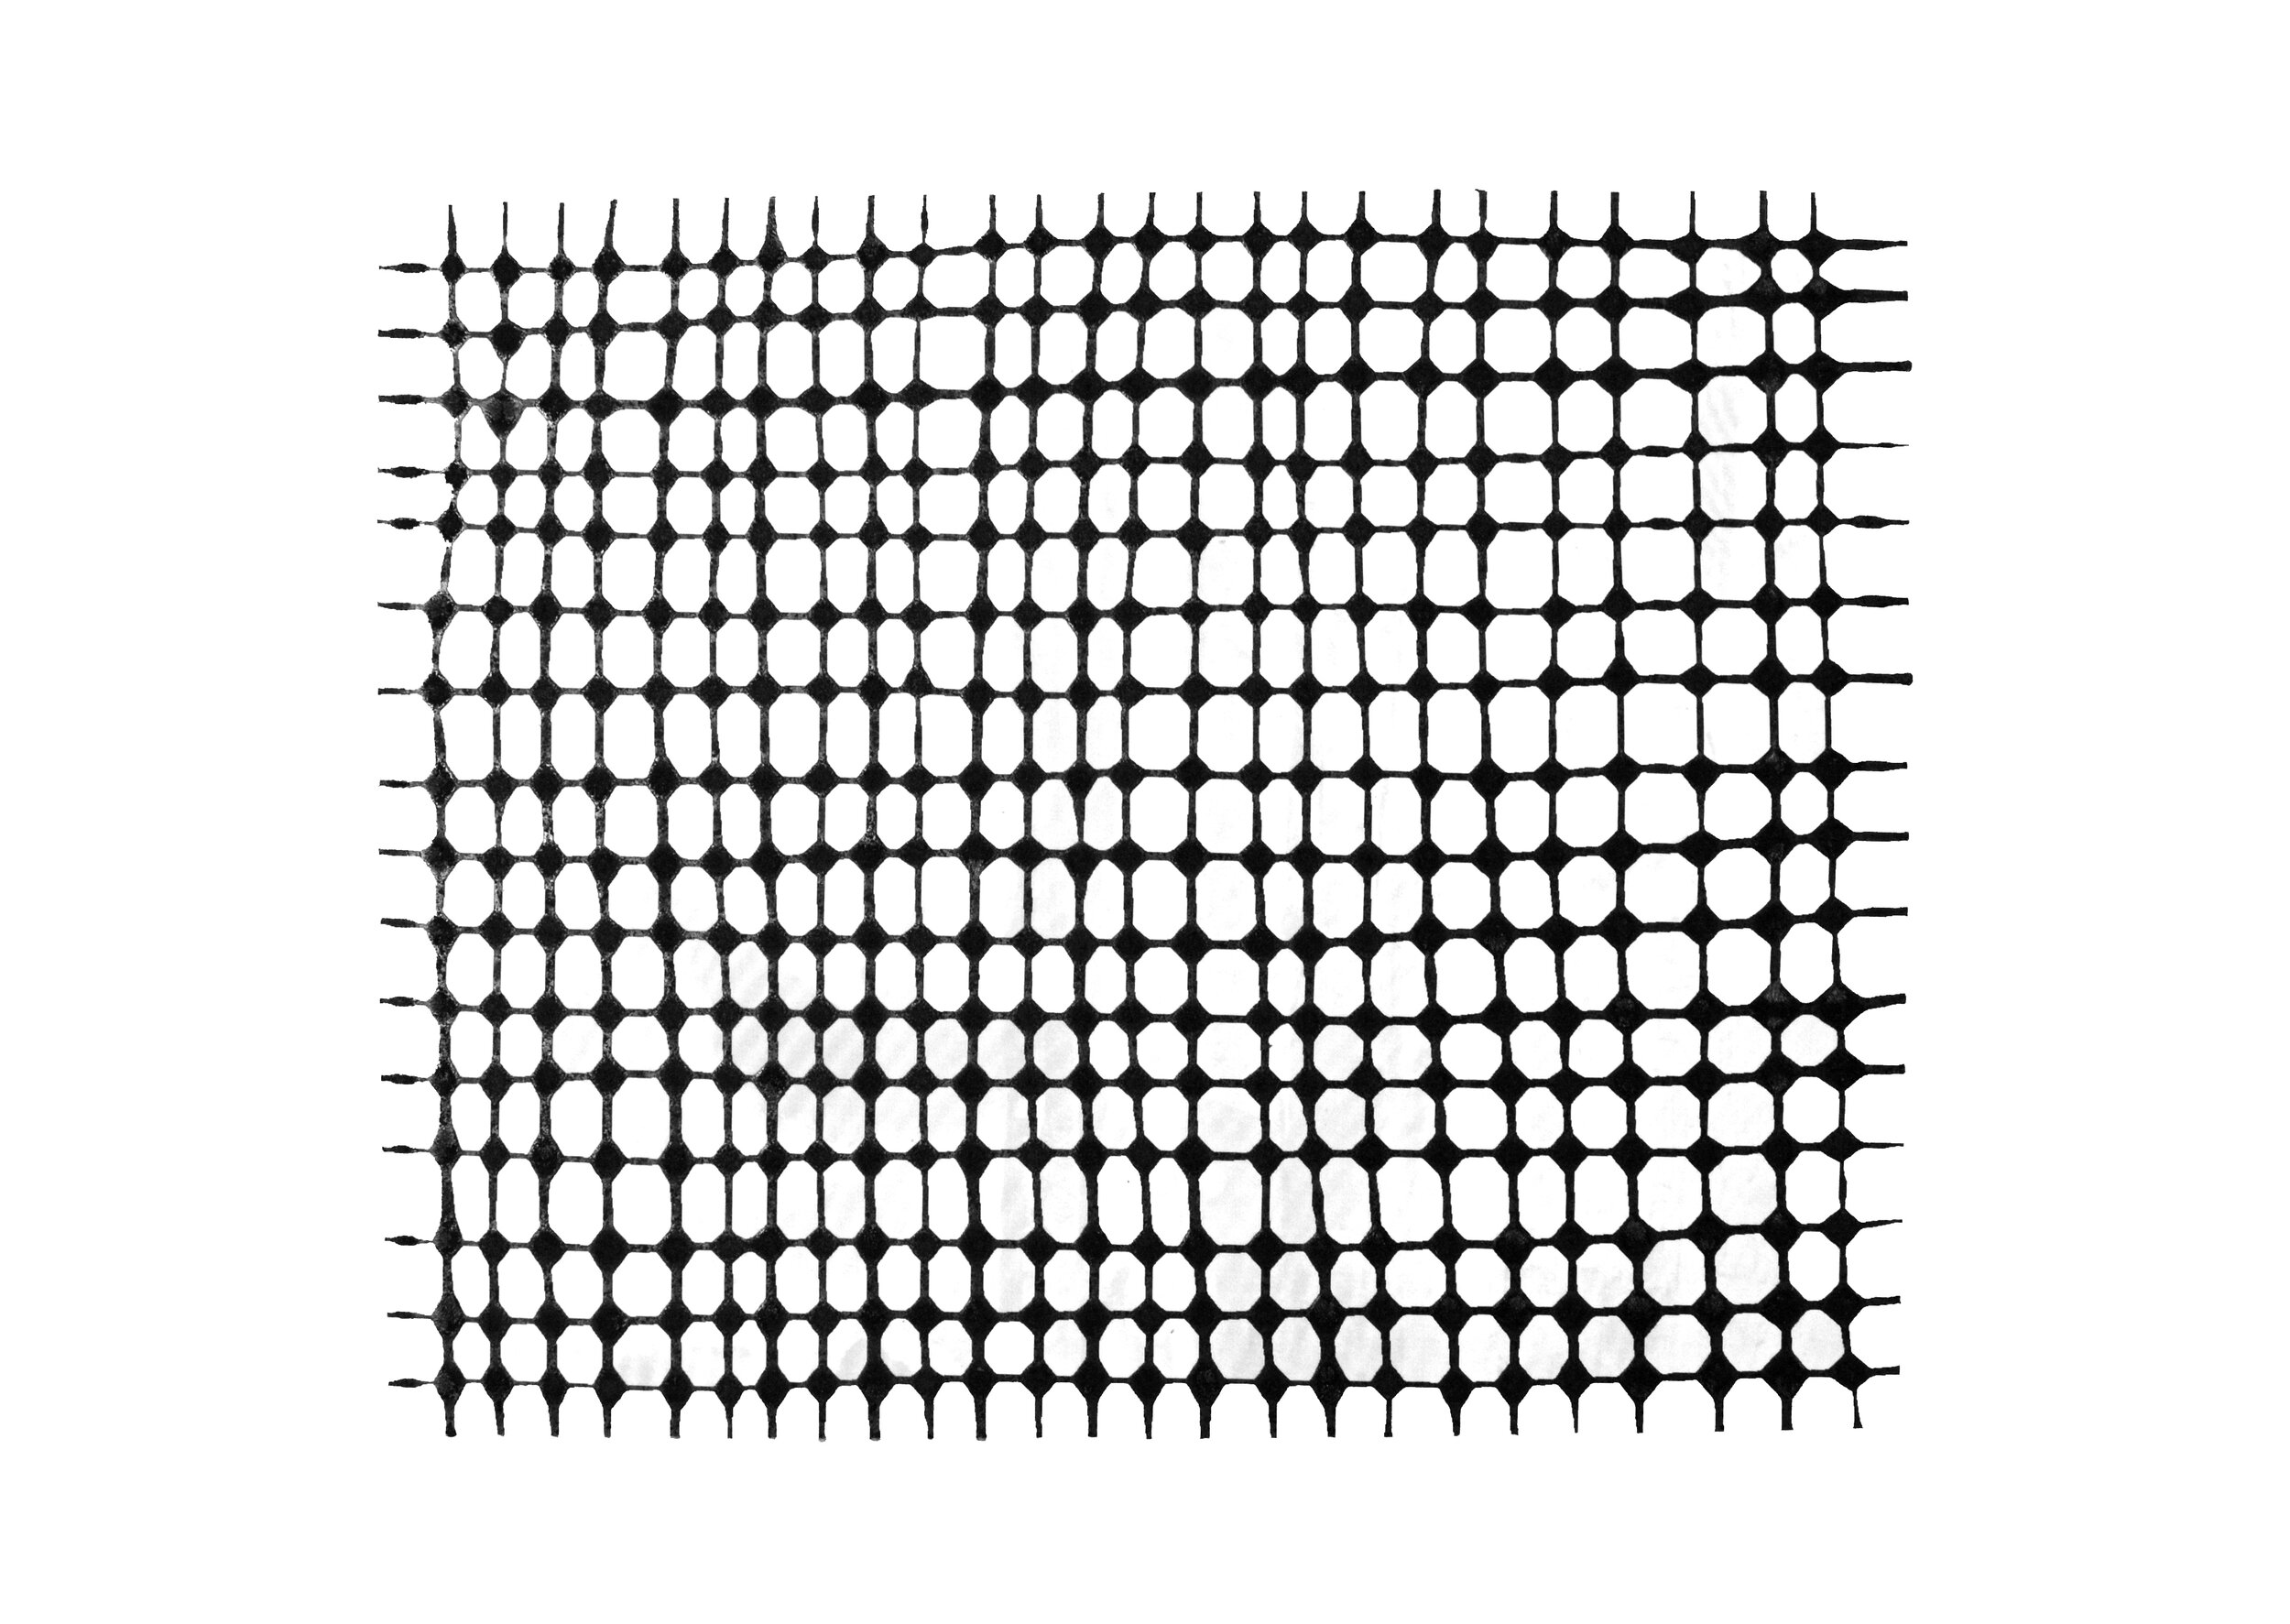
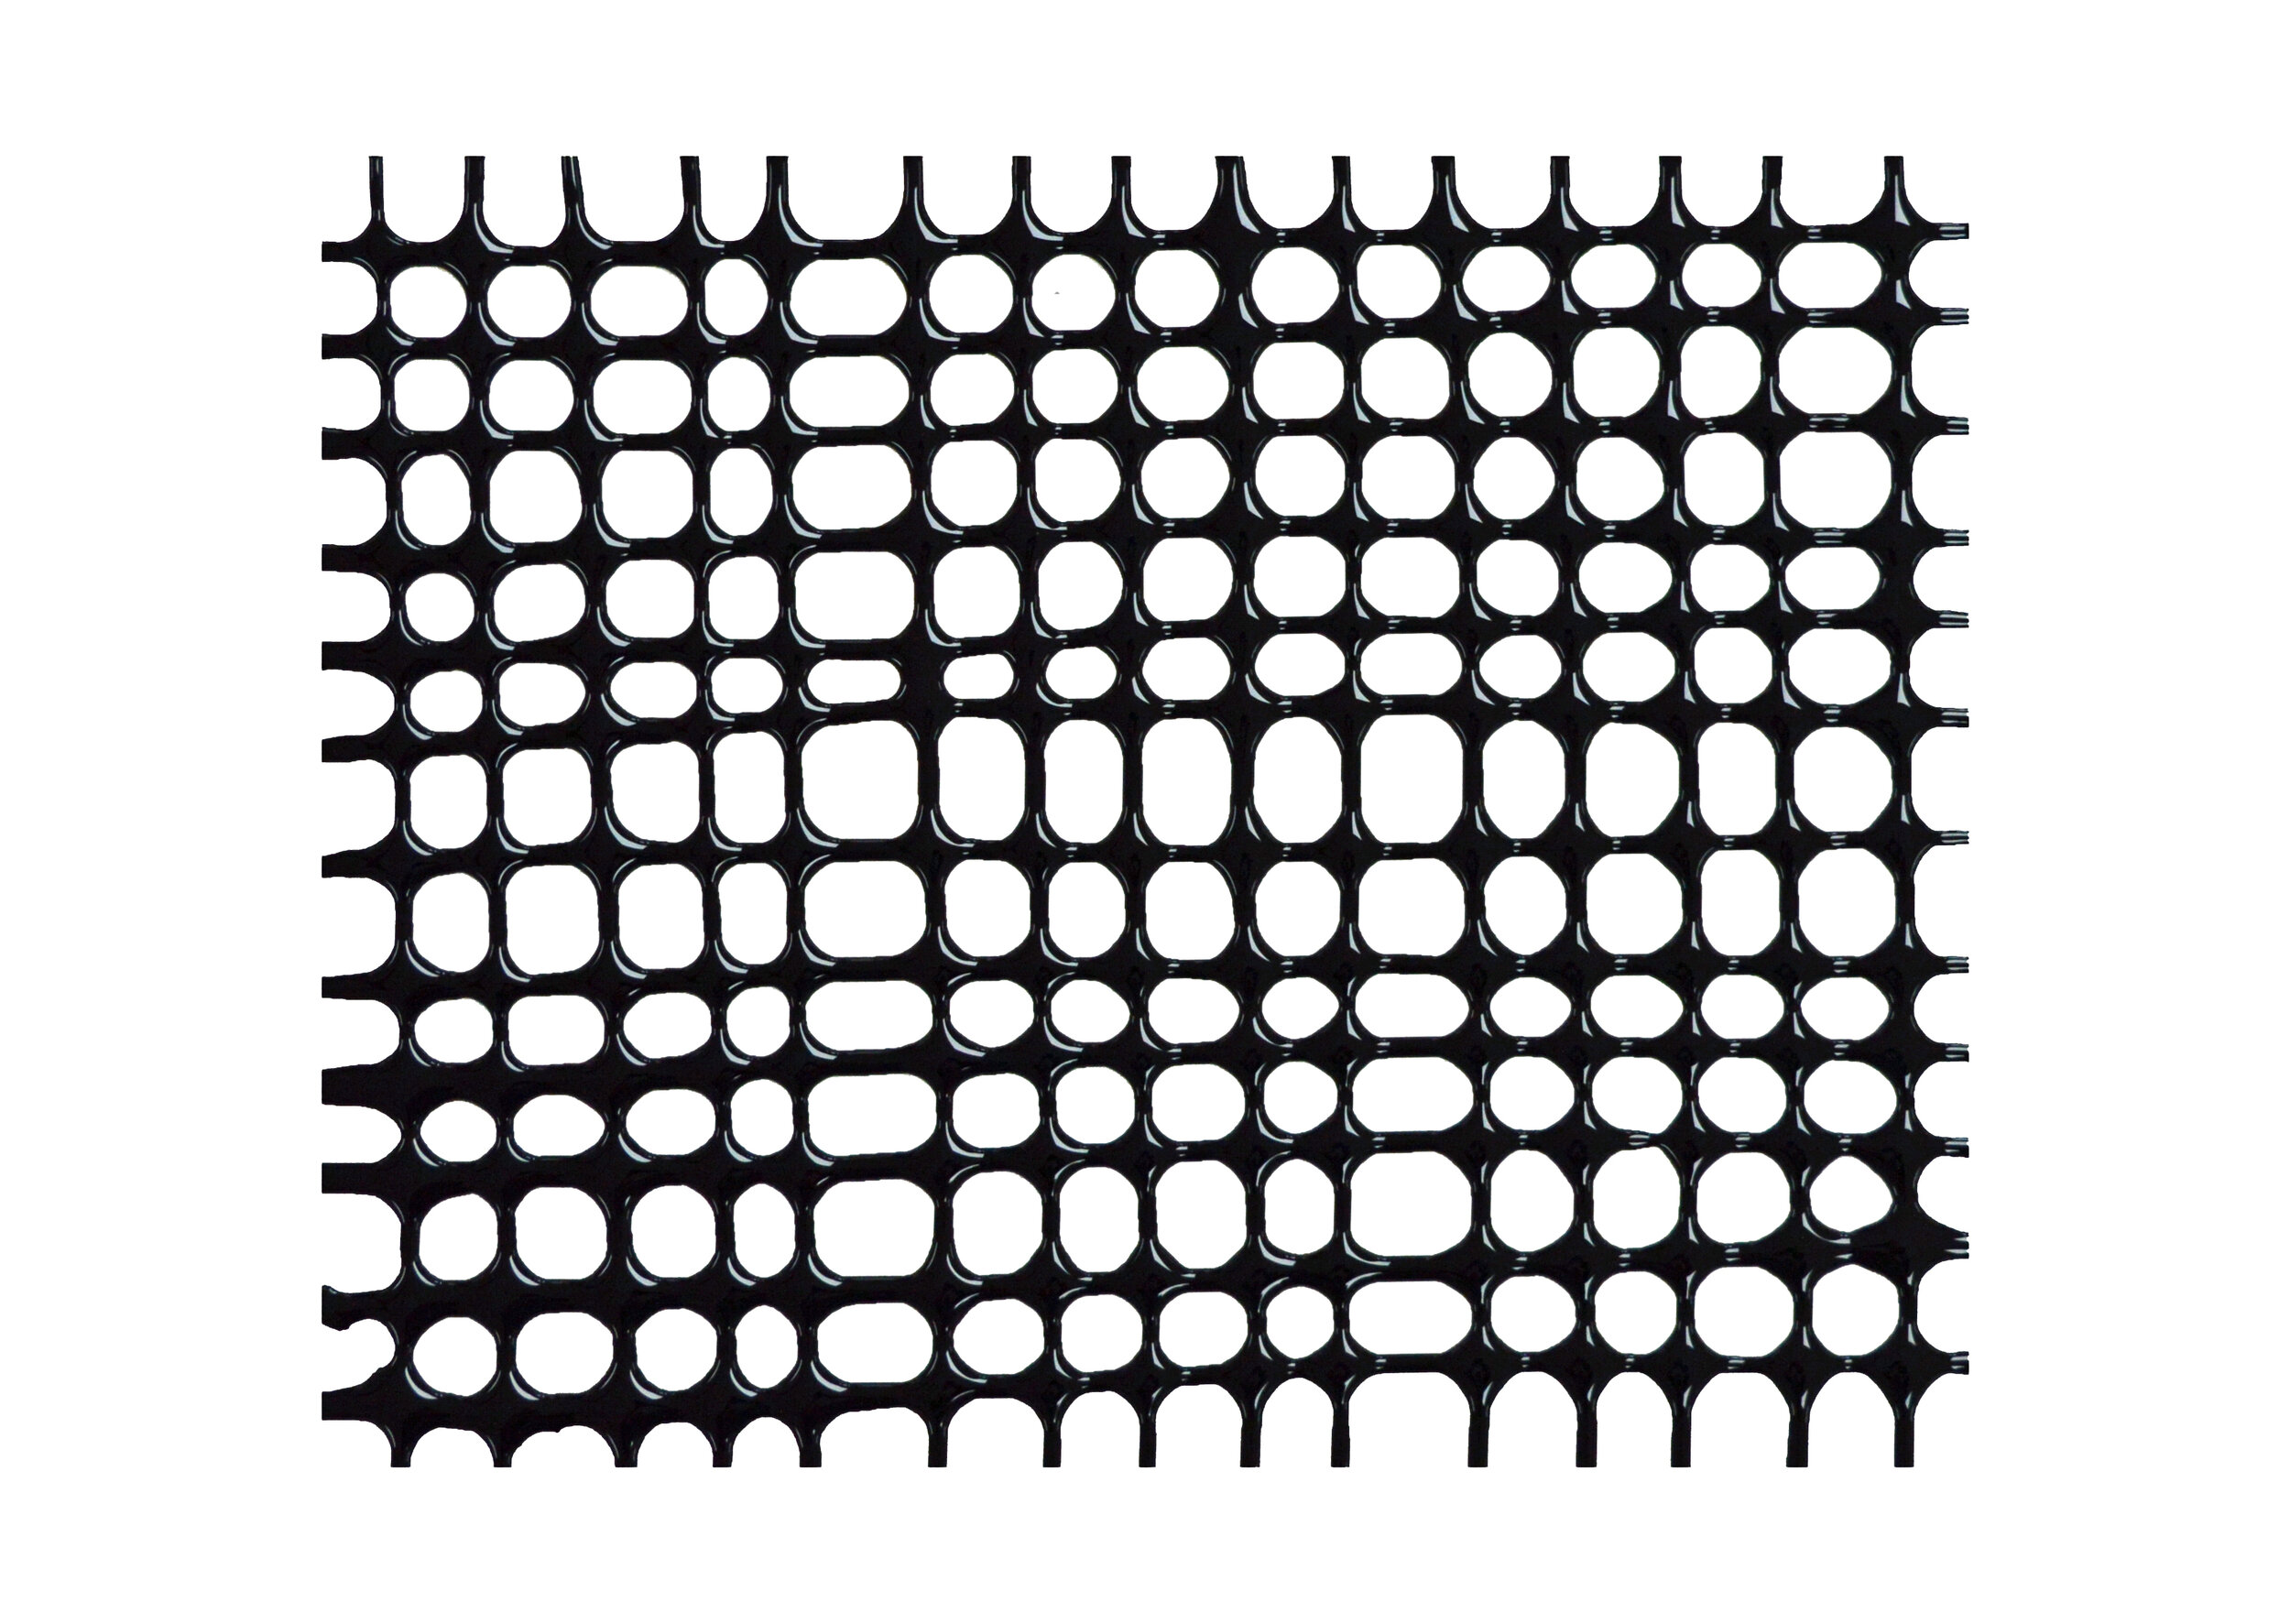
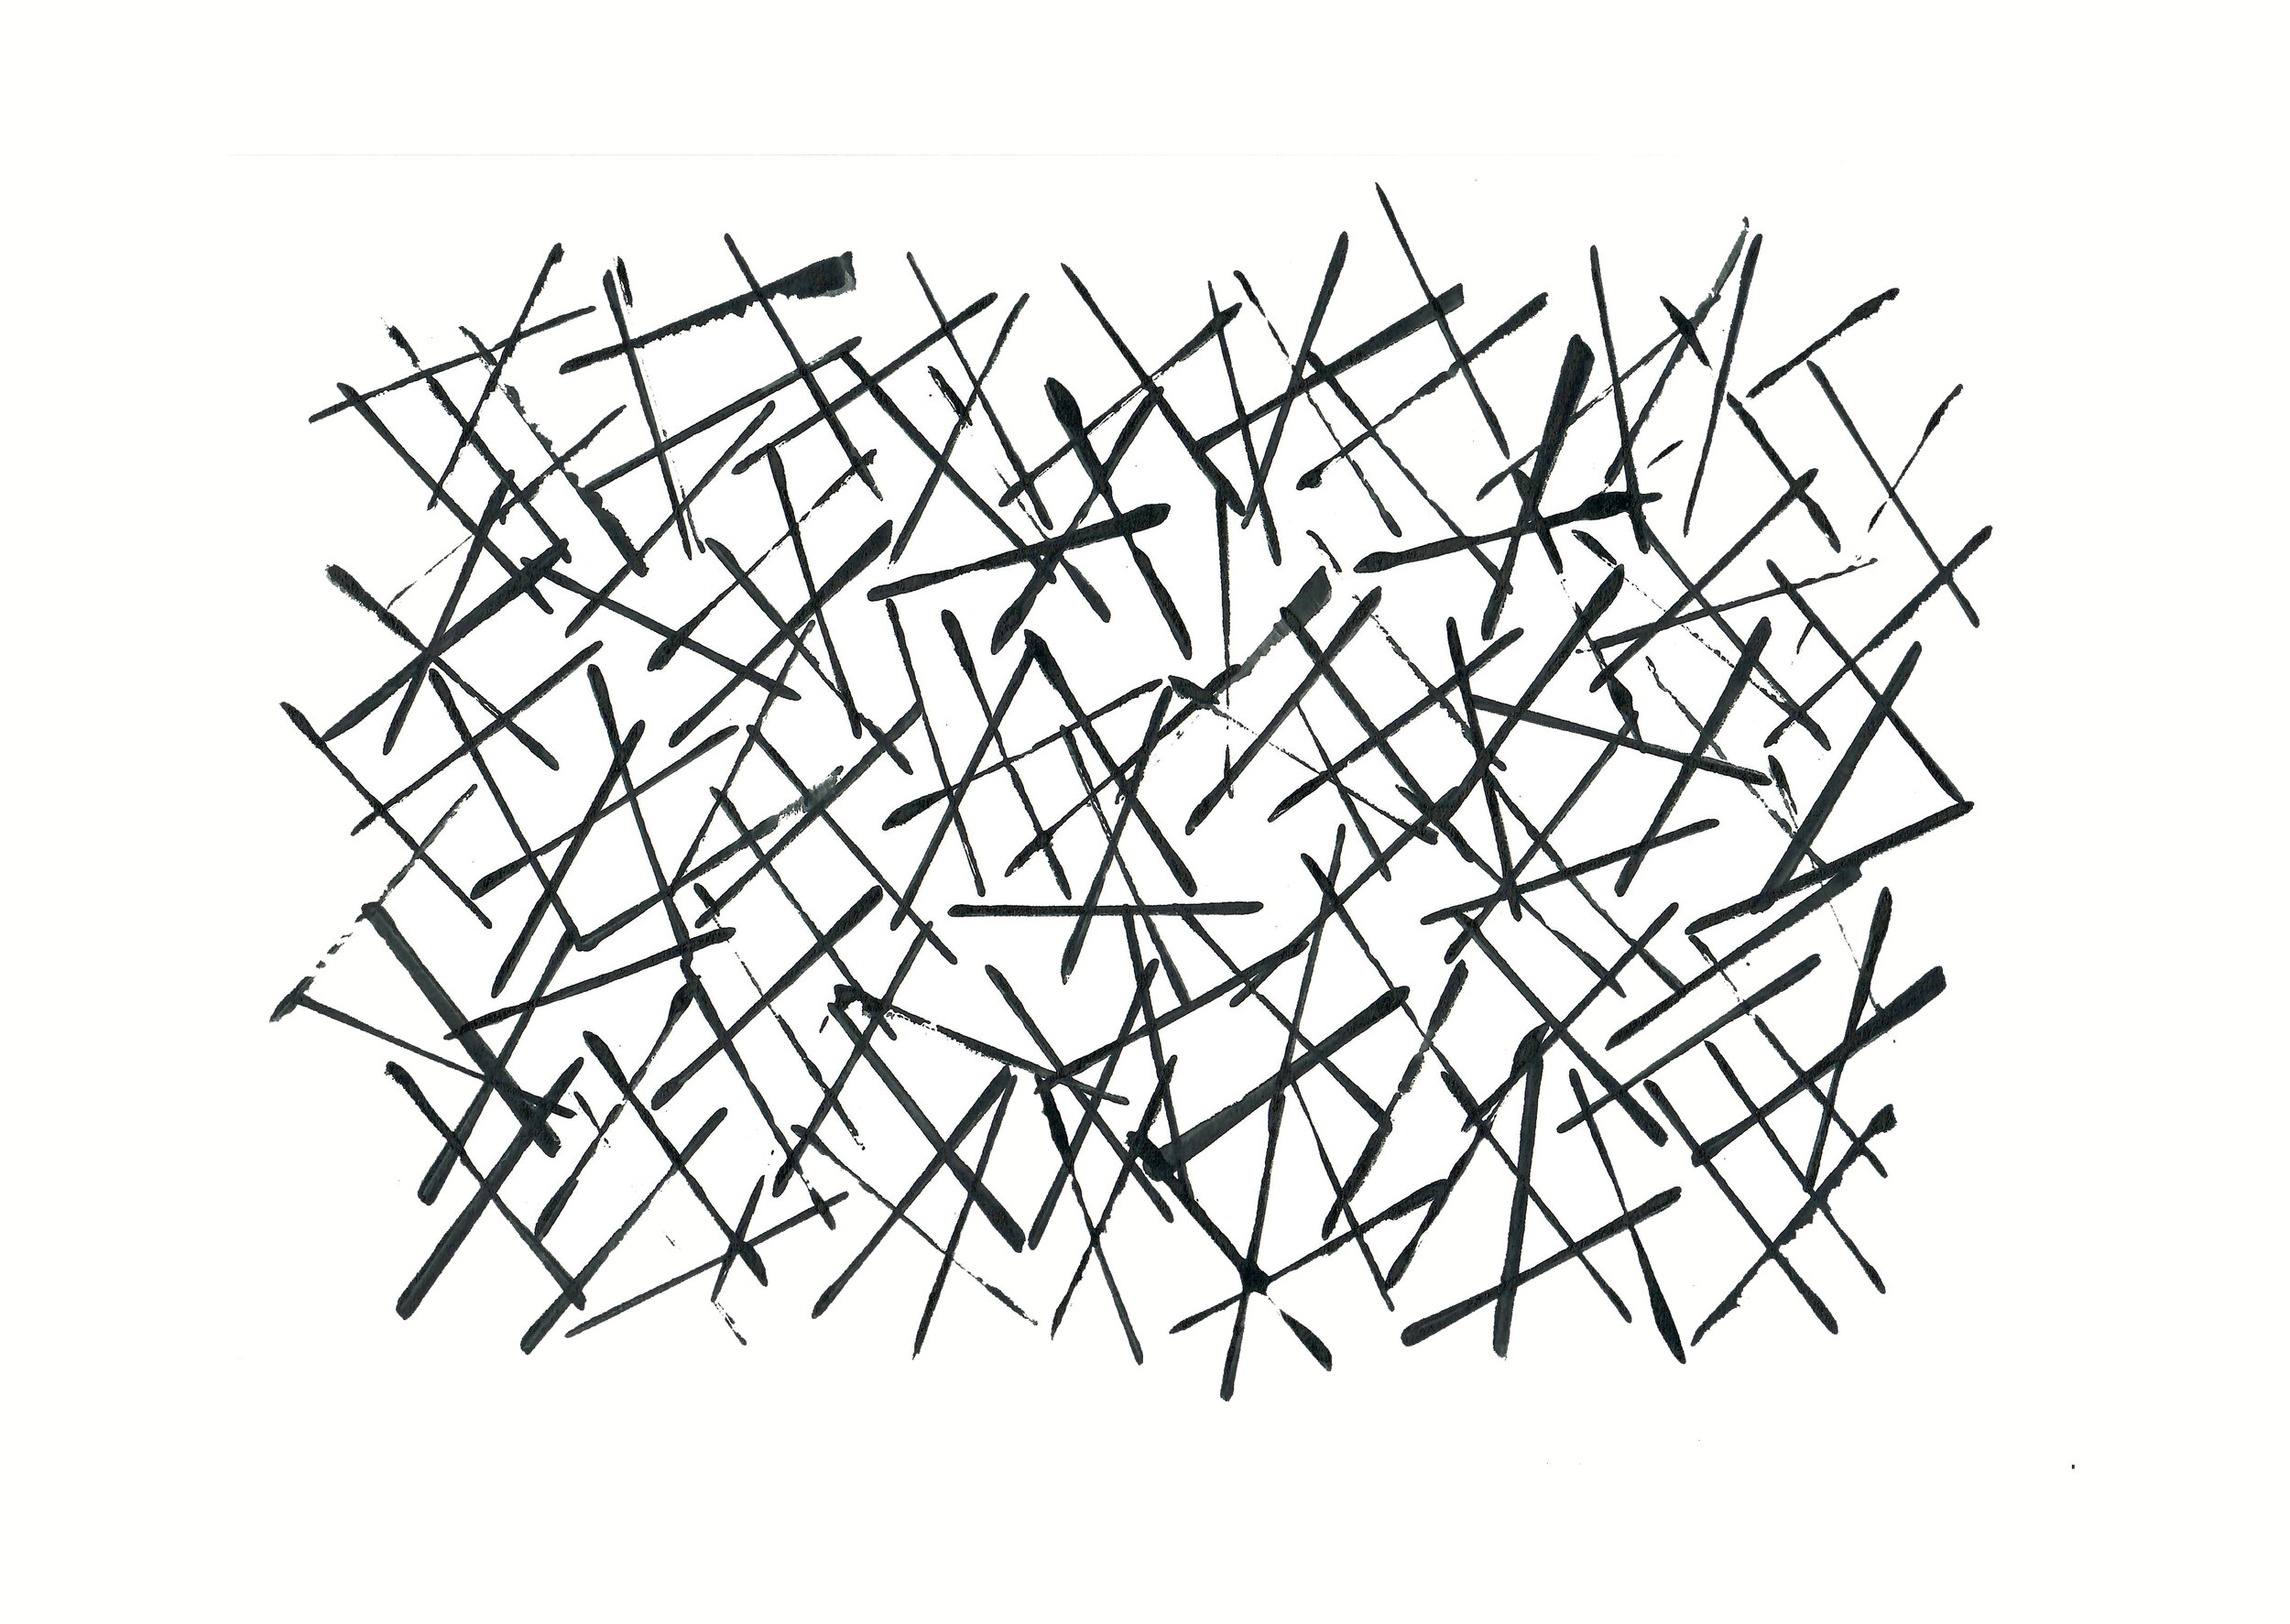
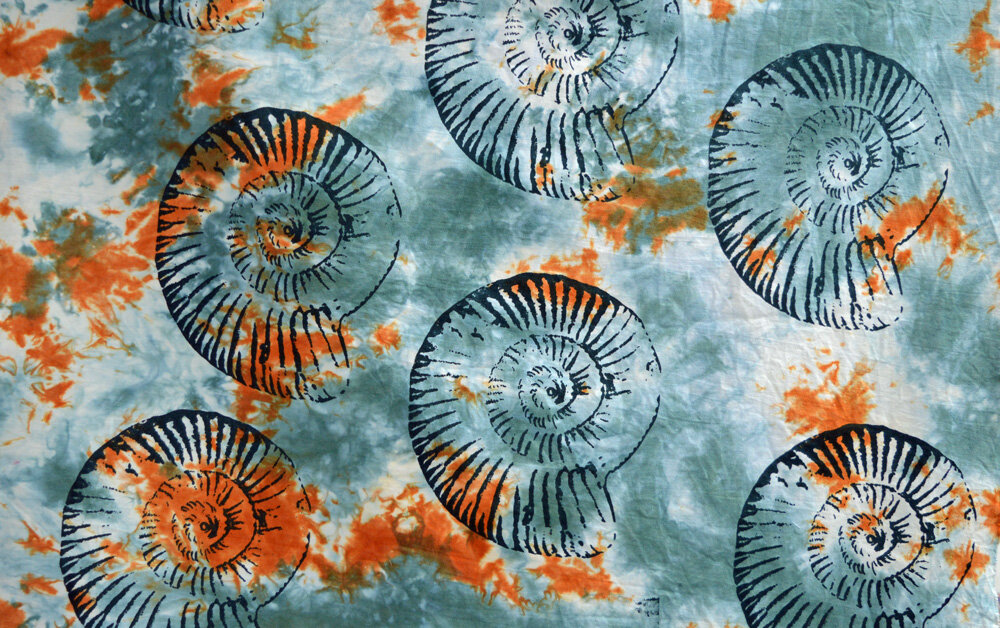
I think I’ve got my artistic mojo back! Time will tell if anybody else agrees but right now I am feeling in a good place. I have spent the last week or so trying to cut out all the distractions, trying to quiet all those negative, anxious thoughts and instead focus on creating. Of course the outside world has continued to be a source of anxiety and fear so I decided to be kind to myself and set aside pushing any boundaries until a happier time.

Instead I took two decisions upfront. Firstly I decided to work with a colour family I developed several years ago and used in my Dunure series of works. At the time our oldest son was in a very dark place and life was the hardest we have ever known. The colour palette was inspired by the scrubby beach at Dunure, Scotland on a grey, stormy November day and the series was a reflection of the effect of place on my mental well being. I had hoped that I would never return to this series and this colour palette but here we are.

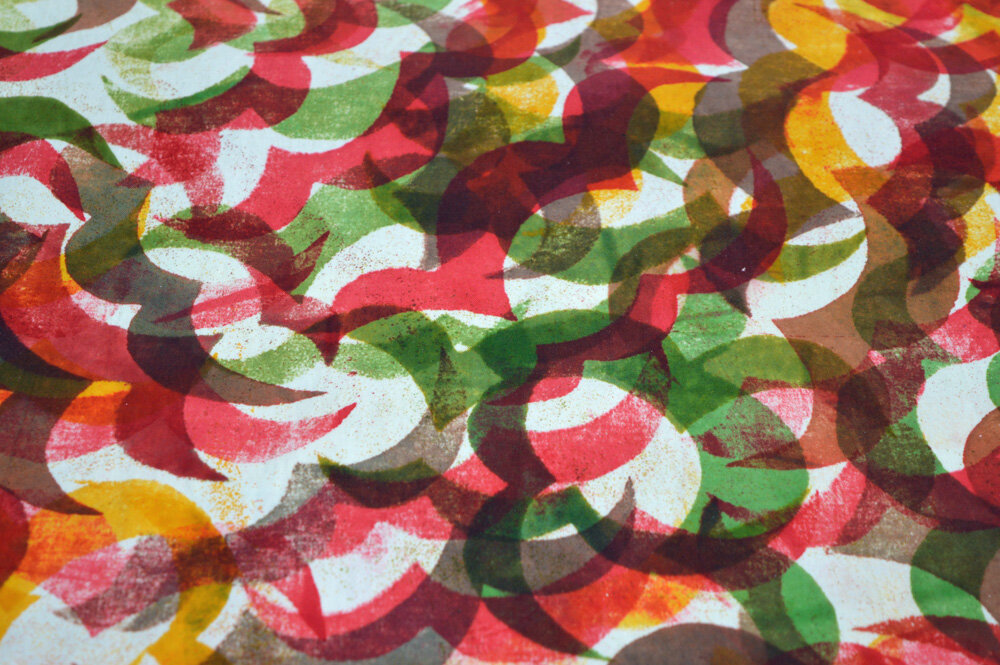
Secondly I decided to work with circles and specifically broken or fragmented circles. I tend to call my work ‘abstract’ but the reality is that I like to make marks that relate to my inspiration. Inspiration seems like the wrong word in this case but of course this new work is a response to the virus. Small envelopes of protein that invade our bodies, multiple and corrupt our cells. That separate us from our loved ones.

Of course I have been using breakdown printing to create my fabrics - my studio equivalent of comfort eating. And I have been using bondaweb to fuse fabrics together as my patience levels are not high enough to be piecing curved edges right now. But I think I am getting somewhere. And I’m going to stick at it for a while.

Which means no new fabric packs on the website for another week - sorry.

Stay safe, stay well, Leah

13 April 2020 2.jpg
Thermofax Screens now available!

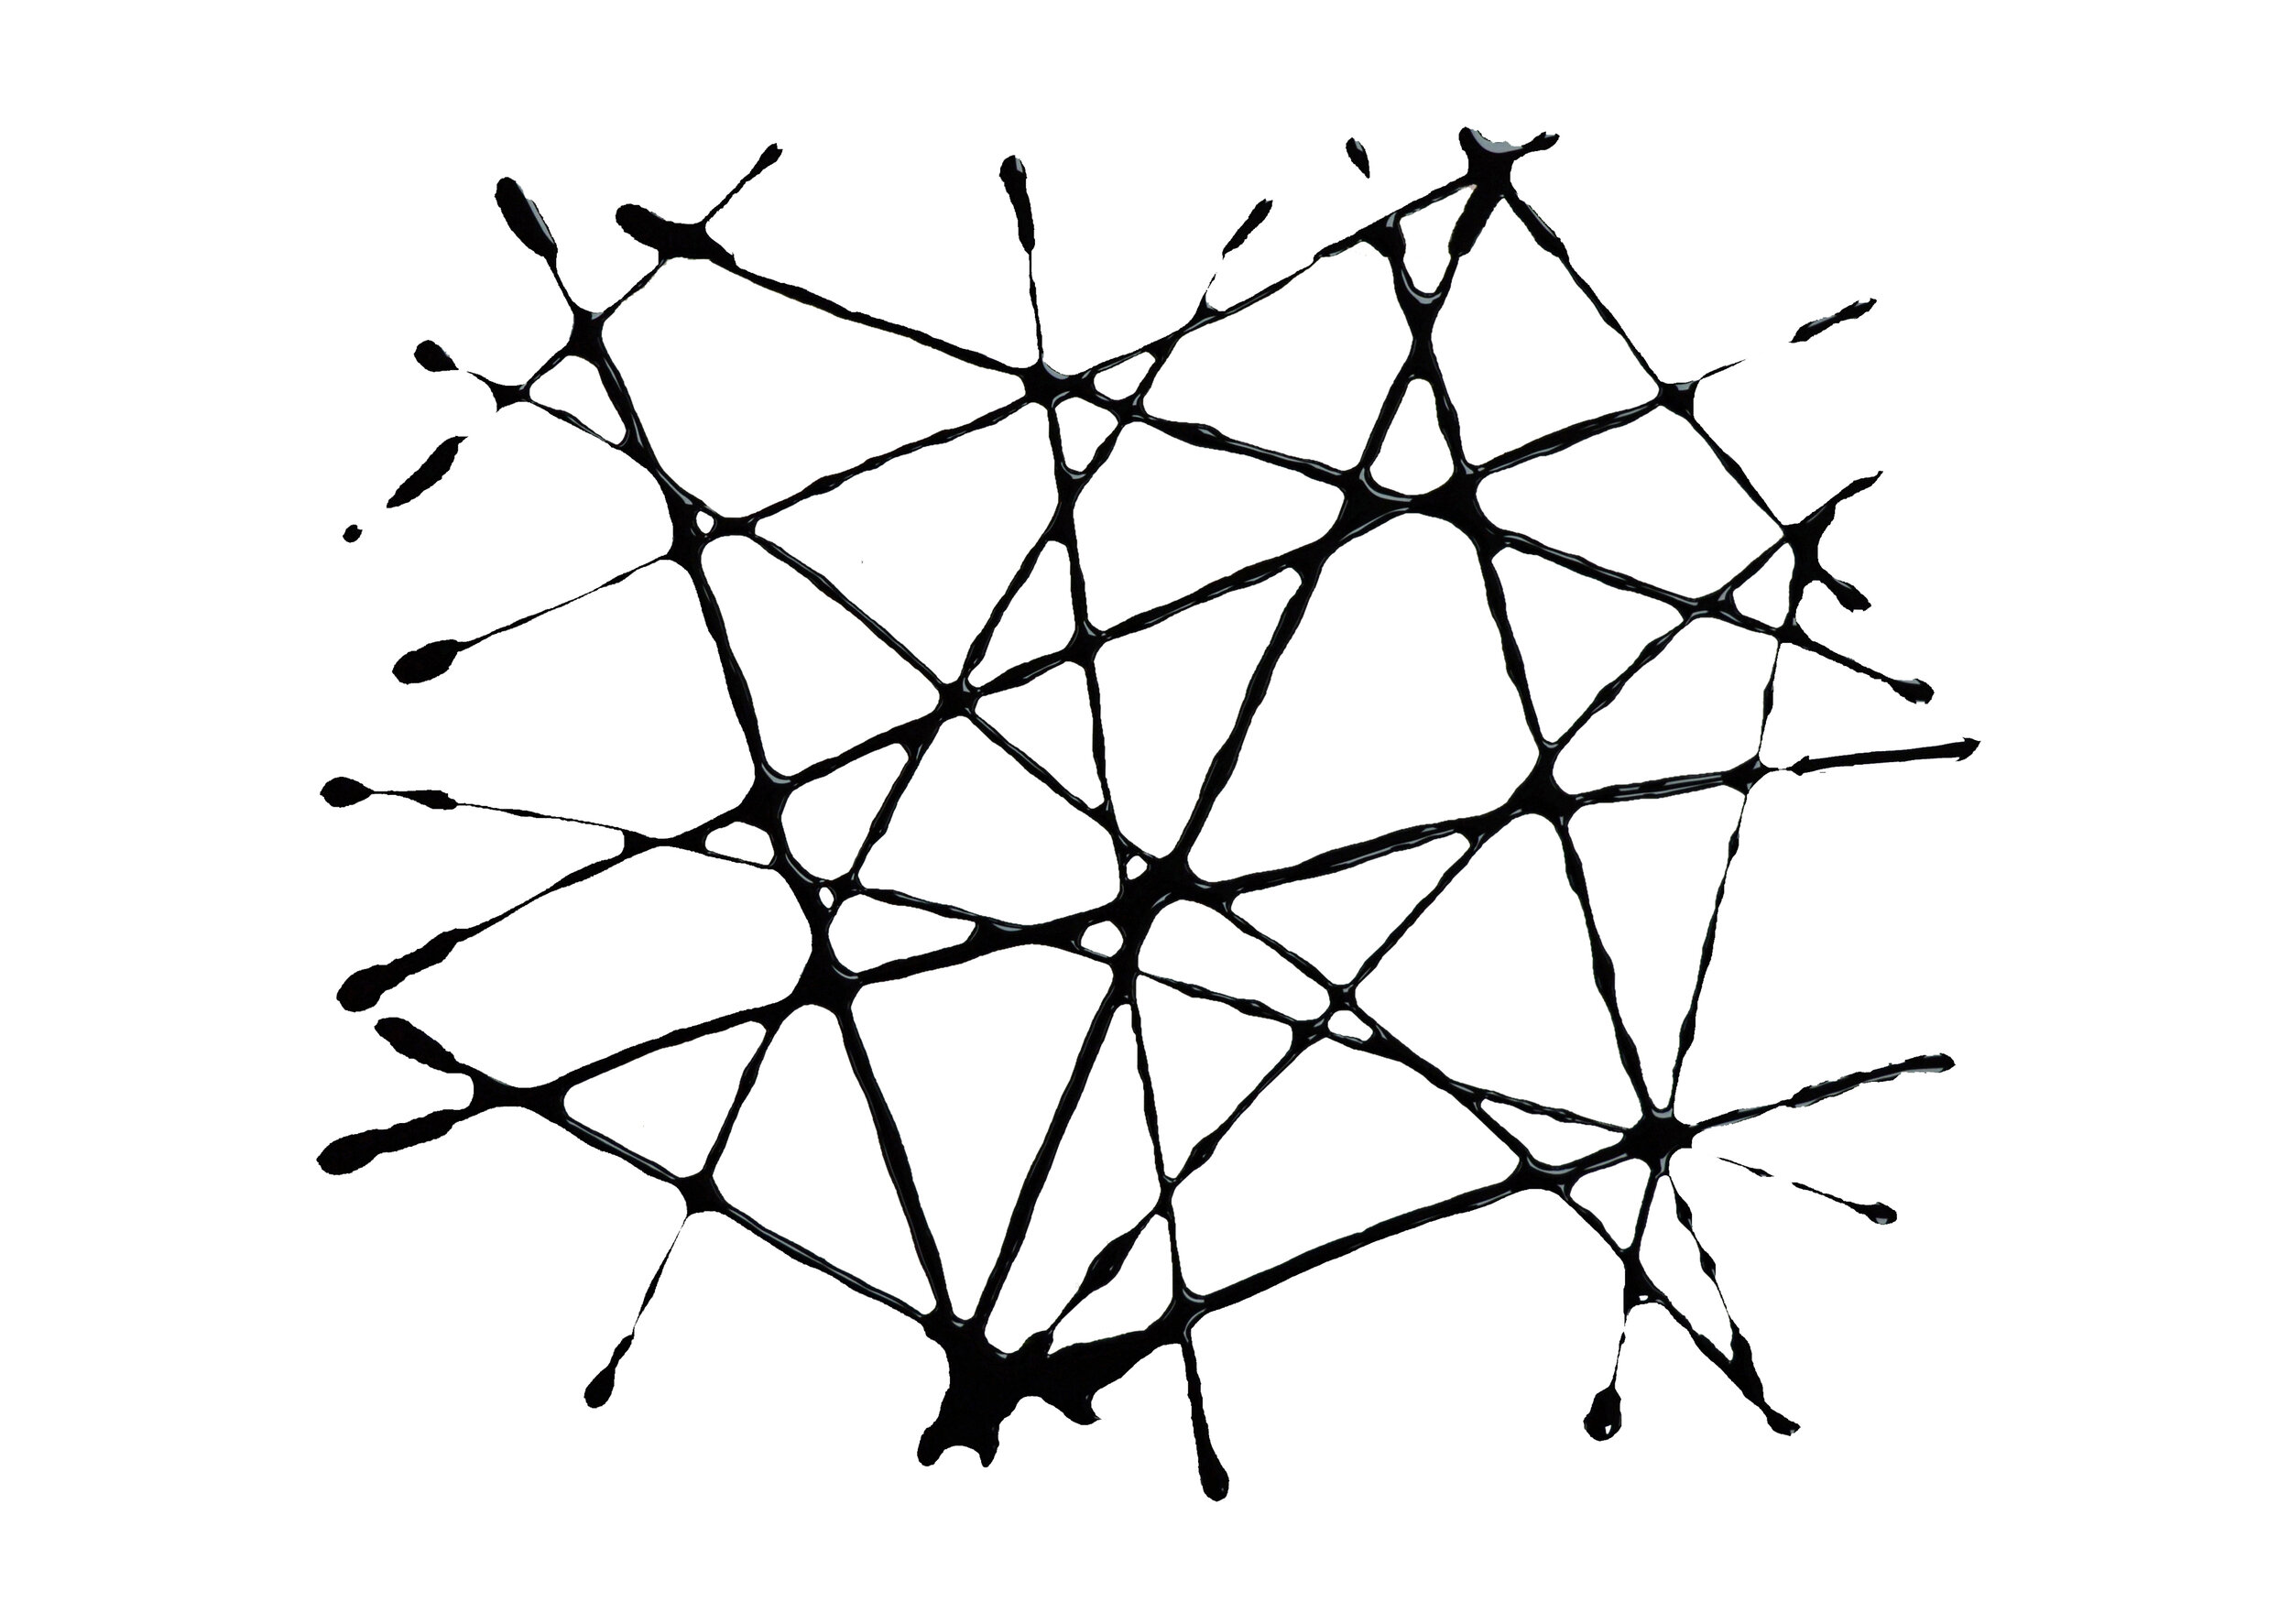
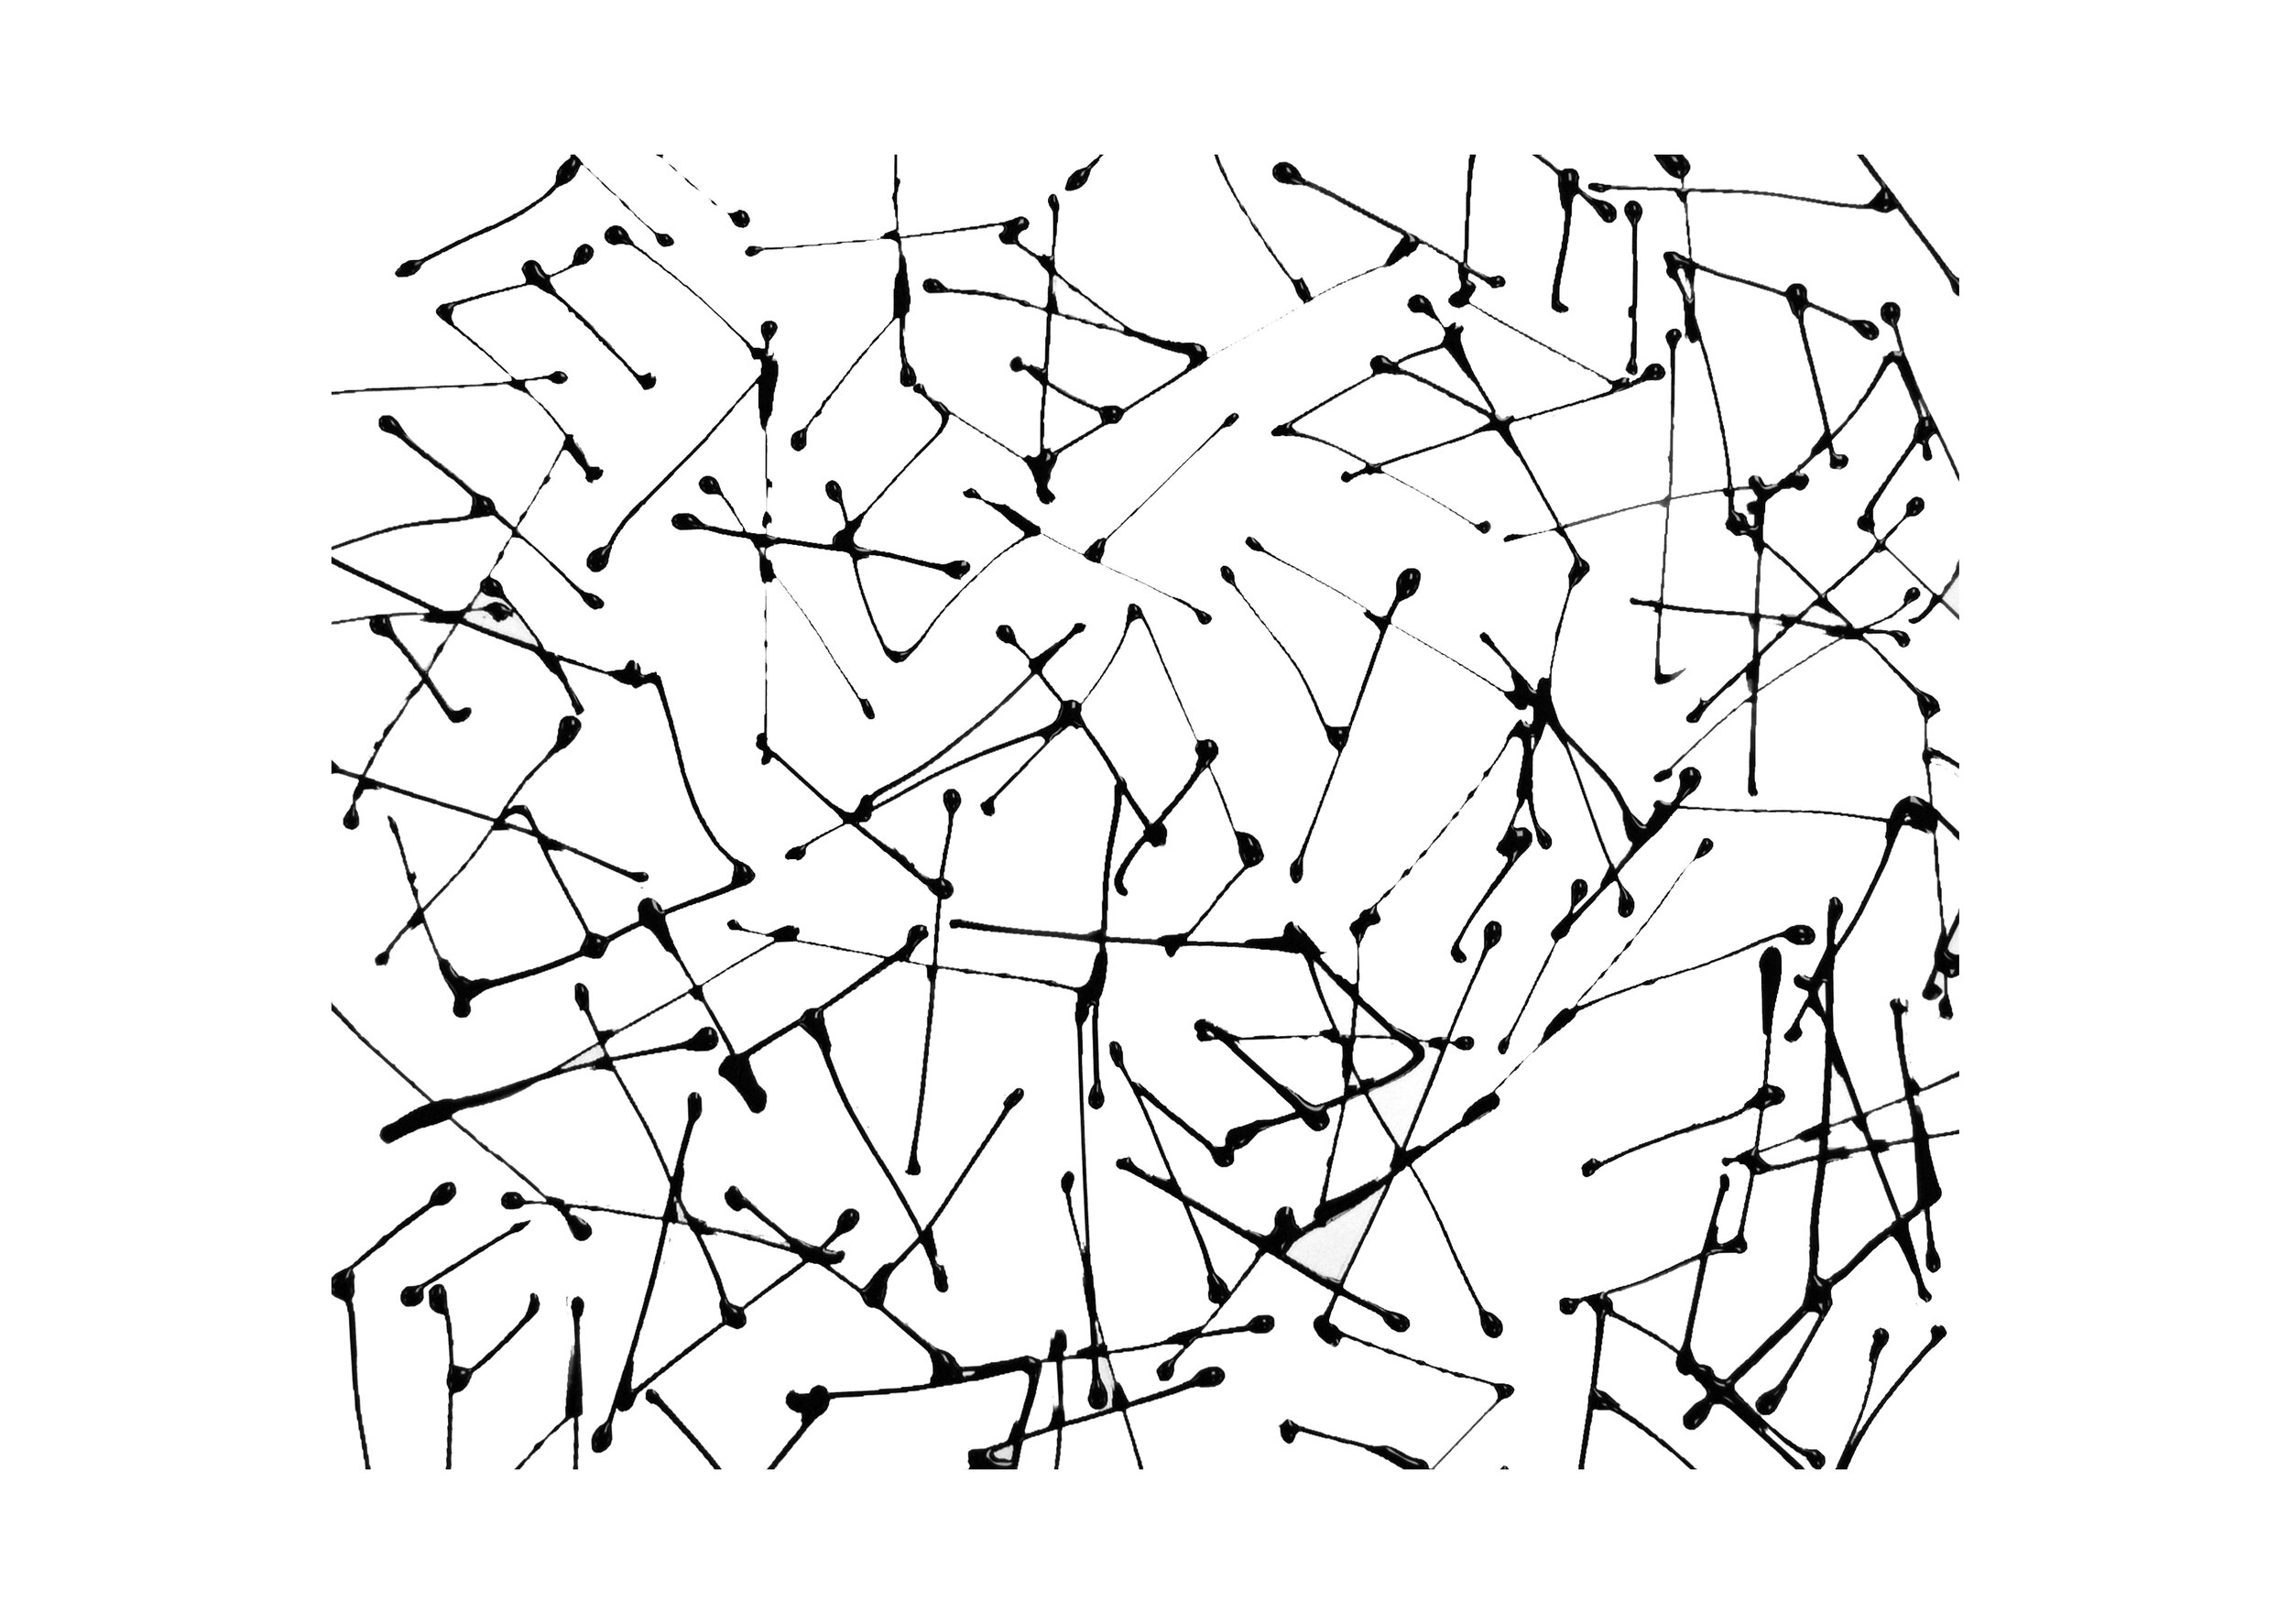
Big box has been ticked today here at Urban Studio North! Yes, I have now added a range of thermofax screen designs to my website. I have added the designs that have proved most successful with my students over the last 18 months. There are 12 designs available as a large ‘A4’ screen. Eight of these designs are also available as small ‘A5’ screens as well. And I’ve added thermofax squeegees.

For those of you who don’t know thermofax screens use a fine polyester mesh that has a very thin polyester film on one side. The design is burnt onto that thin film using thermal imaging technology that was originally developed for use in the earliest photocopiers in the 1950’s. The thermal process only affects the film - the mesh is left intact but is now ‘open’ so that you can now print your design onto fabric or paper. To make life easier the mesh is mounted onto a sturdy perspex frame. Whilst not as robust as traditional silk screens, thermofax screens will last through many, many prints if used correctly. They need to be used with a special squeegee as the regular screen printing squeegees drag on the fine mesh and can stretch it. They also need to be cleaned very gently to protect the remaining polyester film on the back of the mesh.

I use thermofax a lot. The designs on my website are great for putting a layer of marks onto fabric before adding colour and shape on top using a regular screen. I use them with both thickened dye and with textile inks although you do need to wash your screen immediately after using them with textile inks (or fabric paints) as these will ruin a screen if left to dry.

Next on my ‘keep busy and try not to worry’ list is printing fabric to make up some of my Wonky Print Inspiration Packs.

Stay safe, stay well,

Leah
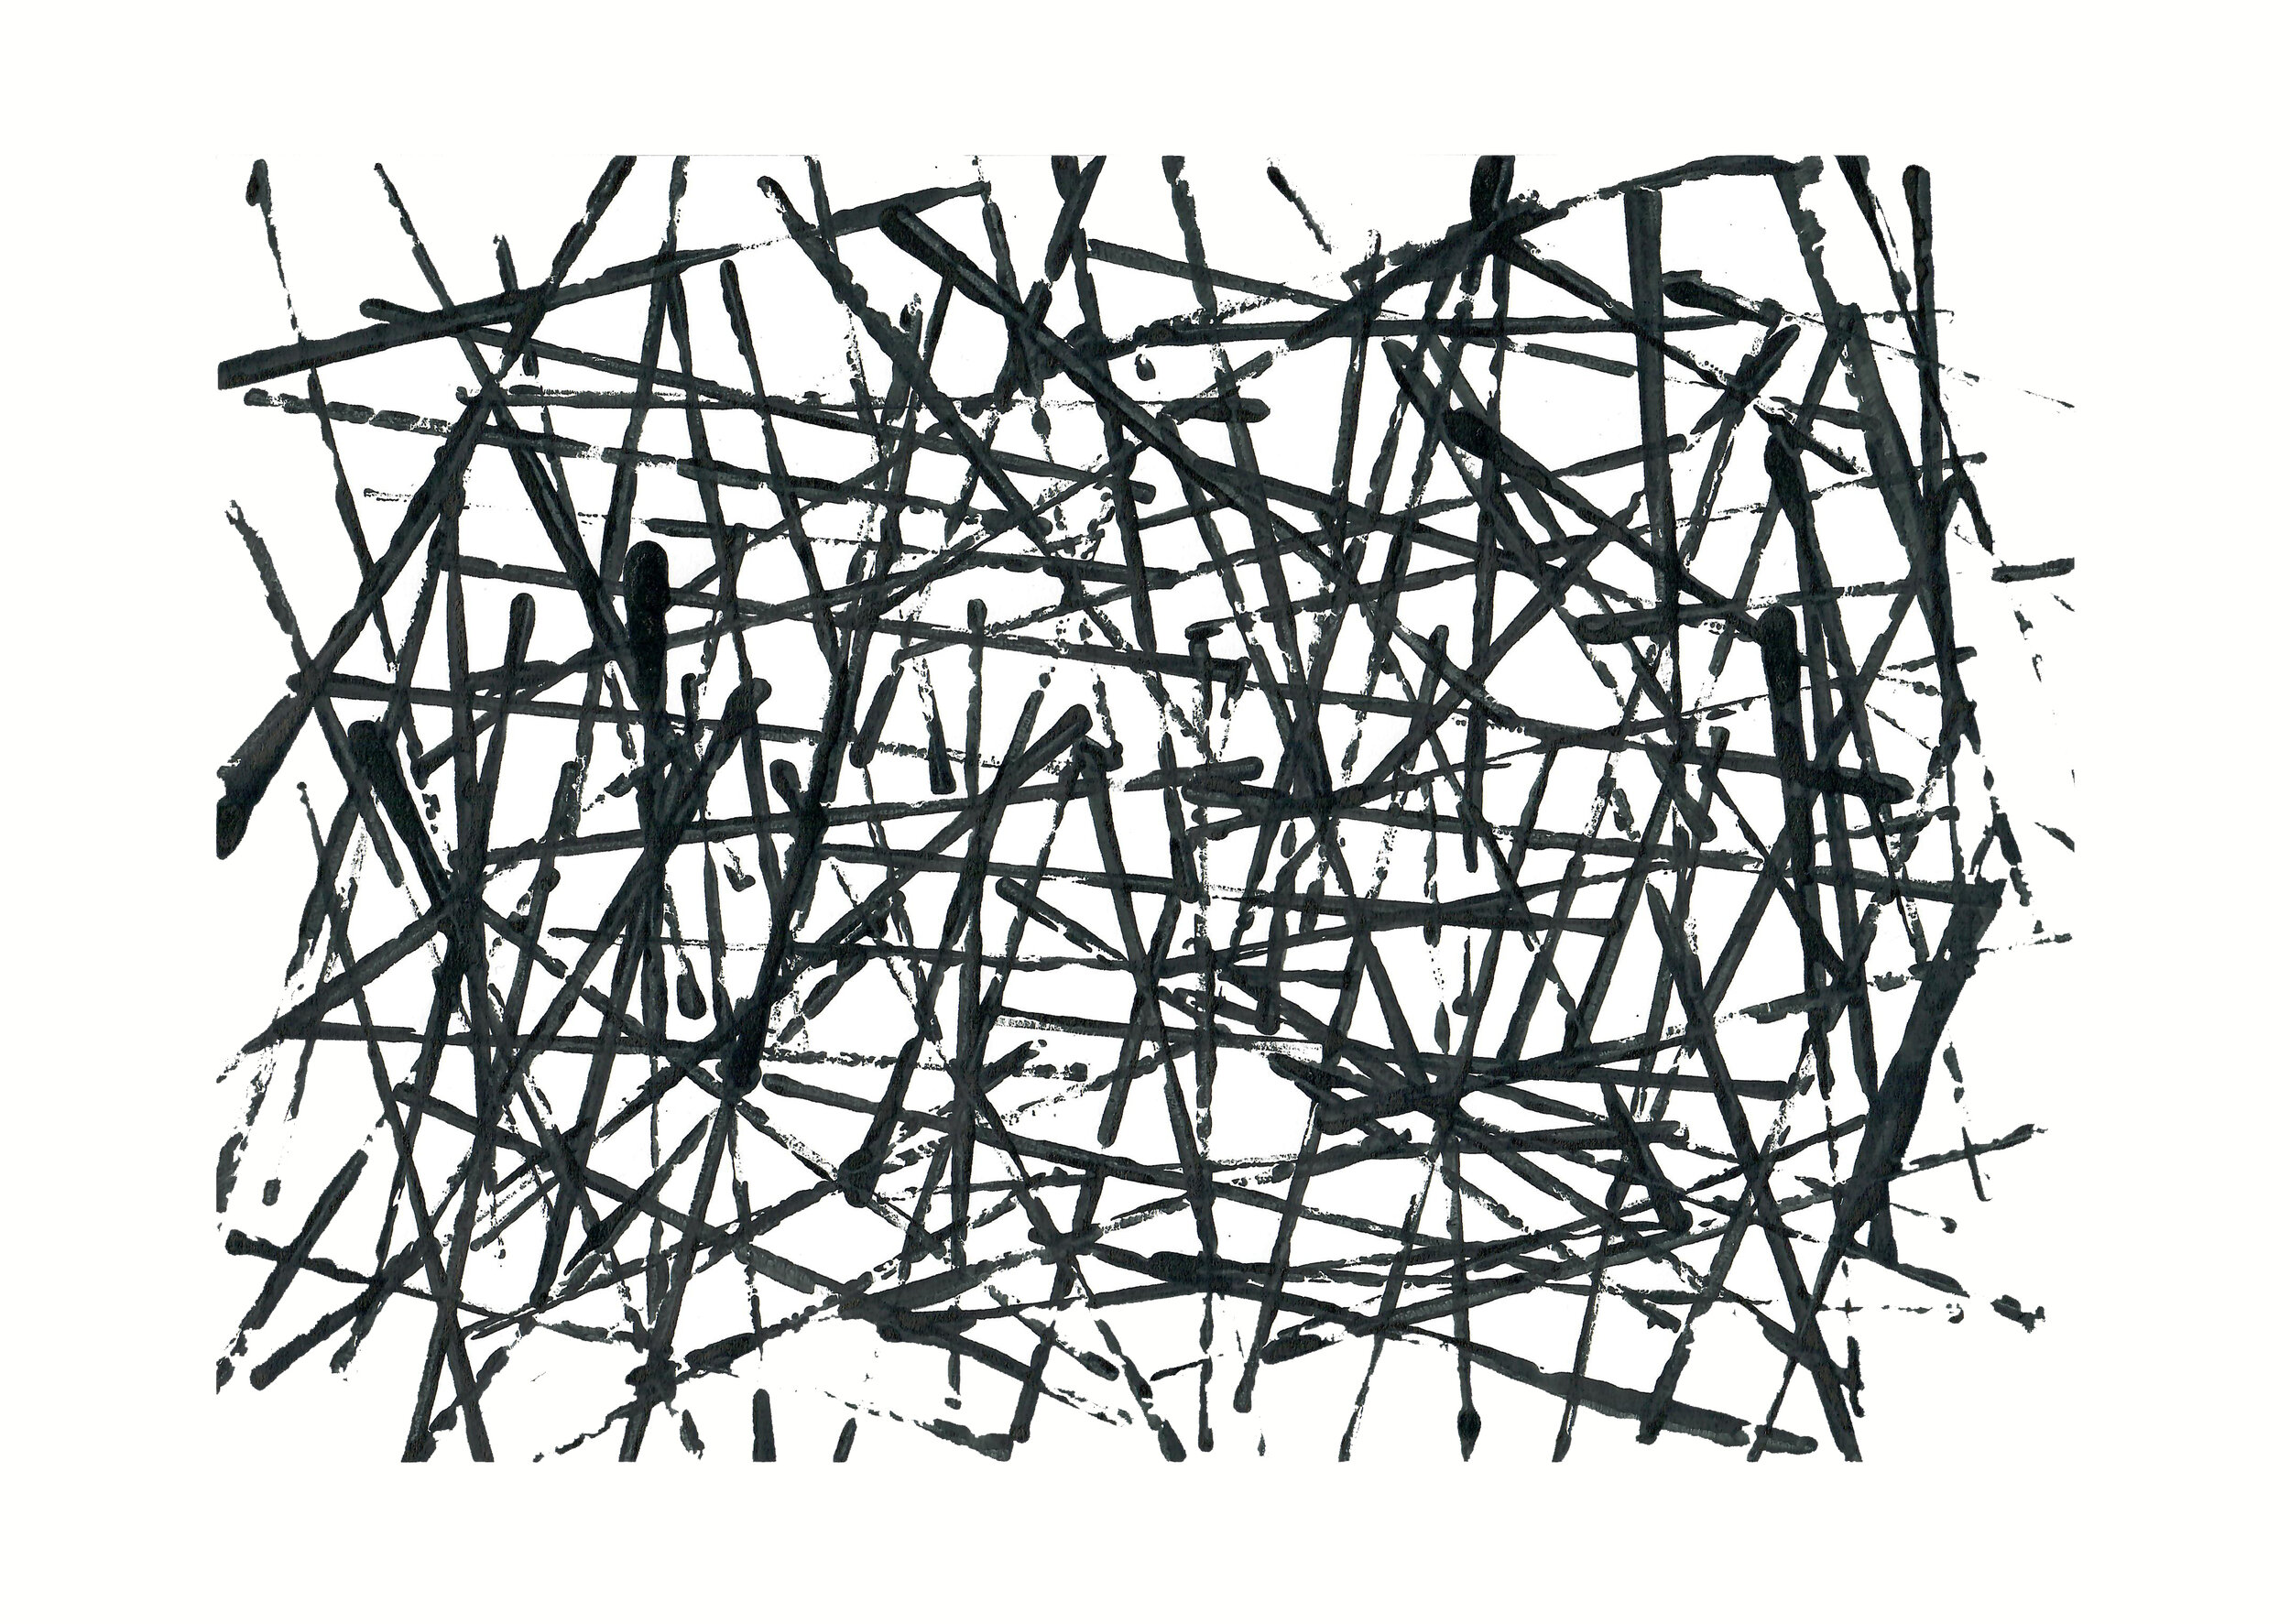
Surface Design - so many possibilities!
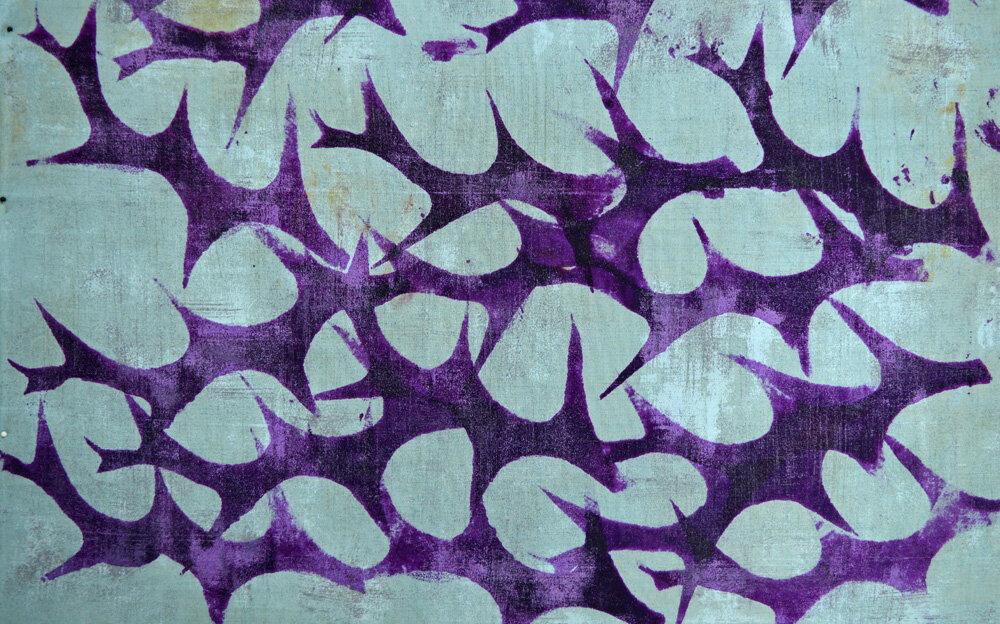
Overprinting a piece of breakdown printed fabric using a screen with a soy wax resist (Susan)

Overprinting a piece of breakdown printed fabric using a screen with a soy wax resist (Susan)

My 2020 teaching schedule got off to a flying start over the last two weekends with days with my Introduction to Surface Design and my Creative Surface Design students. On paper these is a difference between the two workshops. Introduction to Surface Design is technique focused and aimed at people with no or little knowledge of dyeing, printing and other ‘wet’ processes. Creative Surface Design is more design focused and is aimed at people who have some experience in a range of surface design techniques but are struggling to know how to apply those techniques to create their own unique pieces. But, of course, there is lots of overlap and I often find myself adapting each days workshop in response to individual needs. Quickly pulling together a demonstration that I wasn’t planning on or having a discussion on a specific element of design or the design process before I had planned. The lesson plan gets thrown out of the window some days but I love it!. I’ve never responded well to being taught in an regimented environment where I’m told to do A followed by B followed by C when I found B absolutely fascinating and wanted to see what happened if I added a bit of Z. So why would I want to teach like that? Thankfully my students seem to enjoy the deviations!

Top two images - paper lamination (Amanda and Sue). Middle two images - using interfacing stencils (Amanda and Pat). Bottom two images - using thermofax screens on top of previously printed fabrics (Michelle and Pat).

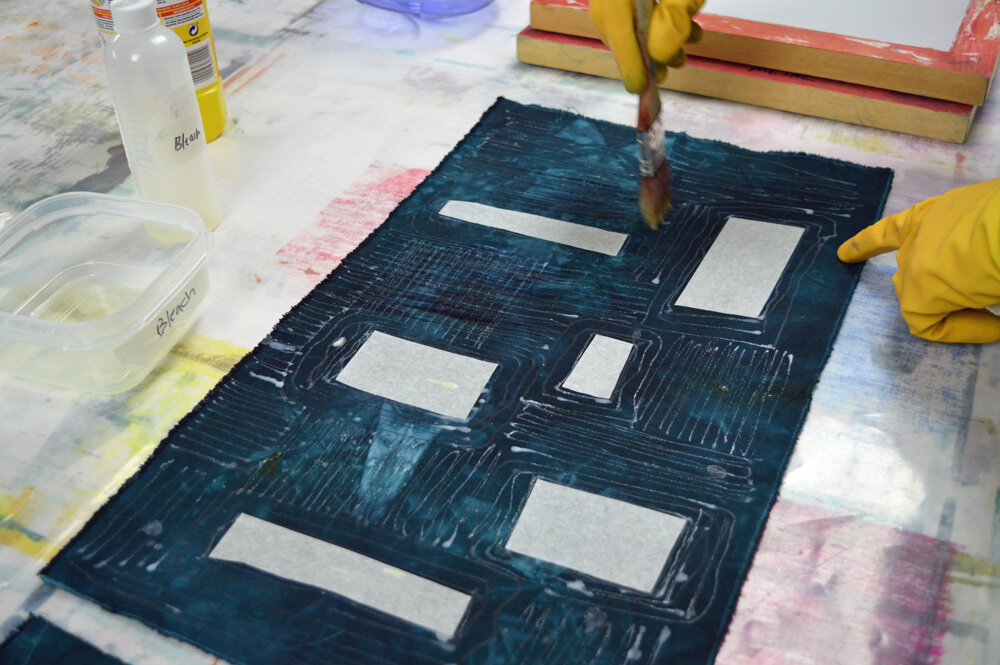
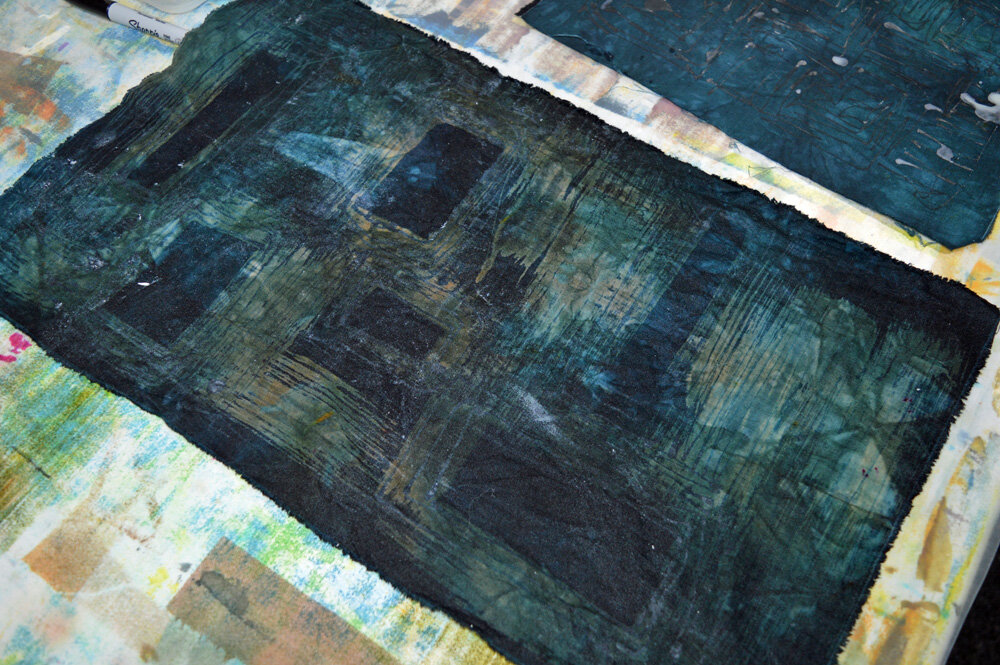
Brushing bleach over hand dyed fabric with soy wax and masking tape resists (Tracey)

Soy wax screen used to overprint pre-dyed fabric (Margarita)

Soy wax screen used to overprint pre-dyed fabric (Margarita)


Print, Stitch, Go!
Leah 1.jpg

A couple of weeks ago I taught my Print, Stitch, Go! workshop for the first time. I was rather nervous. The first half of the workshop was spent printing and dyeing fabrics but the second half was all about using those fabrics. Printing, dyeing, splashing about lots of colour is my comfort zone so no problems there. But my approach to using my own printed and dyed fabrics is to keep it simple and let the fabric do the talking. Which is my way of admitting that I just use squares, rectangles and simple strips. I couldn’t get points to match in a mariners compass in a month of Sundays!
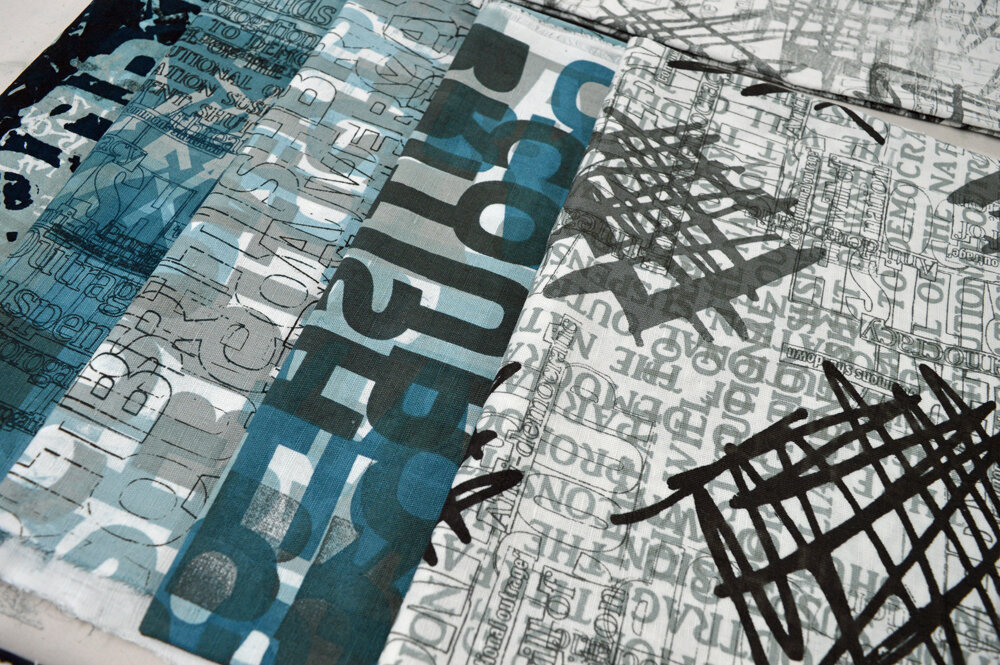
Thankfully my lovely students embraced squares, rectangles and simple strips! Phew!

The workshop went really well. The first two days were busy and hectic with printed fabric hanging everywhere. Wednesday was change over day when we washed and ironed our fabrics, converted the studio from a ‘wet’ to a ‘dry’ space and started to decide how to use our fabrics. And the last two days were just lovely. Calmer, but just as filled with colour. Lots of mutual support. Lots of ohhs and ahhs. Great company, amazing work - thank you Barbara, Bernice, Michelle, Sally and Sue.

So here is some eye candy …..

From left: Bernice Hopper, Michelle Barnard and Sally Taylor

From top: Barbara Logan, Sue Morgan and Bernice Hopper

Trusting process
DSC_0867 small.jpg

Understanding and embracing your own creative process is incredibly powerful. It takes away that ‘where do I start moment’. It helps you ride out those days when everything you print looks like a disappointing fuzzy, mucky mess. It increases the chances of printing a fuzzy, mucky mess when that is just what you want. And it allows you to wrap yourself in the gentle warmth that comes from creating. Just what I need right now!

There is no ‘one size fits all’ when it comes to creative process. It’s a deeply personal thing. How many articles have you seen that proclaim that working in a messy, chaotic studio increases creativity? I saw one this week and sighed (again). If you can work in a mess then why would you stop to tidy up? But if a mess distracts you then cleaning up before you move on doesn’t make you less creative. It means you understand your creative process. Some people like to work through their ideas thoroughly in a sketchbook, others just jump straight in and accept that they may make some ugly ducklings before they successfully transfer what is in their head to their cloth. Some artists like to complete one piece of work before starting another; others find it more productive to have multiple pieces on the go. We’re all different.

Those that have been reading this blog for a while will know that once the ideas rattling around in my head have reached ‘critical mass’ and are demanding to find expression I start by experimenting with colour. Once I think I have blended the right colours I print a few metres of fabric using marks that sort of fit with my ideas. I don’t really stress about what I actually print - I am using the process to decide if my colours are good. Colours which look OK as small squares scraped onto white fabric don’t always look OK when used in large areas alongside other colours. More often than not I will then adjust my colours and print some more fabric. In the series that I am currently developing I did this a couple of times before having a big rethink and starting again with a different colour family. My subject / inspiration is the current state of UK politics. Irrespective of where you stand politically this is a pretty dark and depressing subject so my initial colours featured drab blacks and brown colours. Hmmm. Turns out that I just can’t work with dark, depressing and drab colours. And why would I keep working on a series if I’m working with colours that make me miserable? Tortured artist? No thanks.

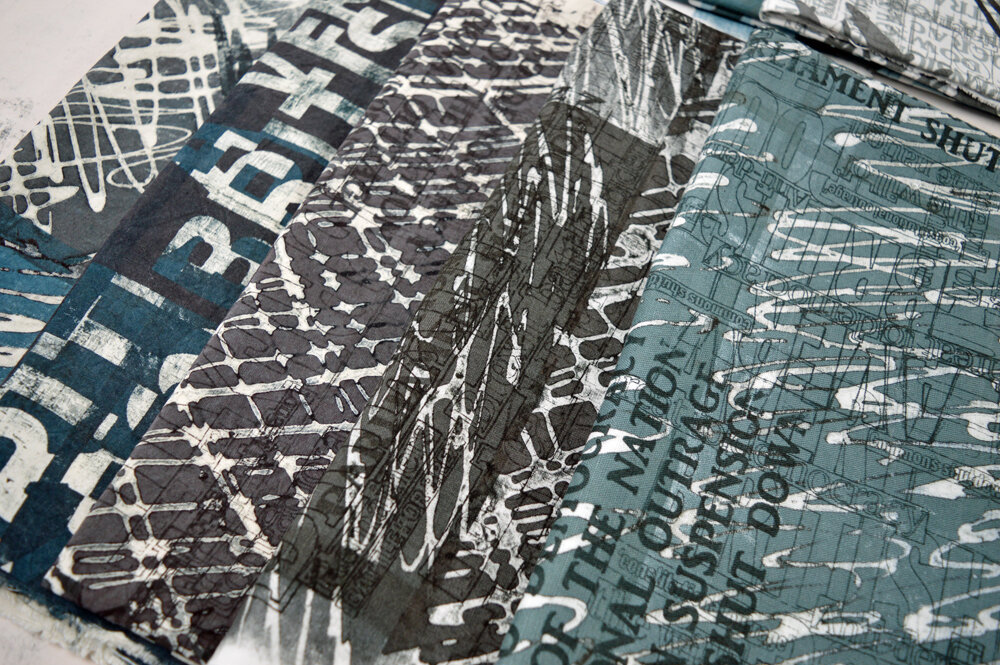
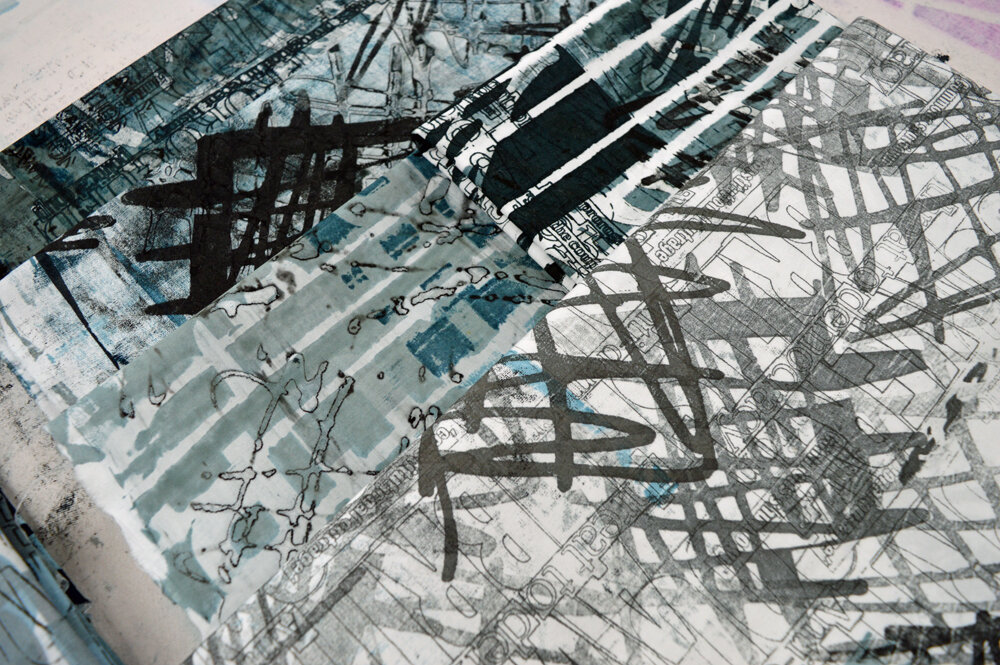
Fortunately I had found the right colours before our recent domestic hiccup. I don’t think I could have got back into the studio if I was making myself work with colours I didn’t like. Instead, with my colour family selected, I have been able to spend a few hours here and a few hours there printing cloth. I warmed up by just adding colour to cloth using an open screen and some thermofax screens I had already made using newspaper headings from the day after the illegal prorogation of parliament. As I printed I got more ideas. Using block text to create positive and negative shapes. Combing breakdown printing and text. Using my new Brother Scan N Cut to scale up and make stencils of scribbled patterns. Varying scale. Utilising different parts of my colour family to create ‘light’ and ‘dark’ cloth. Using different fabrics such as linen to introduce slightly different textures. Some pieces went through just one process but most had two or three layers of mark. I love every part of this process, even washing out my fabrics and washing up my screens. Happy hands, happy heart. Fabulous!

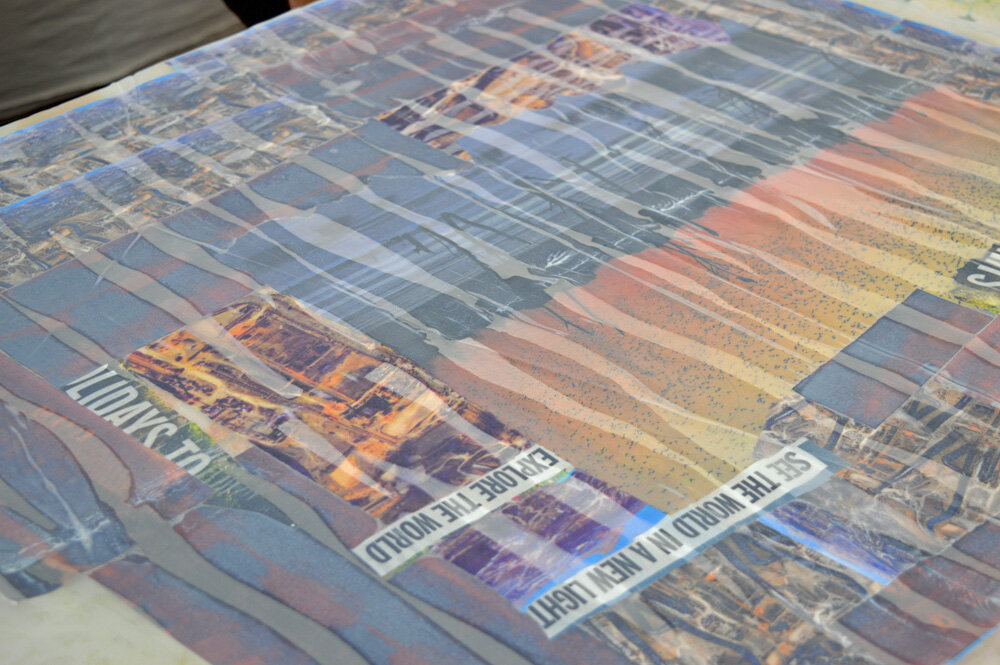
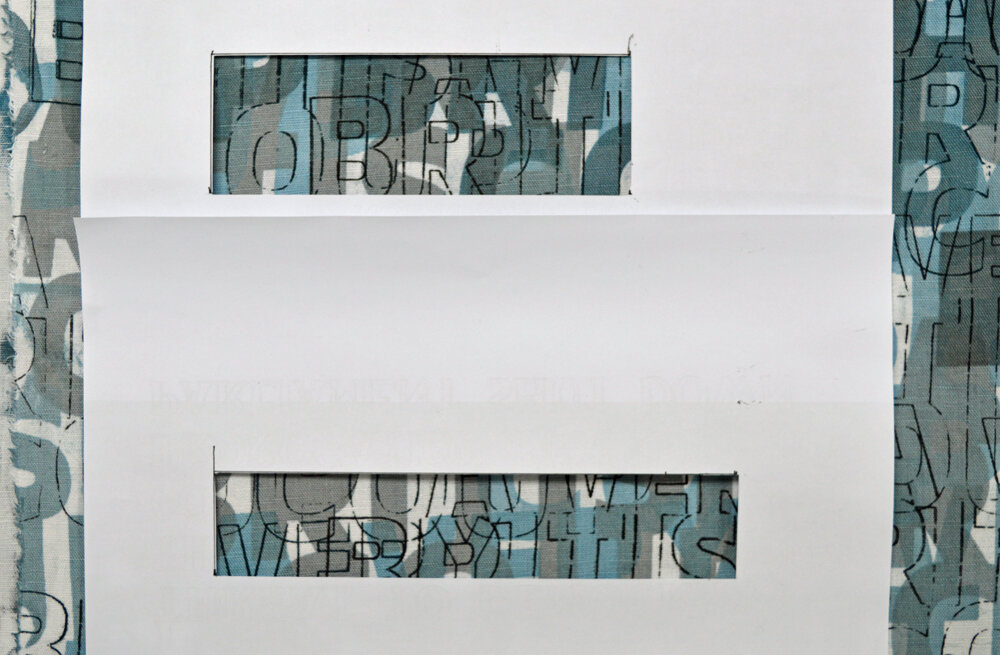
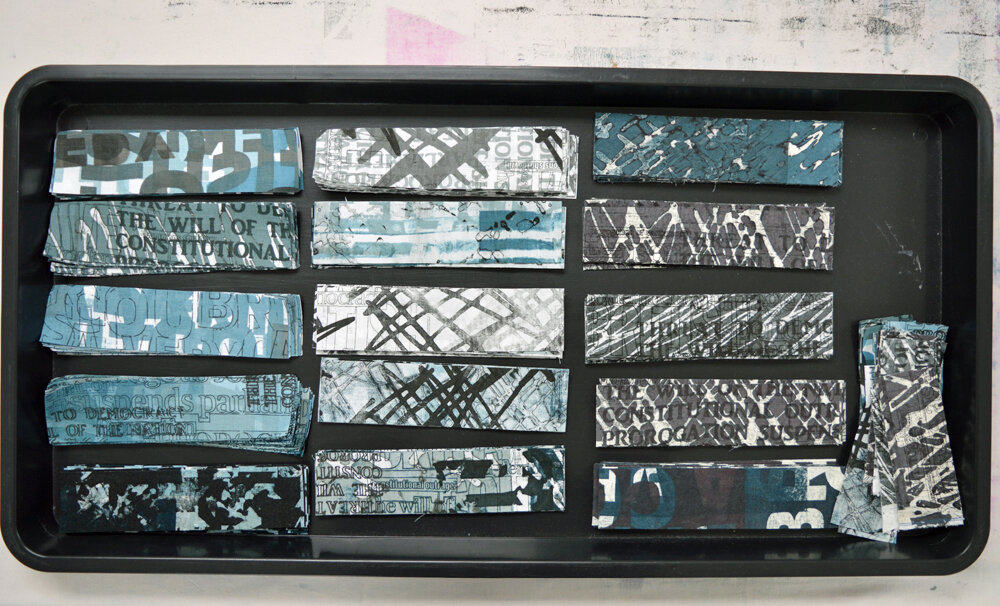
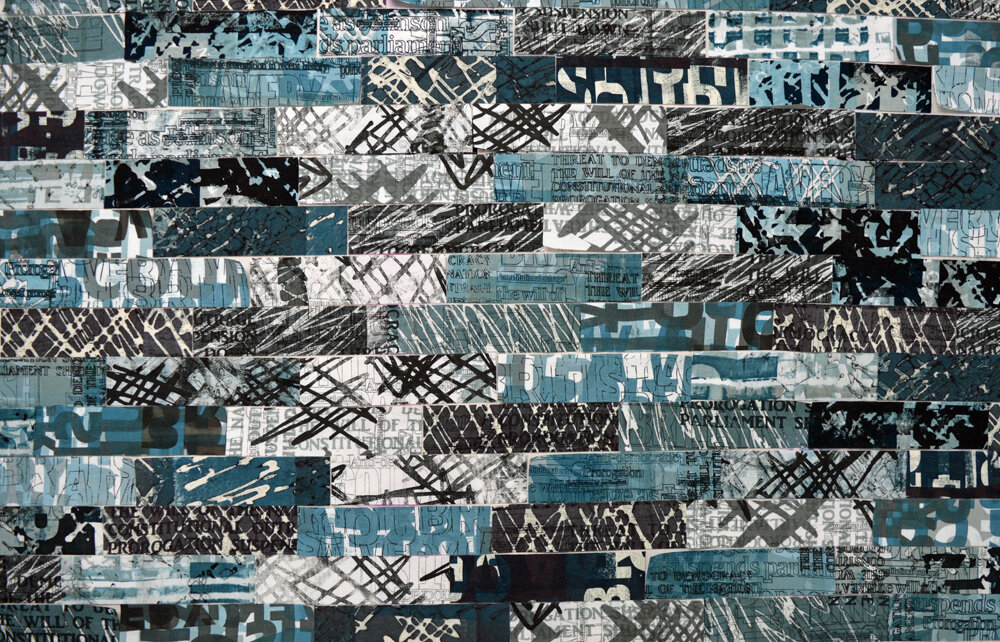
As I was printed I started to think about construction. I’m a piecer. Although I used wholecloth for my series inspired by coal mining, piecing is my comfort zone. And comfort zone feels good right now. I cut some different size apertures from paper to help me decide what size pieces to work with. I like the idea of letters, words and sentences being partially seen so opted for narrow, long pieces. I cut up about a quarter of each piece of fabric then laid the pieces out on my design table in a random way. No cherry picking allowed!

At this stage I often decide that I need to print more fabric - maybe to adjust the colour balance but not this time. Although I did think it needed the addition of a complimentary colour to help draw the eye in. I found a reel of red thread and experimented stitching letters and words onto some pieces. The text wasn’t visible enough but I loved the colour - a good, solid, socialist red! So I mixed some textile inks to match the thread colour and printed onto some of my ‘white’ fabric pieces. I still want to play around with this but decided to go ahead and stitch my fabrics together.

And I am really happy. I trusted my creative process and it has got me from white fabric to a layered sample that (just!) needs quilting. My lovely husband is doing well; I’m still tired but, once again, my studio and my art practice is helping my heal.

DSC_0868blog.jpg
It's a family affair!
12 Sept 2019 1.jpg

A big thank you to everybody who stopped by my stand at last weeks Creative Craft Show in Manchester. As well as giving a workshop once a day I was busy demonstrating breakdown printing on the stand. Always a bit of a challenge to work in a small space without easy access to a sink but the best thing about using dyes is that they don’t clog the screen when they dry out. I was quite pleased with the pieces I printed (above). And all from screens made using turquoise, rust brown and black dyes!

I also demonstrated stamping using textile inks and acrylic shapes. Easy technique and great for kids. And to prove the point my son, Joe, decided to have a go. OK so at 33 he is not exactly a kid any more but he really enjoyed himself printing a bag with stylised Batman and Joker logos. (And yes, I am aware of the copyright issue so my demo and the workshop I’ve developed using this technique did not use other peoples logos or images).

I really couldn’t do shows without Joe's help. So a very, very big thanks to him!


Back to business as usual ....
Colourful Cityscapes website.jpg

After a much needed few weeks working at a gentle pace it is now time to get back to work properly! I have a busy week ahead of me. I have a private group in the studio at the beginning of the week and am hoping that the weather is reasonably kind as we are going to be breakdown printing. And at the end of the week I will be demonstrating and teaching at The Creative Craft Show at Event City, Manchester.

Compared to Festival of Quilts this is a small show and attracts a broader spectrum of craft enthusiasts. But it is local, a mere two miles from home, so counts as easy! No need to hire a van and I get to sleep in my own bed each night. I will be teaching a workshop called Colourful Cityscapes which uses acrylic shapes and textile inks to print fabric for a small wall hanging. This will be the last outing for this workshop. I developed it for this same show last September and have thoroughly enjoyed teaching it but, boy, is it hectic when there are 16 people in the class! I have learnt a lot since then so the new workshop I’ve developed to replace this will not involve so much running around on my part and will much better paced - so no more red faced teacher and no more frantic activity in the last 5 minutes!

I’ll also be demonstrating on my stand (B24) and will have son Joe with me to take over when I’m giving the workshop. I’ll be breakdown printing (of course!) and, if I get organised, will be doing some mark making and stamping with textile inks. And drinking too much coffee. And talking until I’m hoarse. And doing lots of arm waving as I get a bit excited. Back to business as usual!

If you are coming to the show please stop by and say hello!

IMG_20190309_083203_170 1.jpg
And breathe ....
DSC_0611.JPG

After a wonderful 5 days spent with lovely students on my Breakdown Your Palette workshop I have got the studio clean and tidy for the next set of students on the 1st of July. Of course it won’t stay clean and tidy …. I need to switch into ‘artist’ mode for the next week as I continue to get ready for my upcoming exhibition. Then switch back into teacher mode to clean up after that messy artist person!

It is rather nice to take a quiet moment to just sit in the studio and reflect on the week. A 5 day class is exhausting for students and teacher, but it is worth it. I get to see the students develop their ideas and become more confident in their work. I get to develop as a teacher. Fabulous cloth is printed. Not so fabulous cloth is also printed but that is OK because we are all learning, me included. There are periods of comfortable silence and lots of laughter. Friendships are formed. I really am very lucky, if a little tired.

Below is a snap shot of what was produced over the five days. Although there was an awful lot of golden yellow, rust brown and petrol green flying about the variety the students work was amazing.

I love breakdown printing!
6 May 2019 7.jpg

Armed with industrial strength antihistamines, nasal spray and eye drops I am back to being a fully functioning human being. Which meant that I was able to spend last week doing the printing I had planned for Easter weekend. Oh yes!

I enjoy every part of creating my art quilts but the bit I love best is the printing. Especially if it is breakdown printing. Turning white fabric into a big pile of totally unique printed fabric is so, so satisfying.

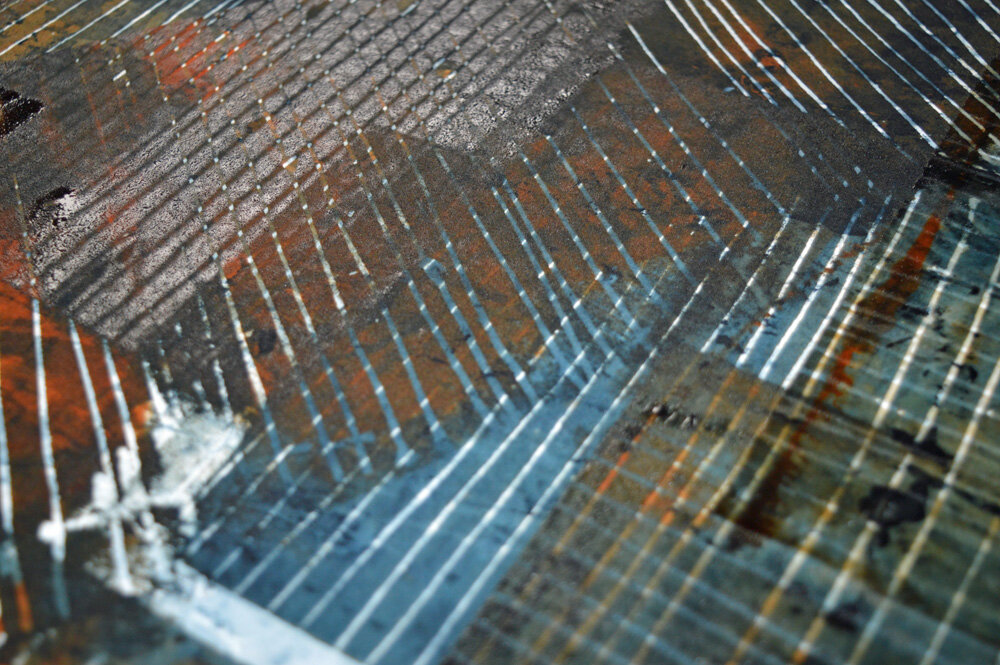
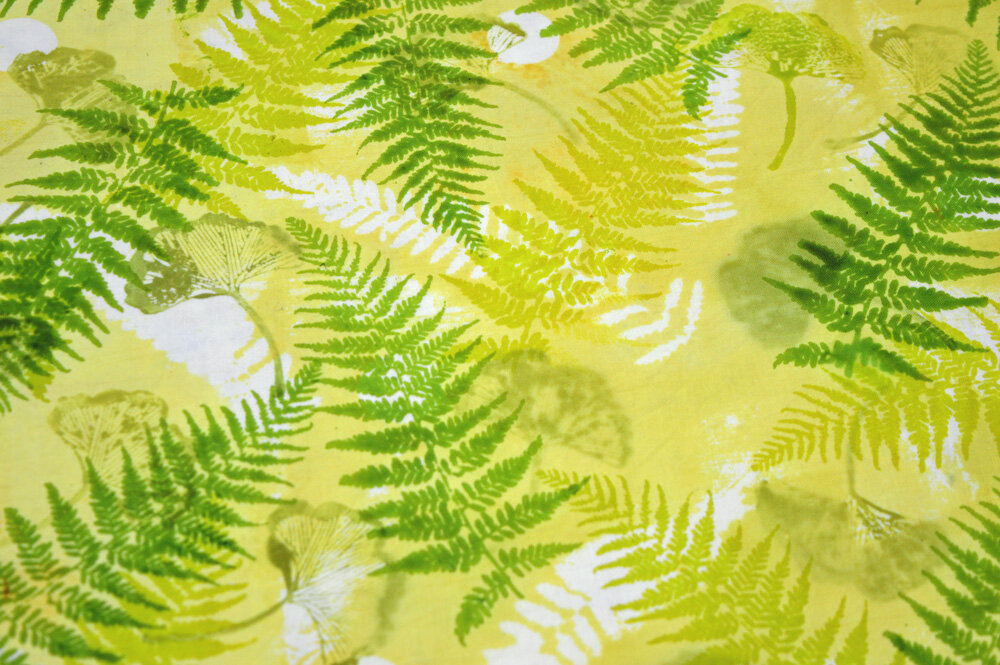
Of course there was a lot of work involved but I printed about 20 square metres of fabric for my new ‘Print’ series. This will give me more than enough fabric to finish the pieces I have planned for my exhibition at Festival of Quilts. The weather was good at the beginning of the week so I was able to soda soak and dry more white fabric. I made up more breakdown screens, some using black thickened dye and some using print paste. For the first time this year I was able to dry some of the screens outside. Others were dried on top of a radiator. Most screens featured grids but I included a couple of screens that I made by using wooden print blocks to stamp dye onto the screen. (All this is covered in my book ‘Breakdown Your Palette’).

Once I had a stack of dried screens I pinned out fabric on my big print bench and started printing. Bliss! I varied how I printed in order to create a palette of printed fabric that included dark, medium and light fabrics. I stopped to wash, dry and iron the fabrics I had printed every couple of days so that I could check that I was getting the ‘balance’ I wanted. Yes, I even enjoy washing out my fabrics! And it is only time you will ever see a smile on my face when I’m ironing. All-in-all a great week. I can recommend it!